.png?width=250&height=99&name=CivicEye_Identity_Secondary%20(4).png)
Managing Evidence Using the CivicDocs Law Enforcement Portal
This guide will walk you through the process of managing evidence using the CivicDocs Law Enforcement Portal. From locating active cases, to uploading and managing evidence files, you will learn how to efficiently navigate the CivicDocs application.
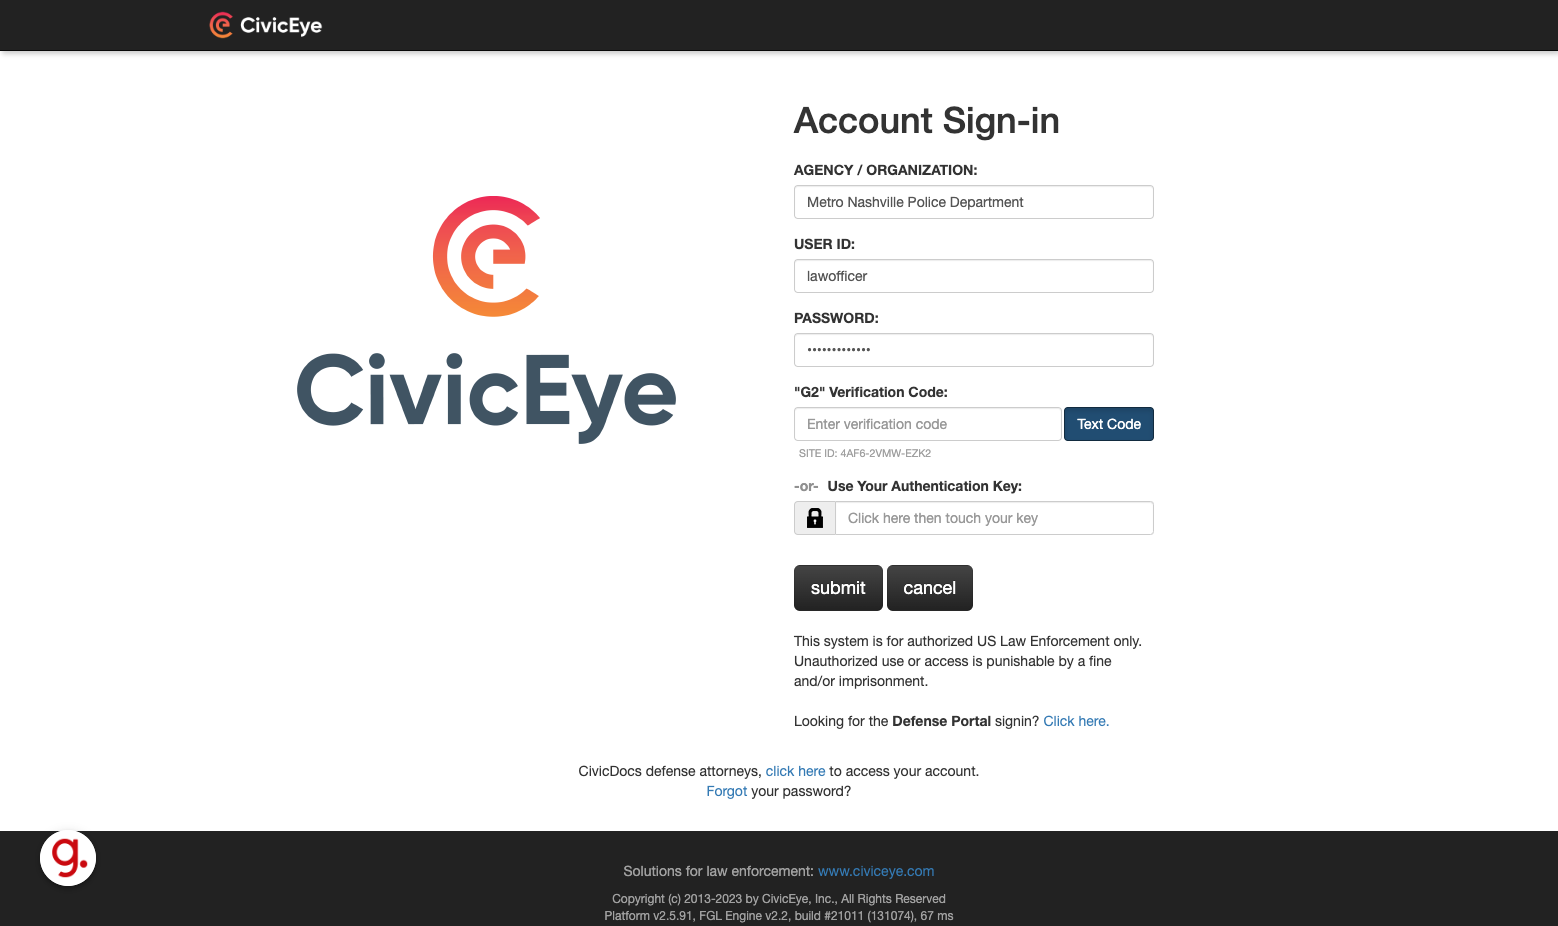


1. Log into the CivicDocs website
In any modern web browser, navigate to the CivicDocs URL provided by your local prosecutors office and enter the login credentials shared with you by prosecutor staff.
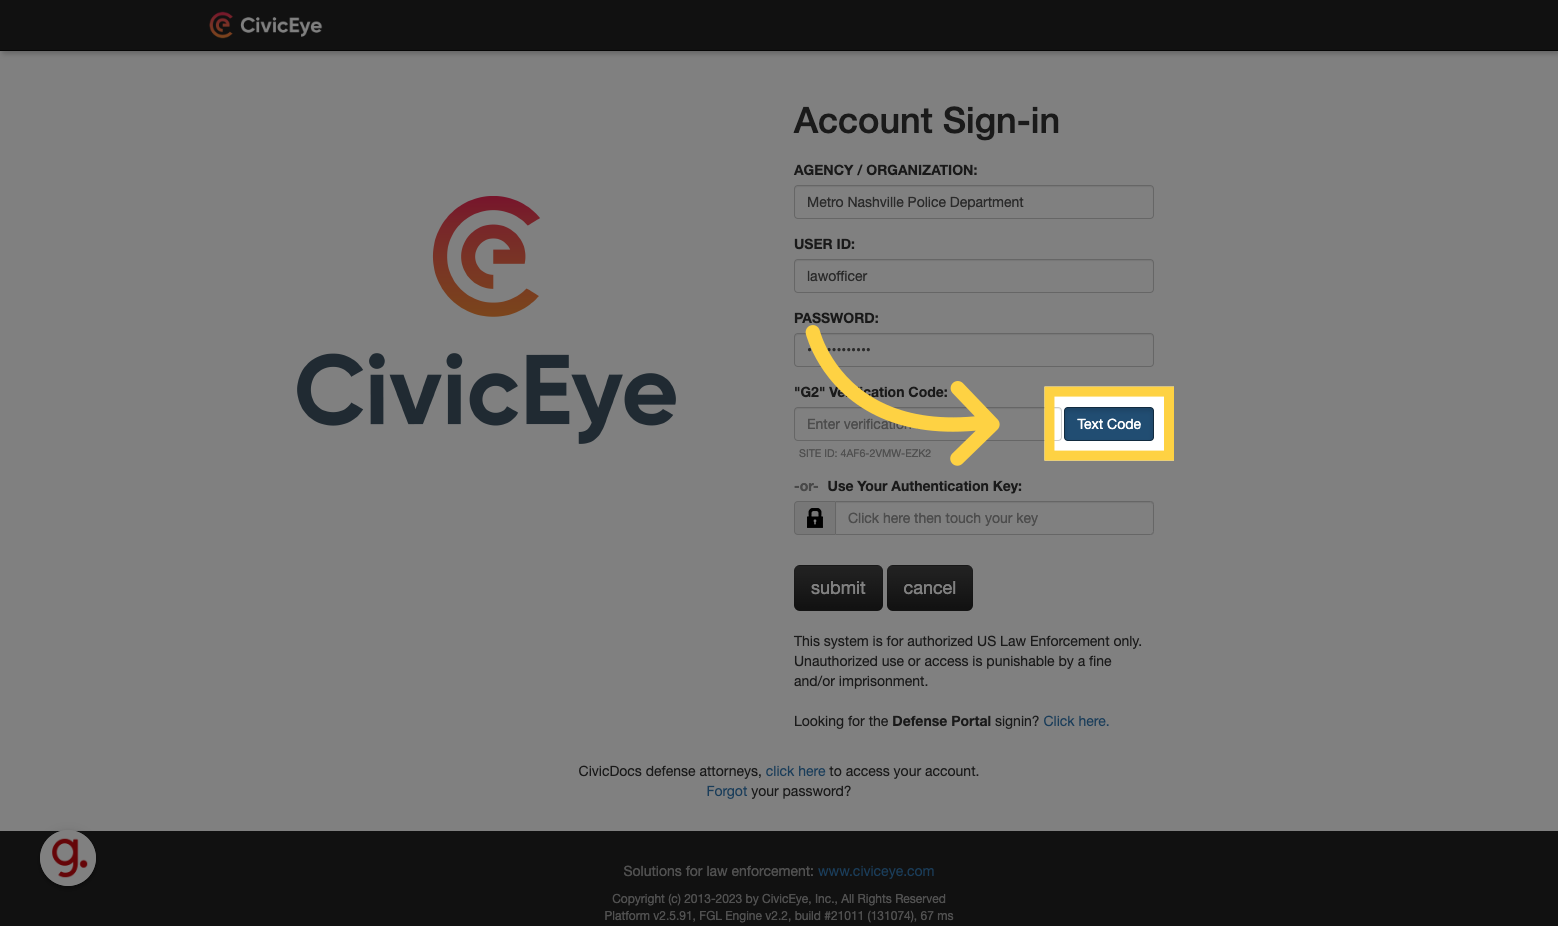
2. Click "Text Code"
Click "Text Code" to receive a two-factor authentication code via text message to the mobile number listed on your user account during the registration process.
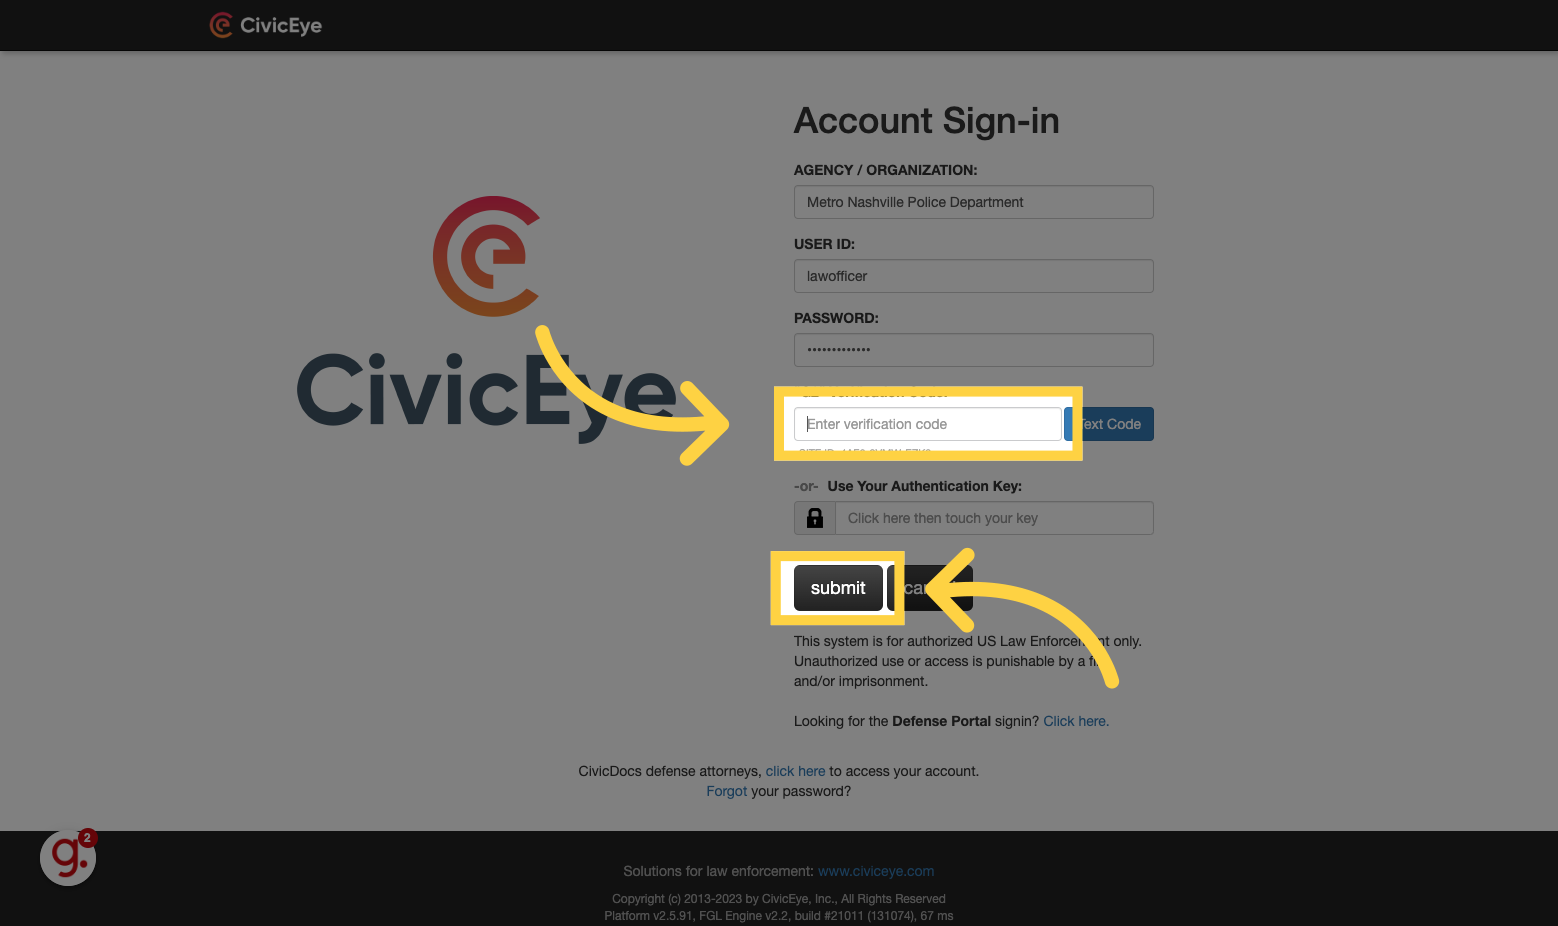
3. Enter the verification code to complete the login process.
Enter the verification code and press "submit" to log in.
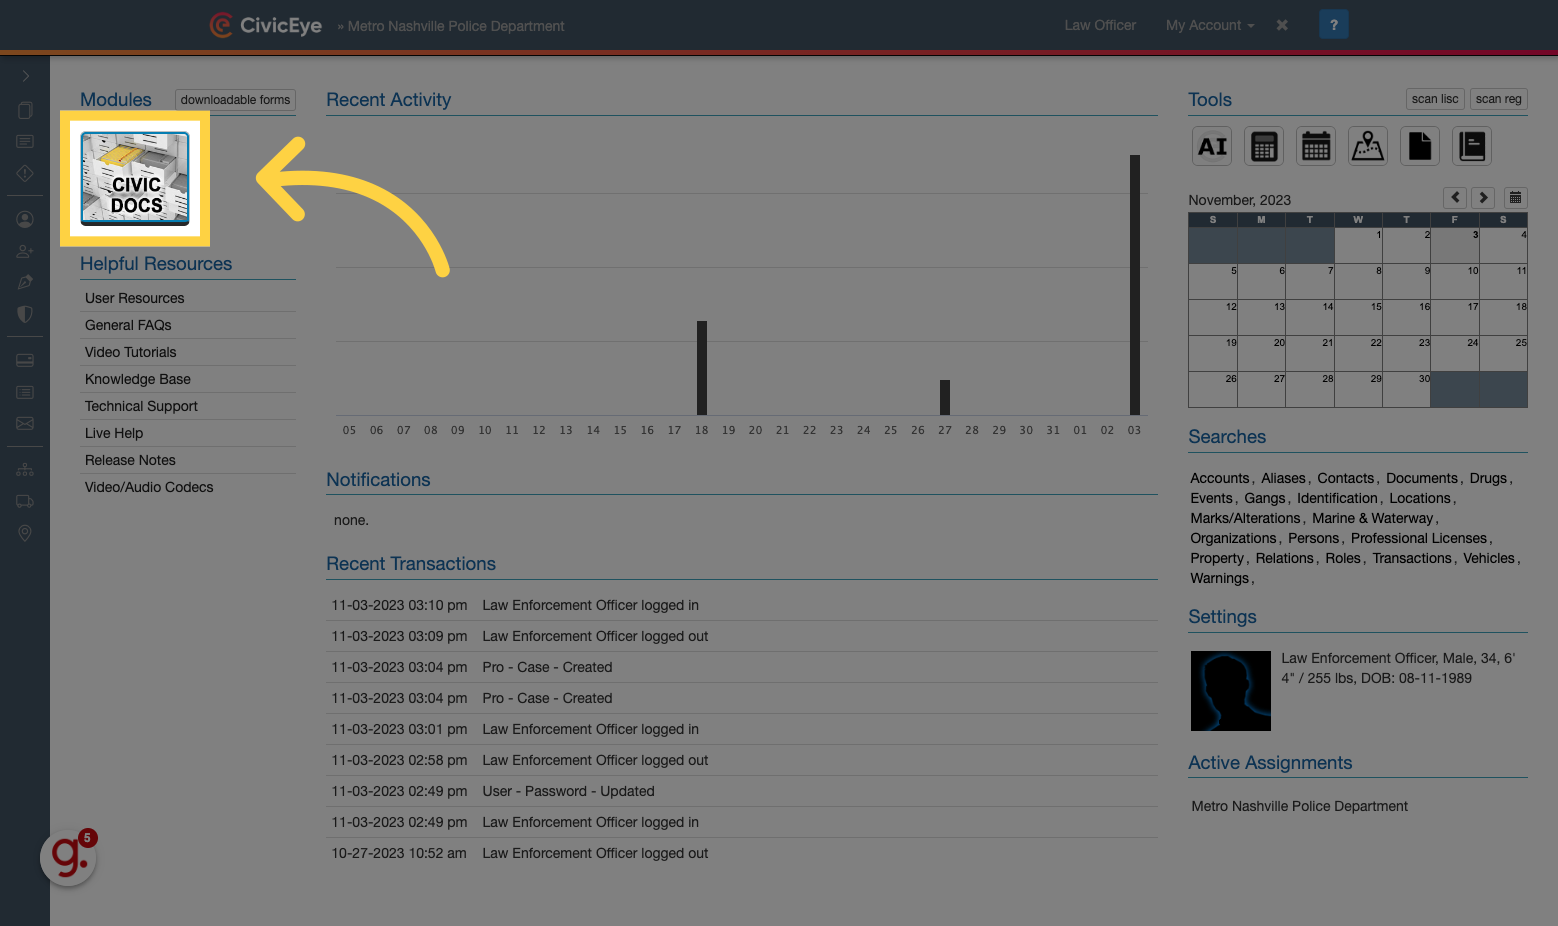
4. Open the CivicDocs application
Click here to open the CivicDocs application
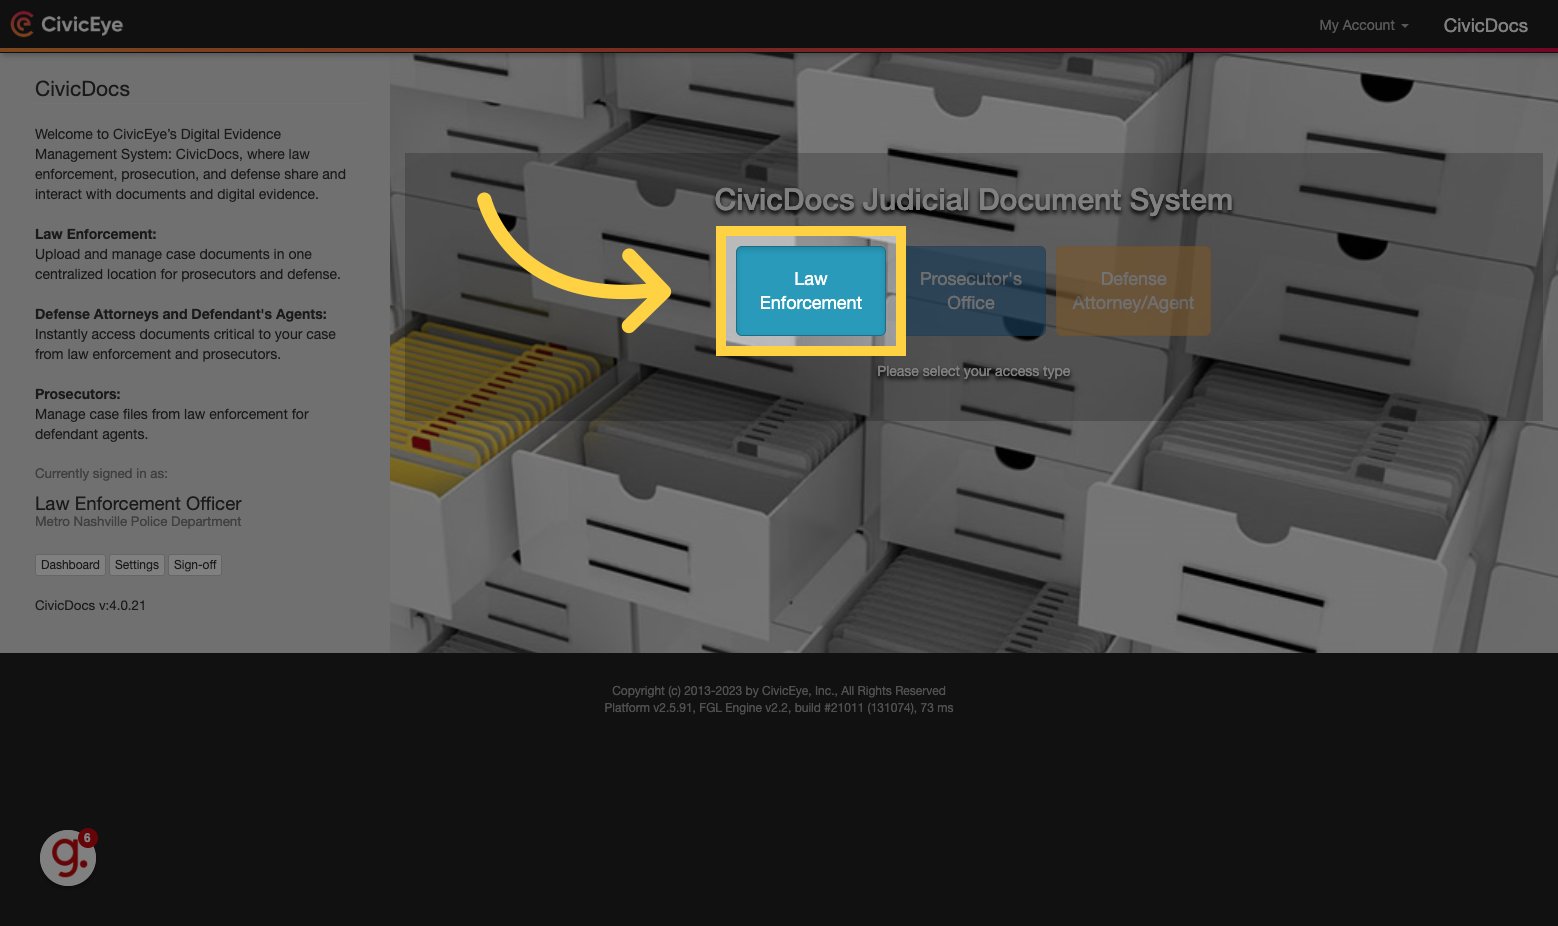
5. Select the Law Enforcement portal
Select "Law Enforcement" to access the Law Enforcement Portal.
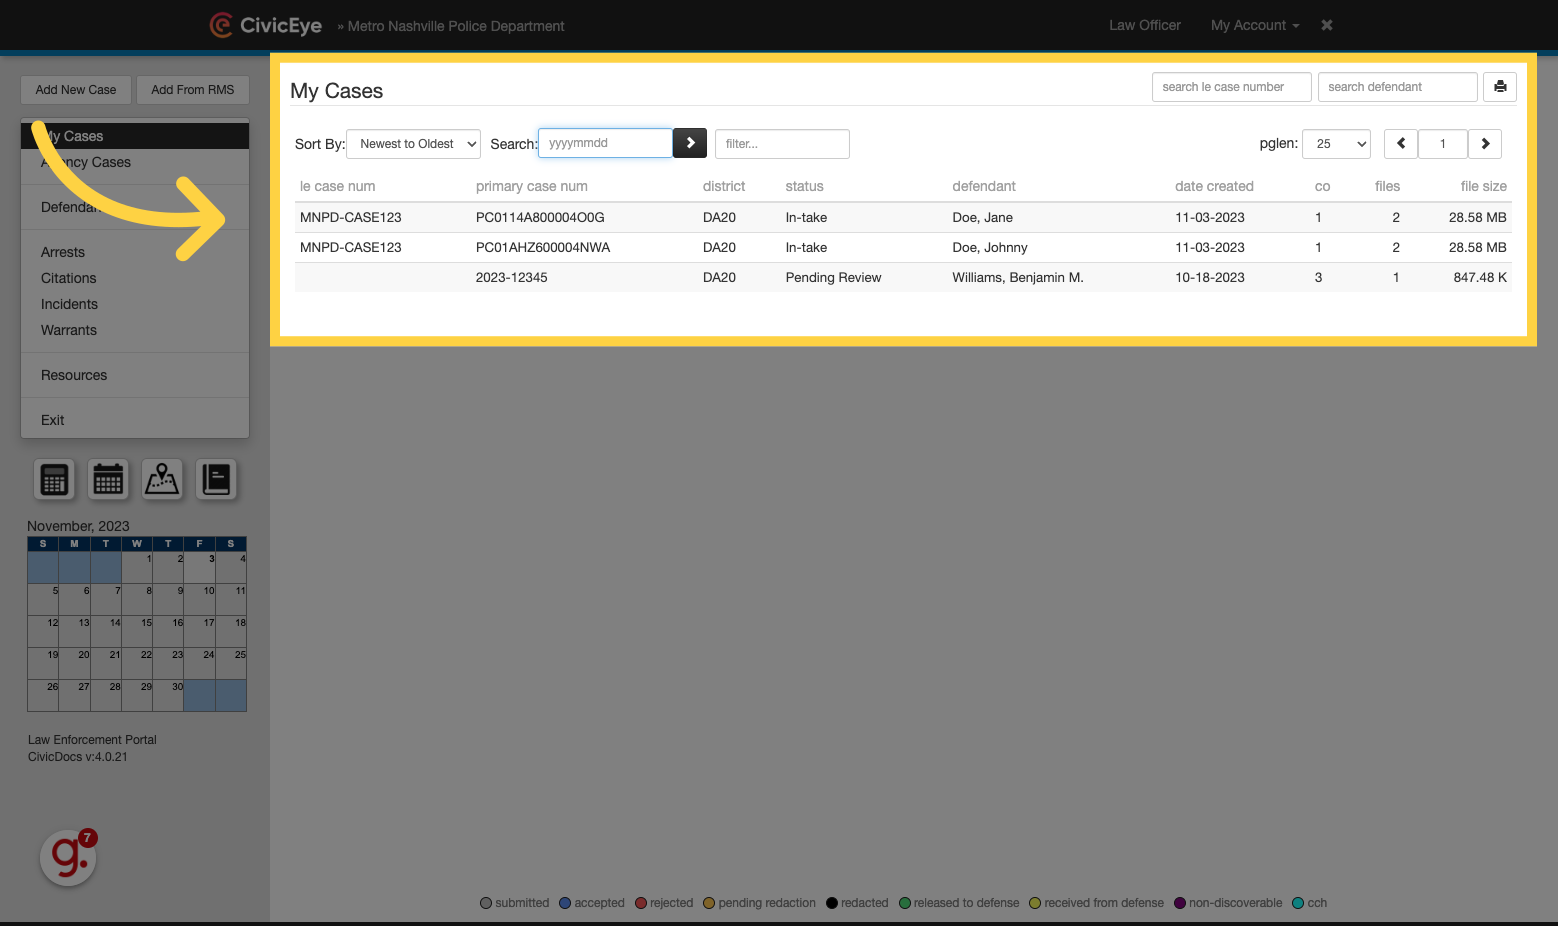
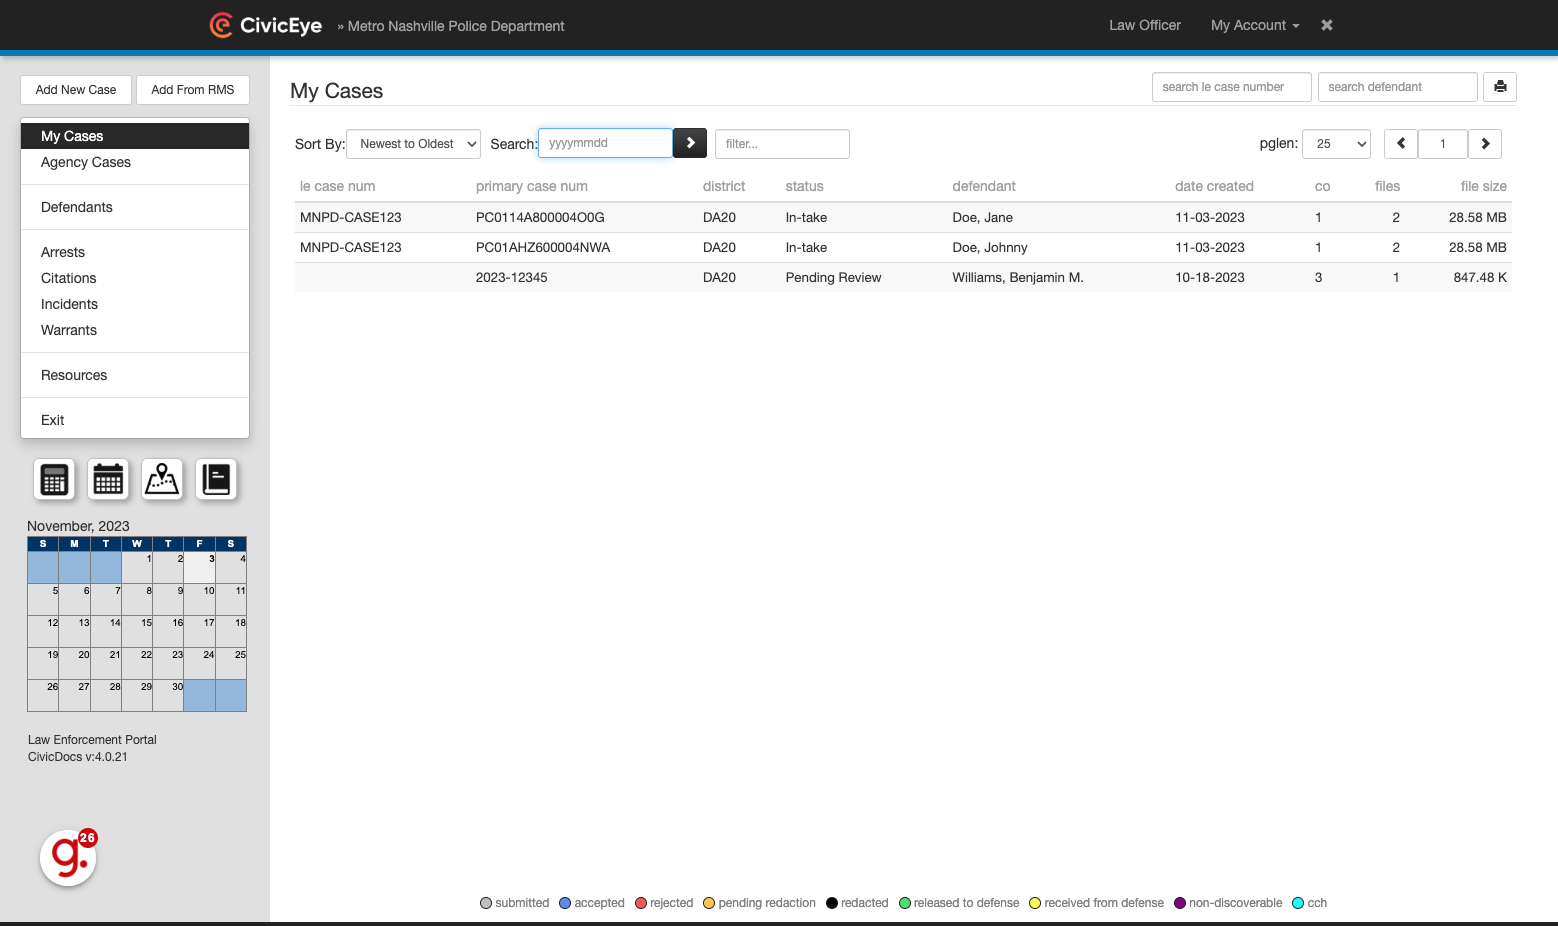
6. My Cases View
Upon logging in, users will see the default "My Cases" view. This view displays any cases to which a law enforcement user has been assigned.
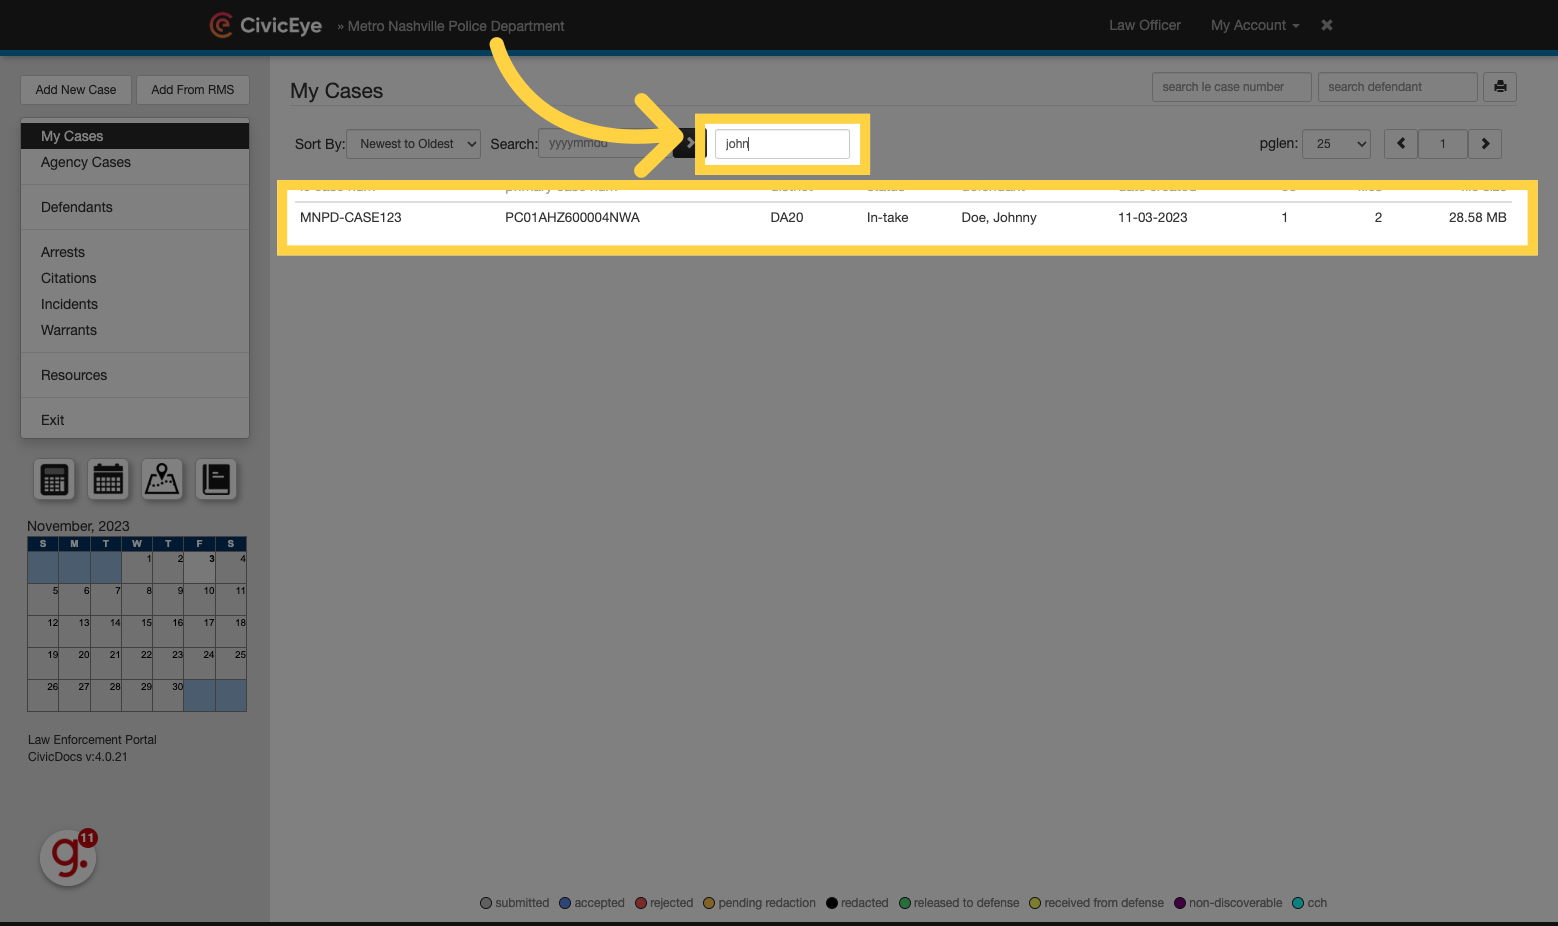
7. Filtering Case Lists
Views in the Law Enforcement Portal can be filtered to locate cases by searching in the "Filter" field for any of the case information displayed. In this example, searching "John" filters the list down to only records including the search value.
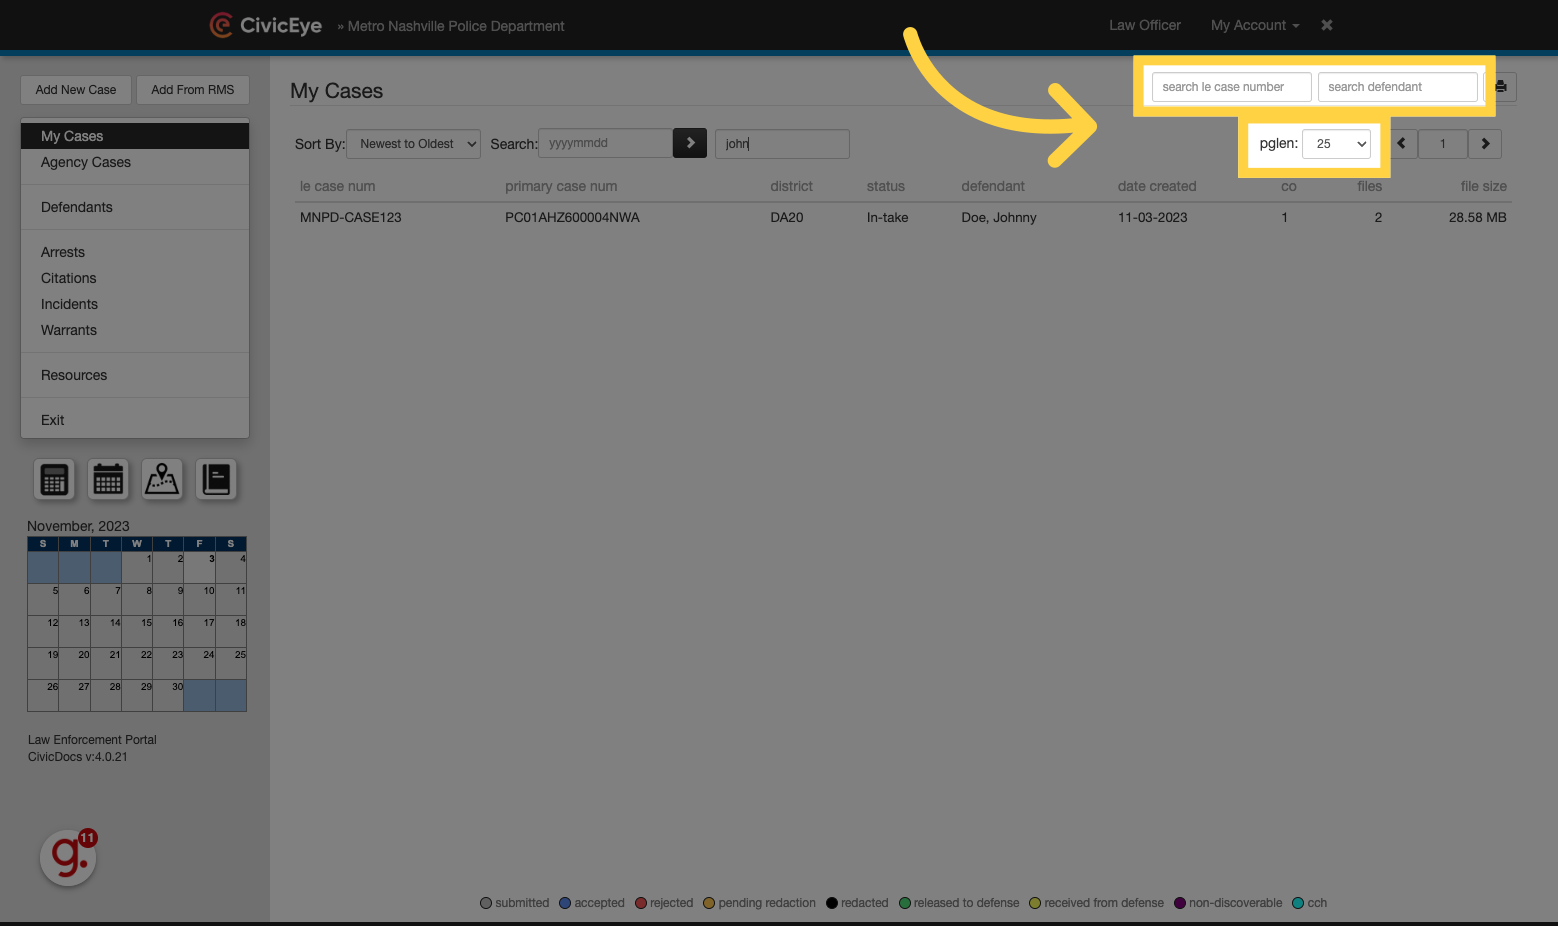
8. Filtering Case Lists
Filtering will only affect the results displayed on the screen. In some cases, displaying additional rows by increasing the dropdown value will improve filter results. Additionally, users can search by Case number or Defendant Name in the upper, right corner.
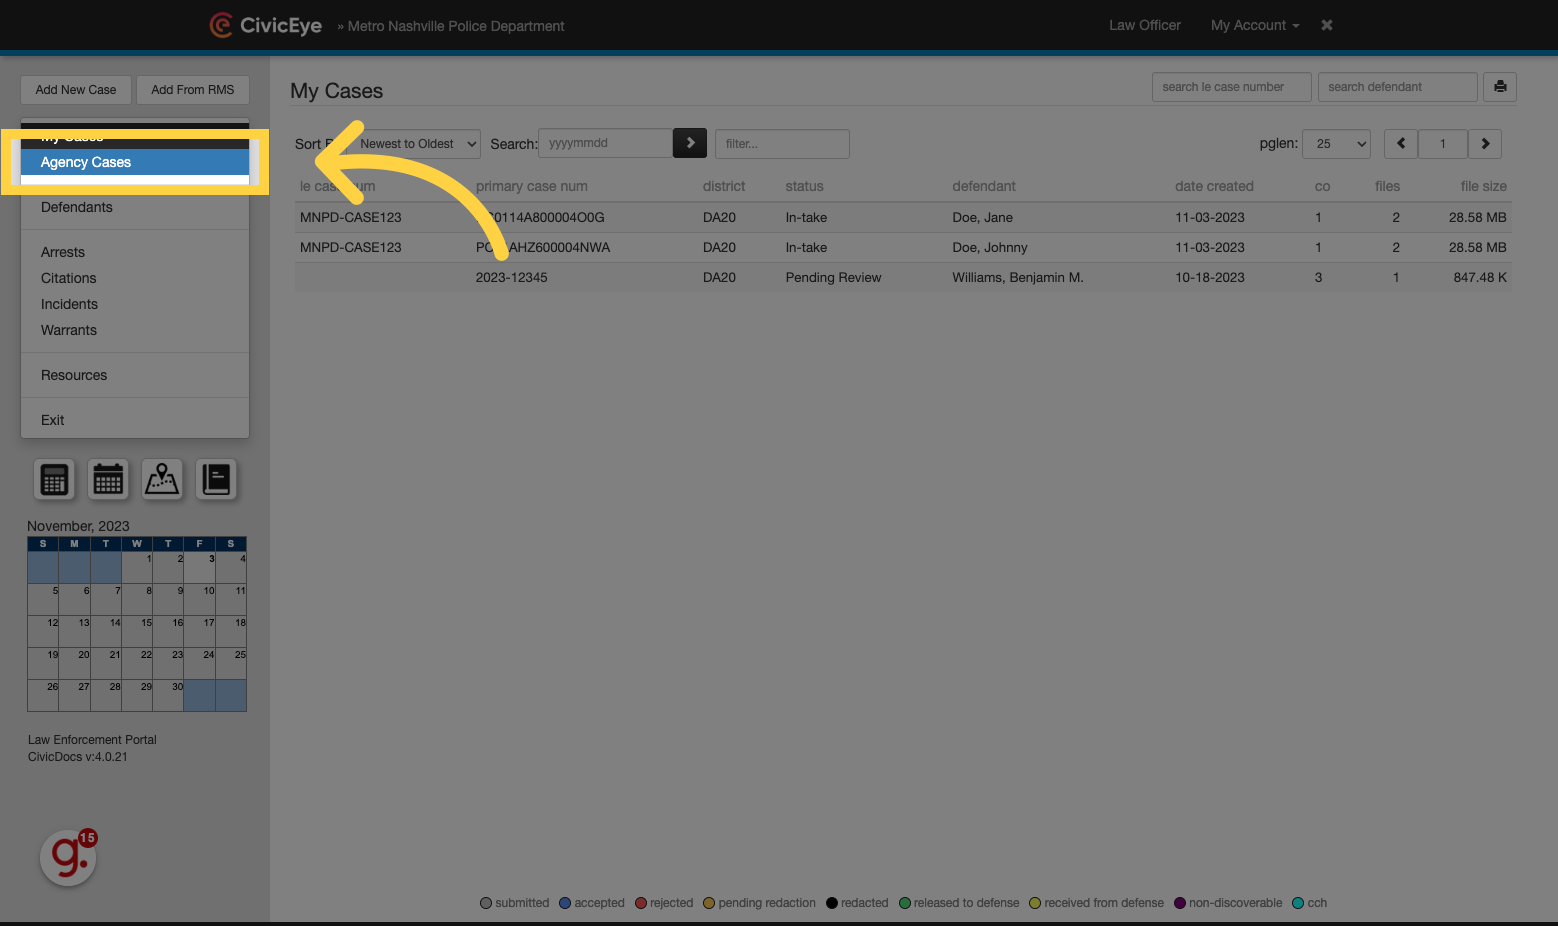
9. Agency Cases view
Similar to the "My Cases" view, Agency cases will provide Law Enforcement Users the ability to locate cases assigned to Law Enforcement users within their agency.
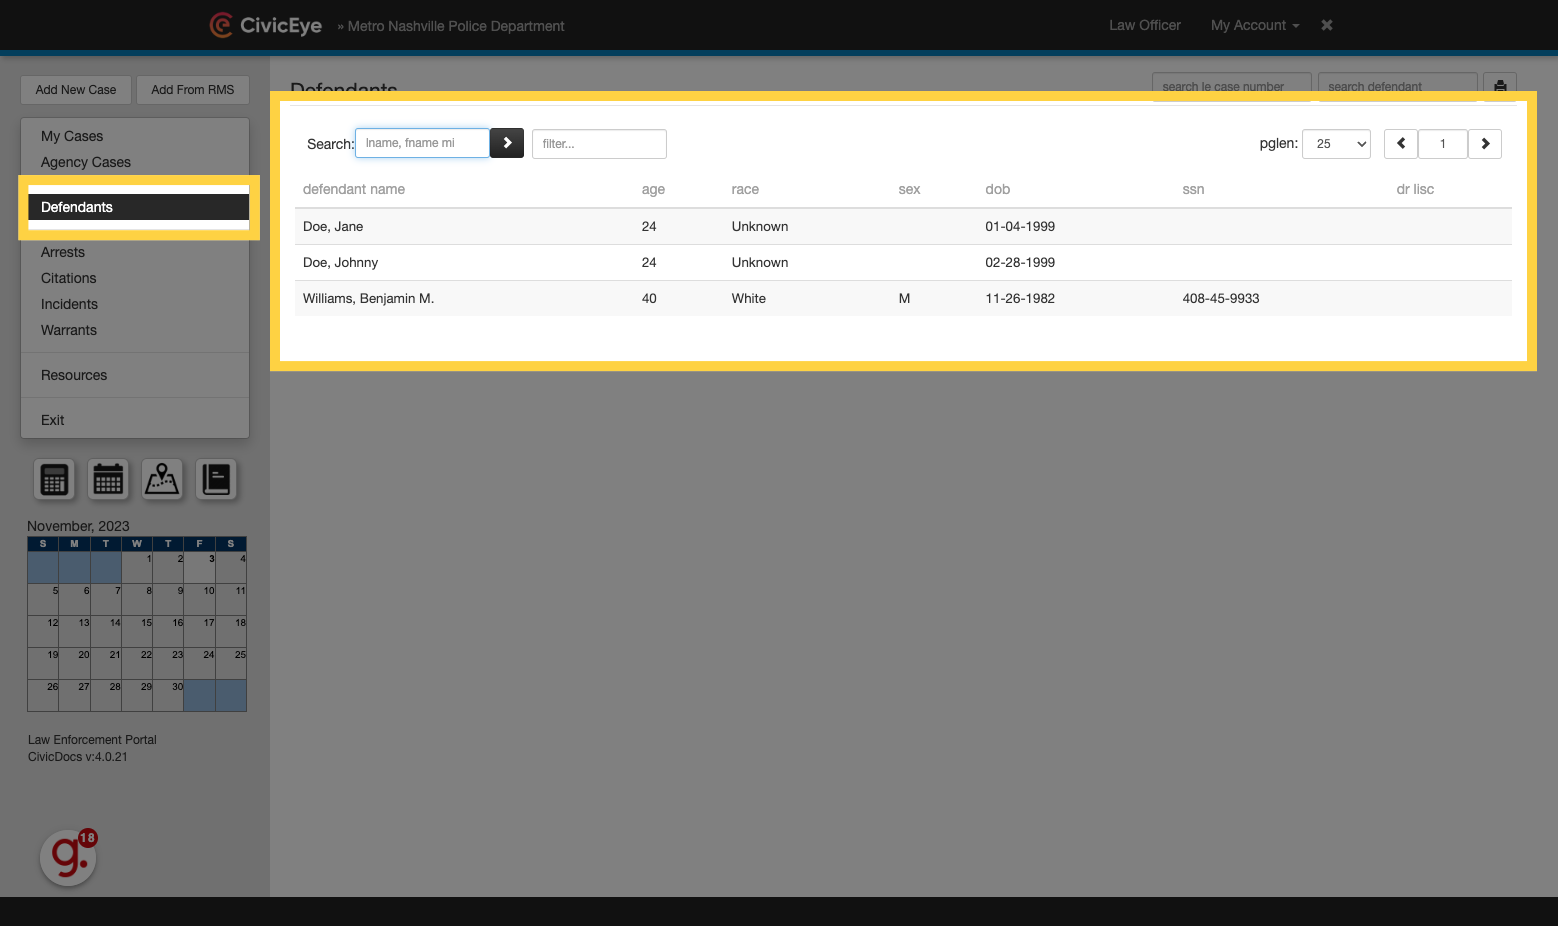
10. Search cases by multiple data points
CivicDocs also offers a variety of "views" to search and locate cases. To view and search for cases by Defendant Name, Arrest, Citation, Incident, or Warrant Number, click on the option in the left-hand menu.
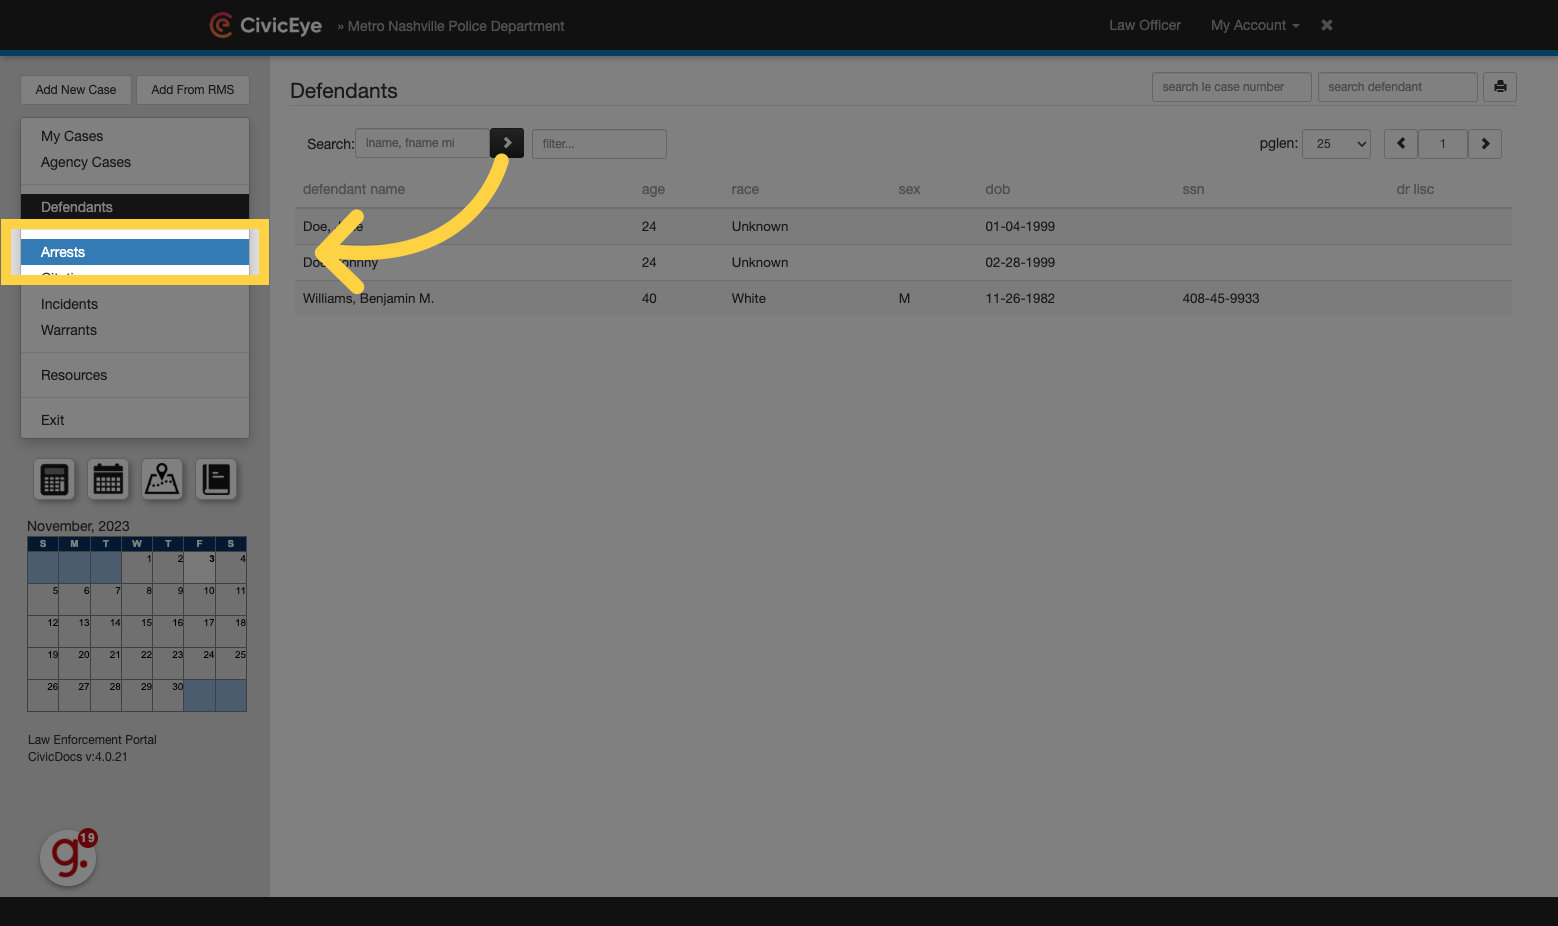
11. Arrests view
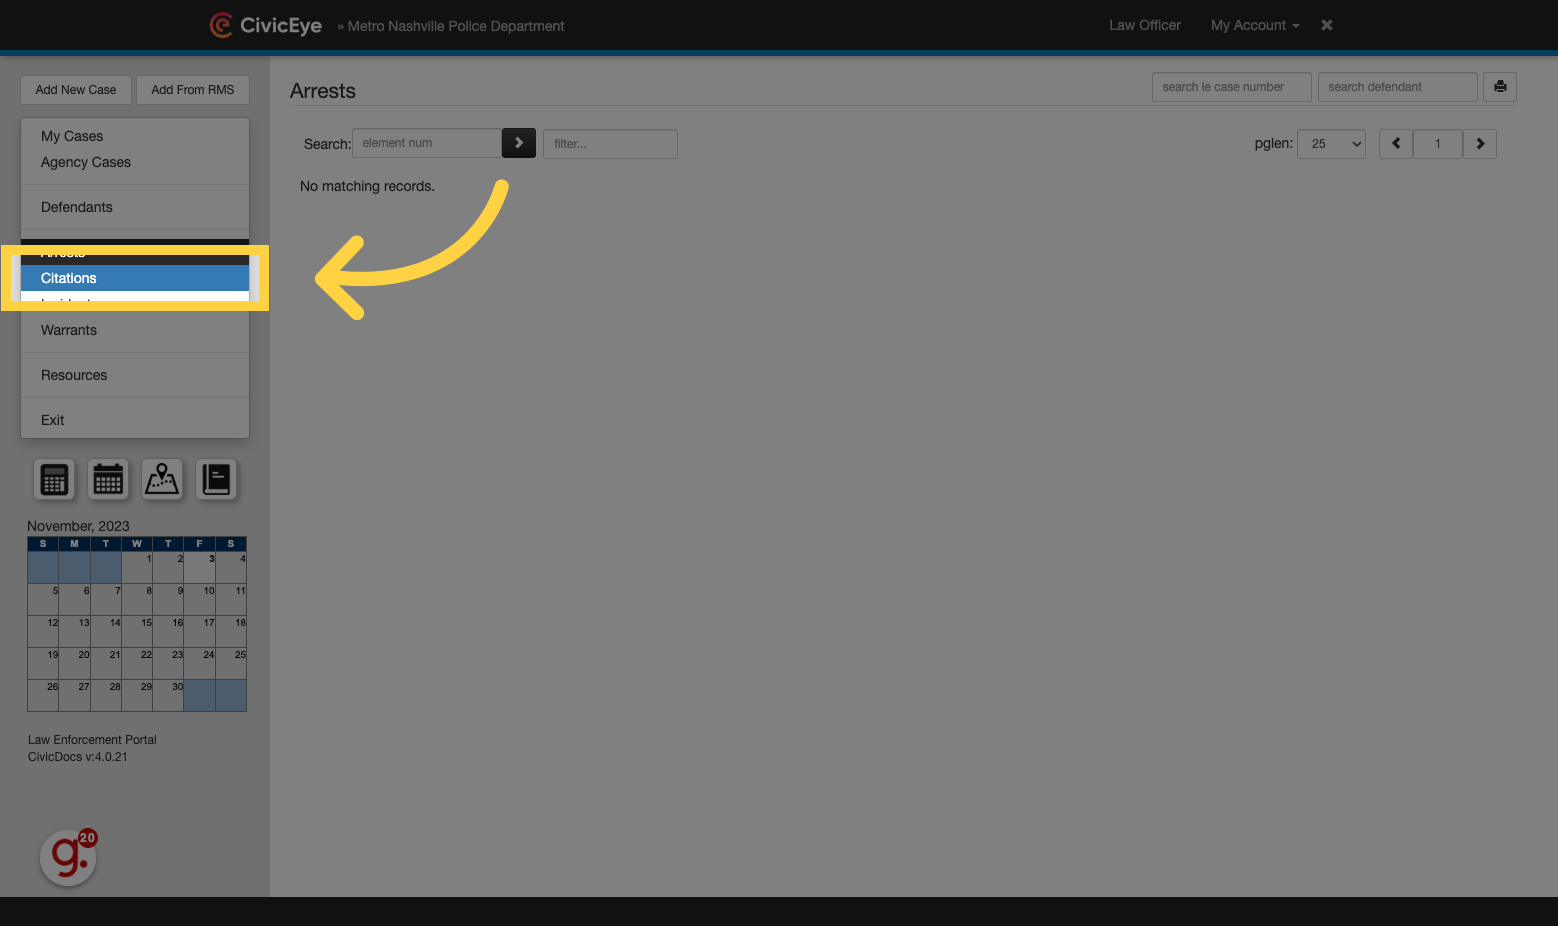
12. Citations View
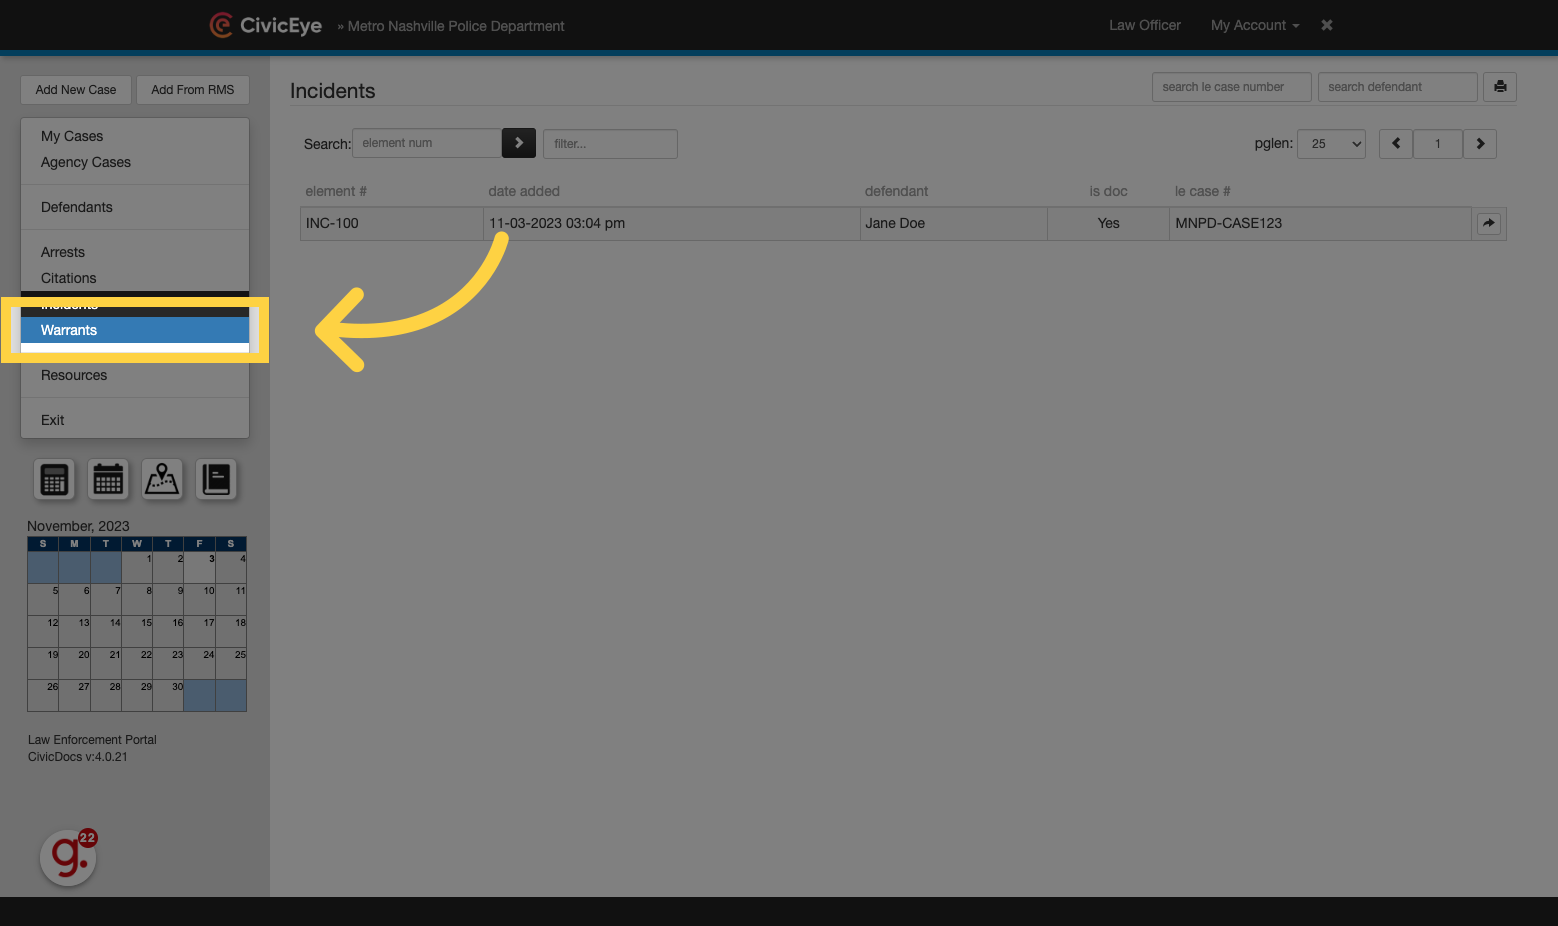
13. Incidents View
14. Warrants View
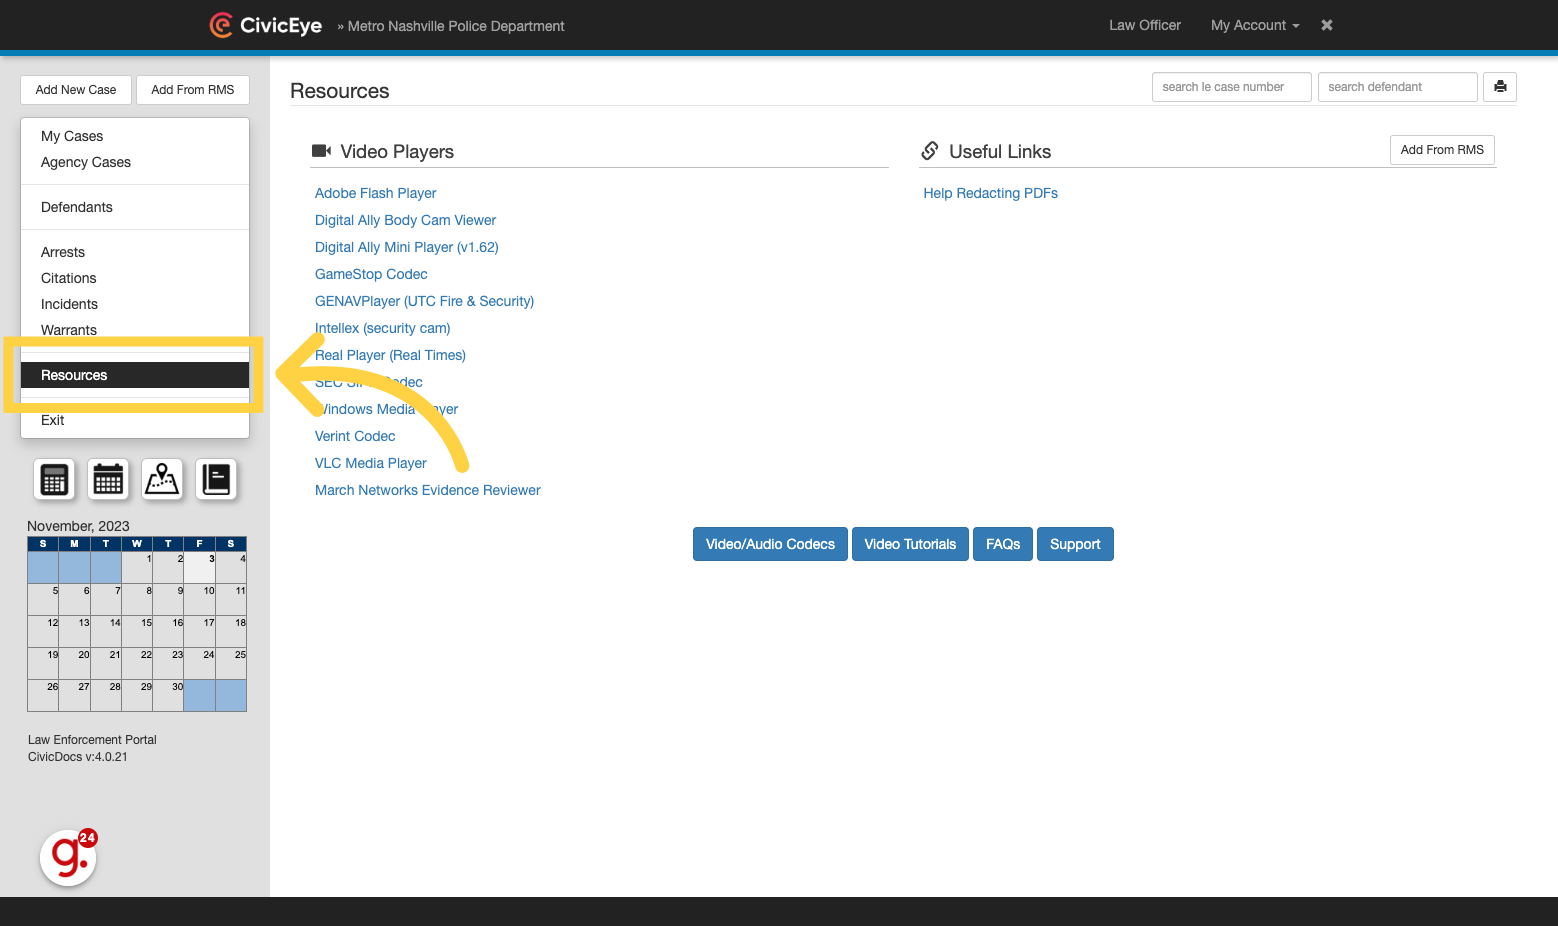
15. Helpful Resources page
To locate helpful resources for viewing 3rd party media content, or accessing tutorial documentation, click "Resources" in the menu.
16. Managing Cases and Evidence
To manage cases, navigate to the preferred case view and use the Filter function to locate the applicable Case. Once found, click on the case to open it.
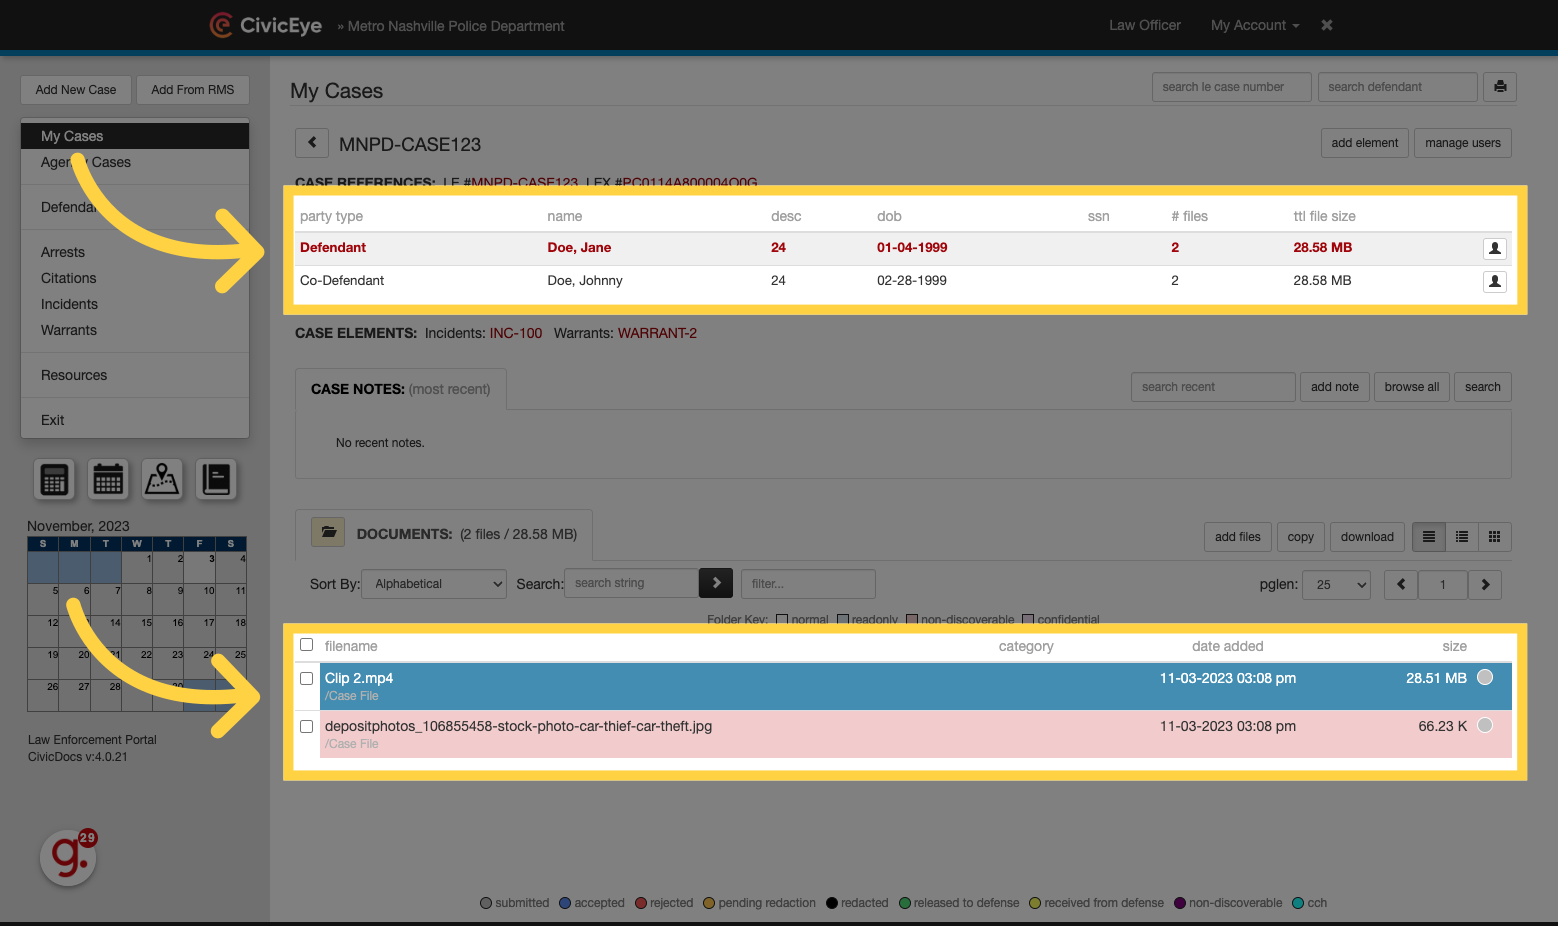
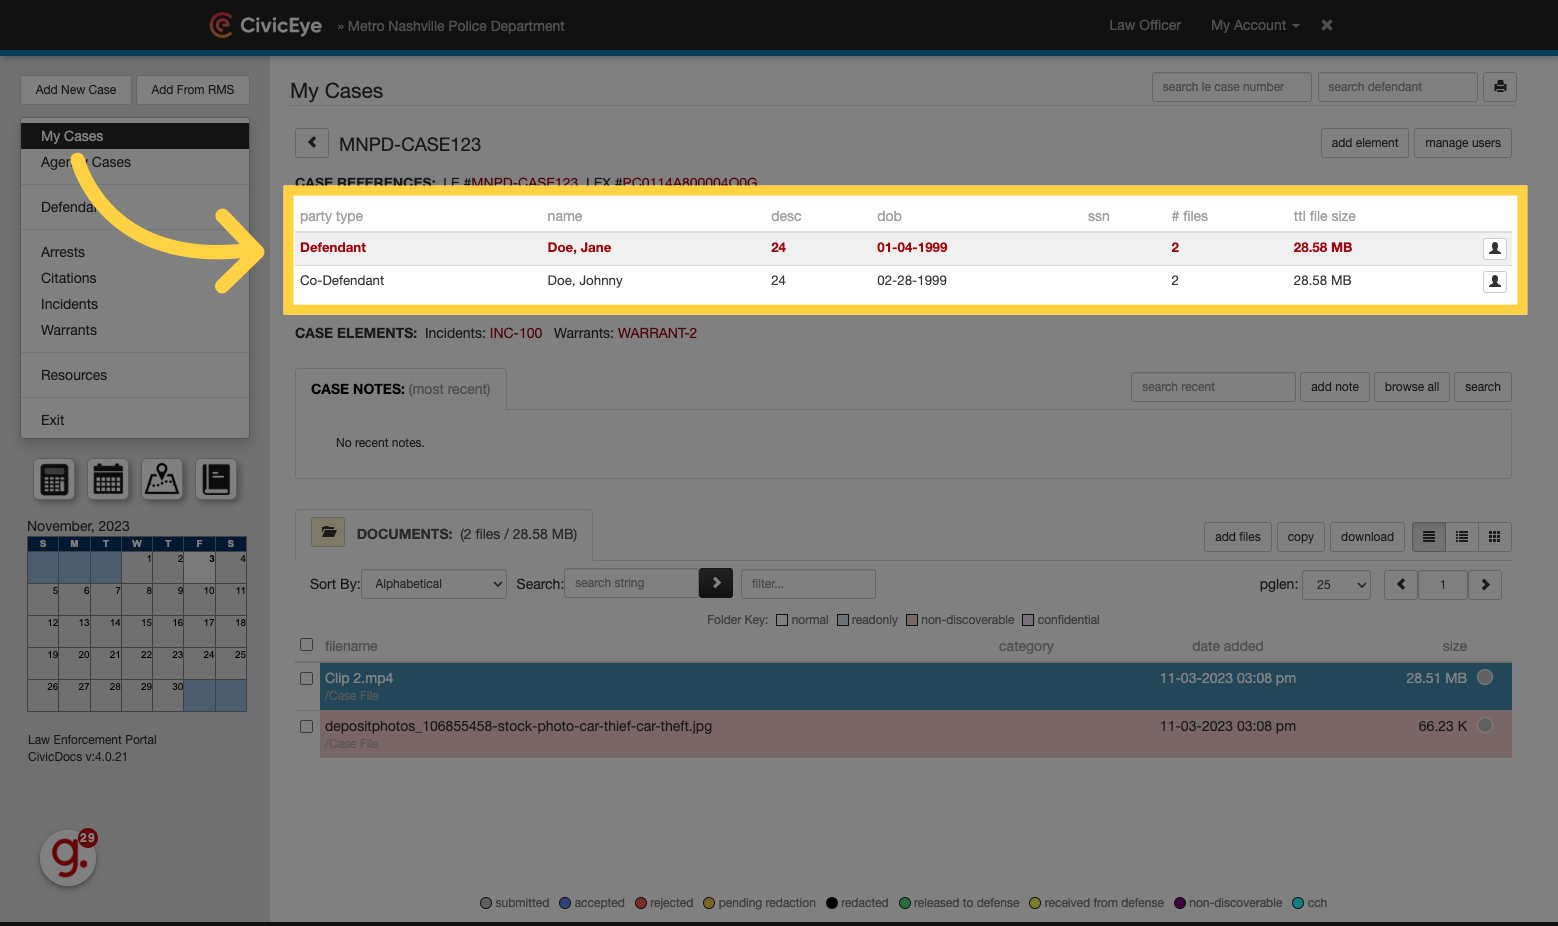
17. Case Overview
Once inside a case, users can find overviews of defendant and codefendant information, as well as any files or evidence uploaded to the case.
18. Defendant Information
To access a co-defendants case, click on their name and the case will open in a new window.
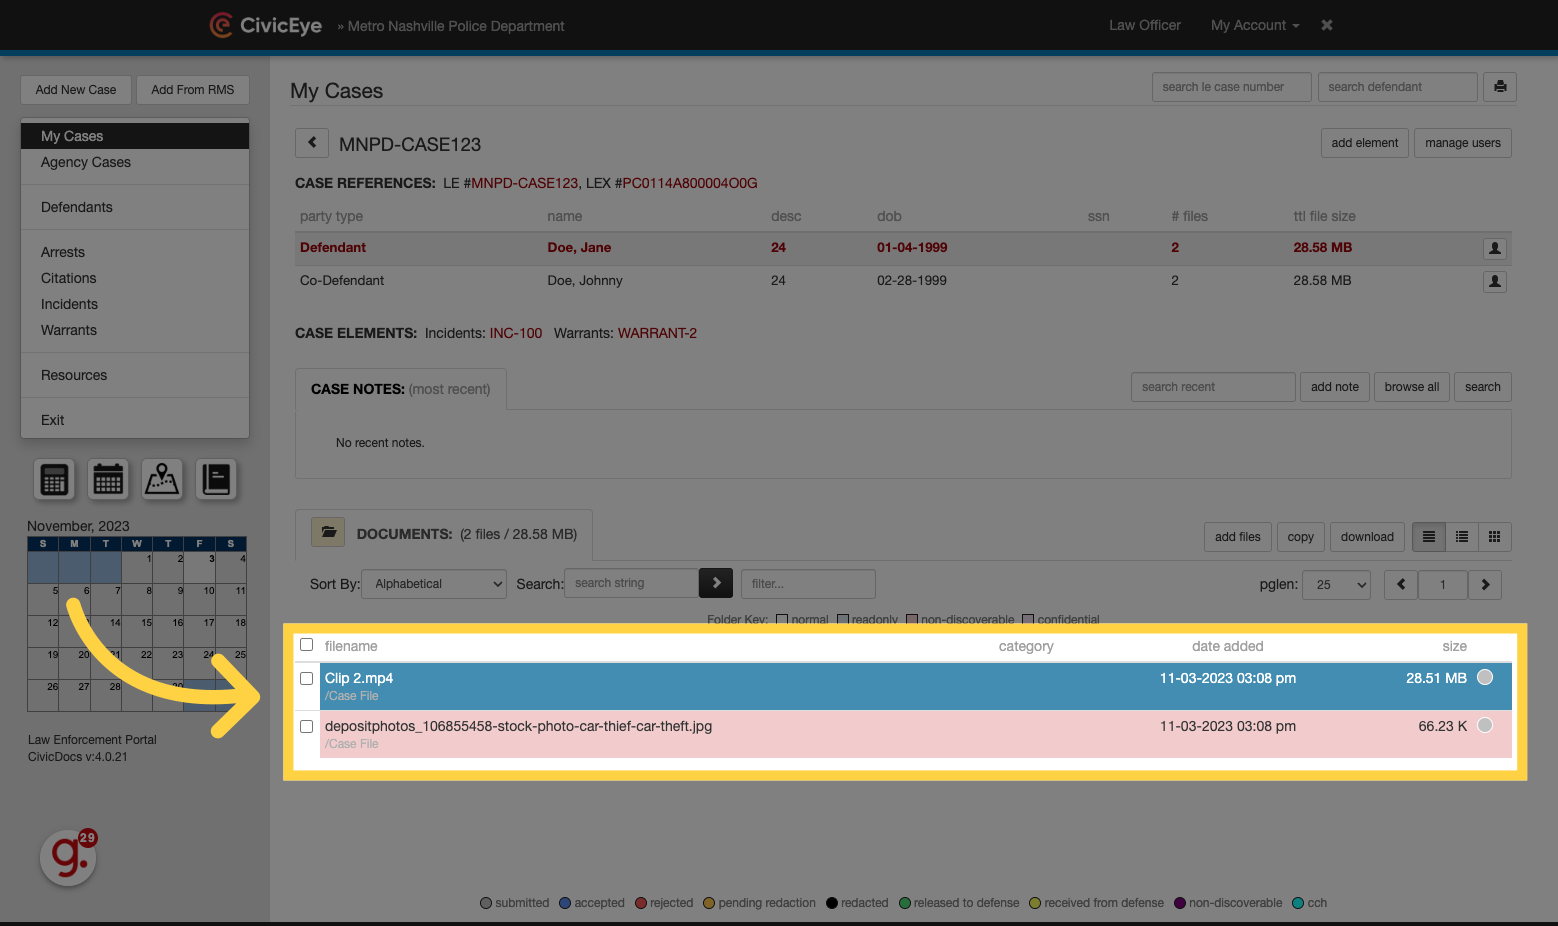
19. Files and Evidence list view
To open a file or video, click on it in the files list.
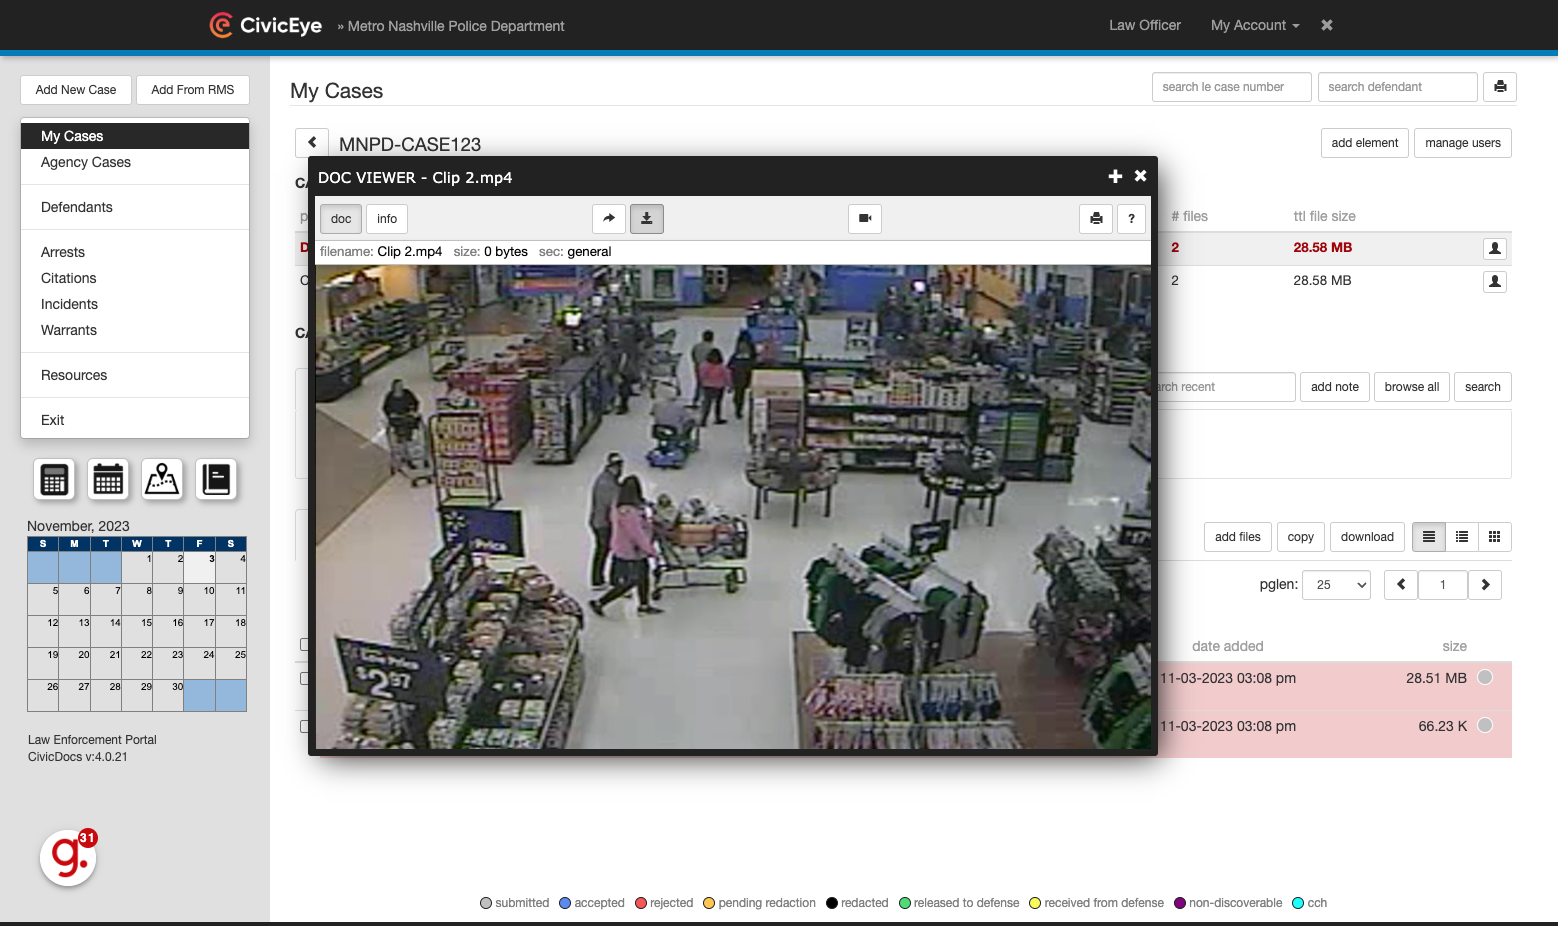
20. Viewing Video content
The video will open directly in the CivicDocs system. For some 3rd party video players, a separate codec is required. CivicEye lists common codecs under the "Resources" section covered previously. If a codec is not located in that section, it may be obtained typically through the video player manufacturer website.
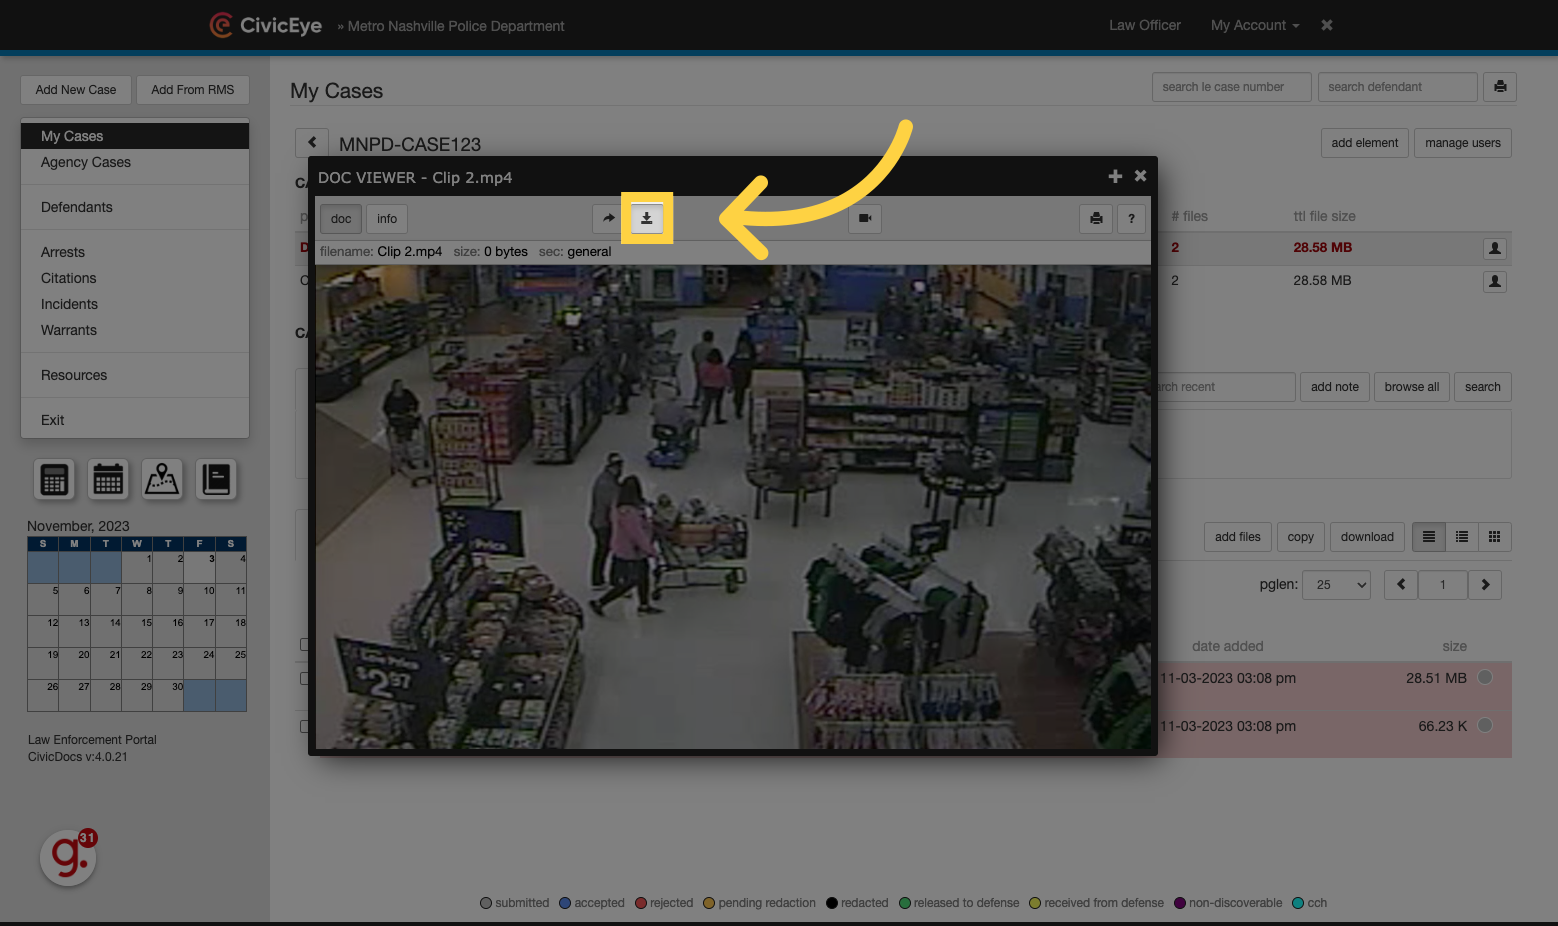
21. Downloading Videos
Videos can be downloaded by clicking the button located near the top of the Document Viewer window.
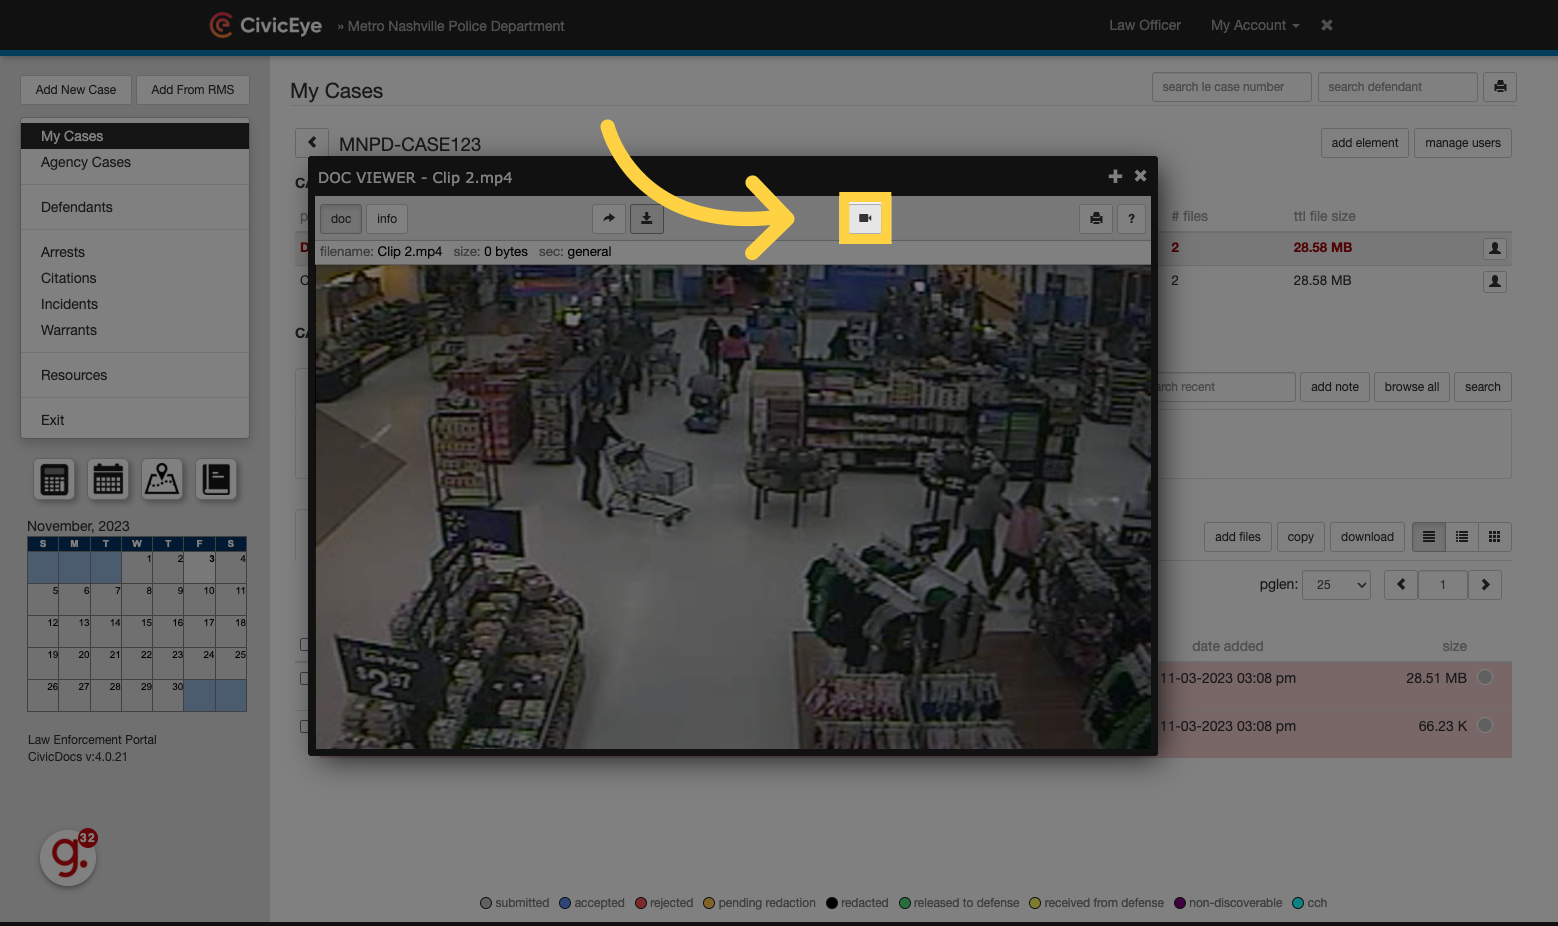
22. Use Additional Video Tools
Click the video button to open the video in the full media view, which includes additional viewing tools.
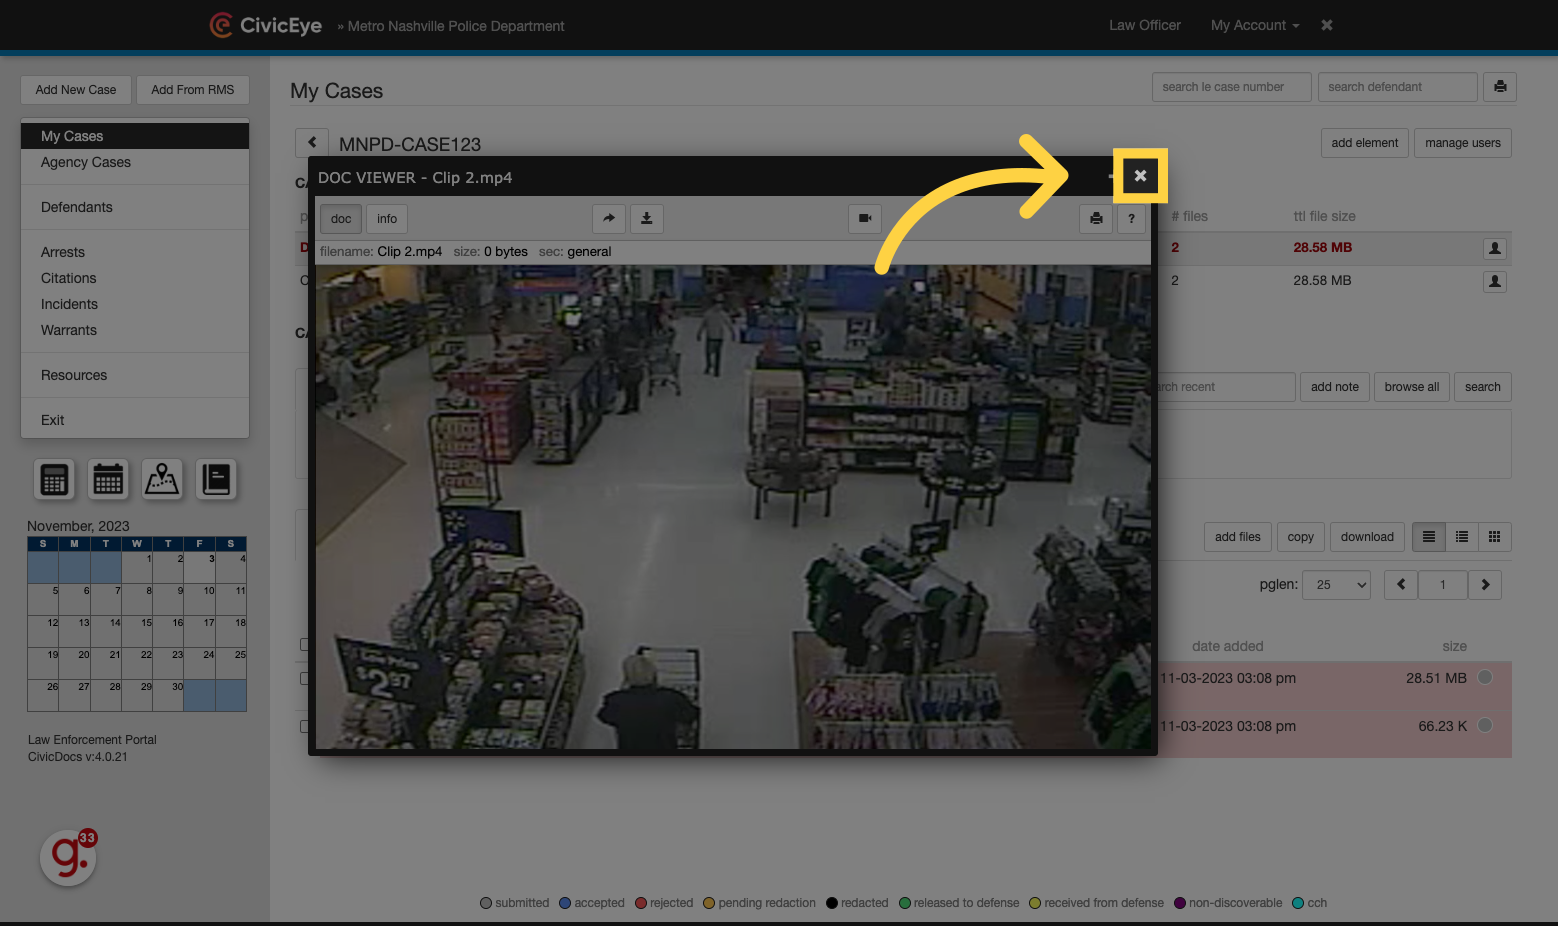
23. Exiting the Document Viewer
To close a file, click the X in the upper, right-hand corner of the Document Viewer window.
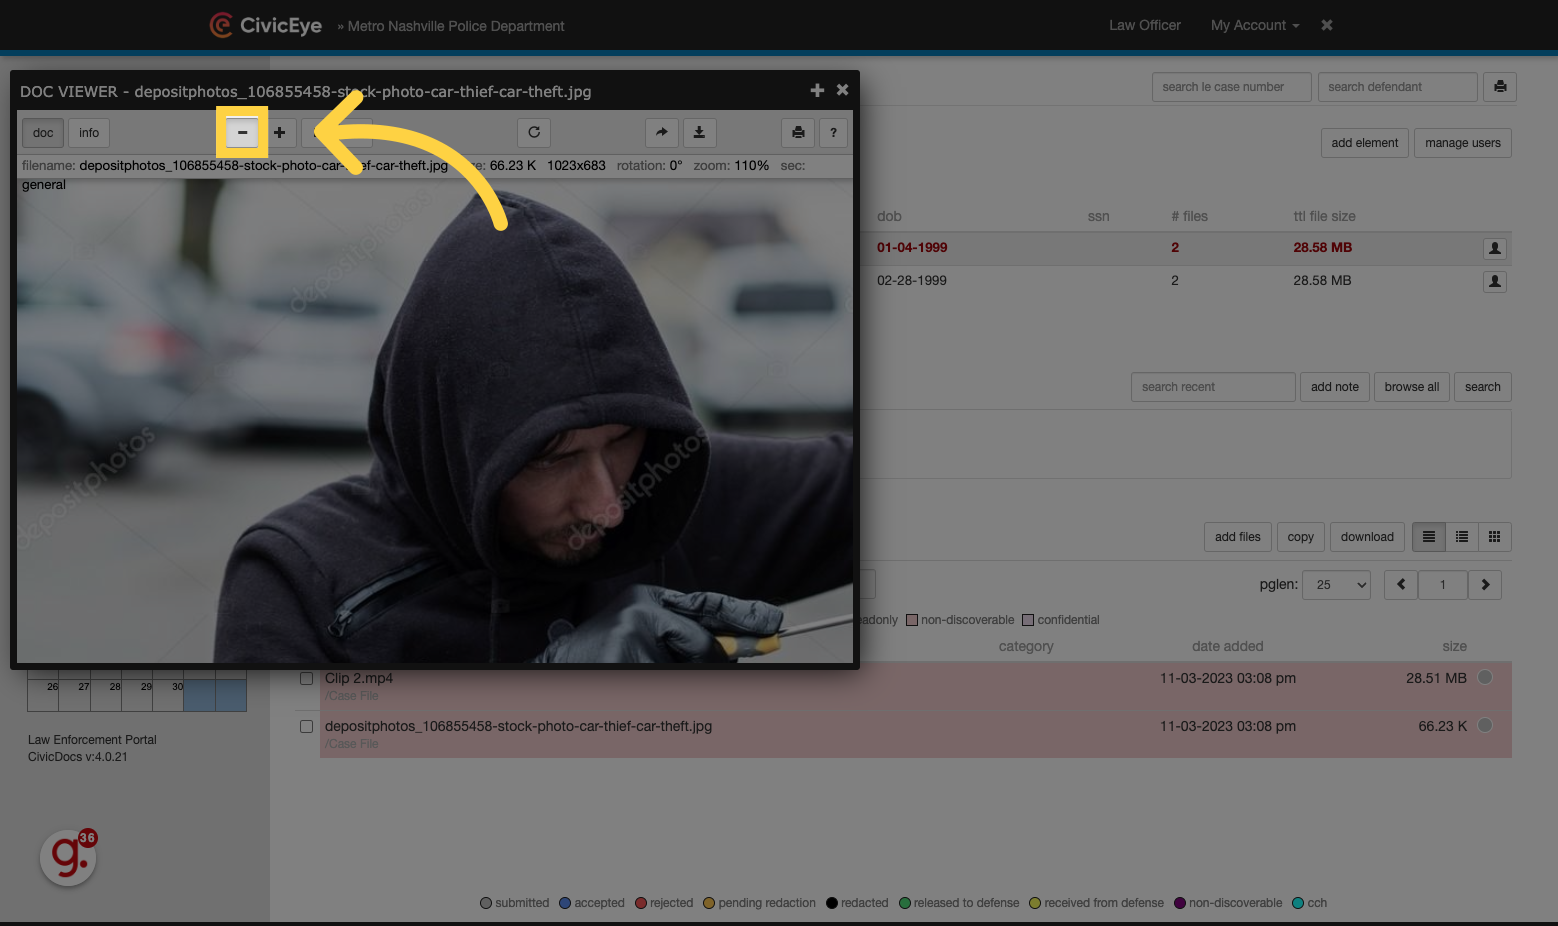
24. Zoom Out
Photo and document files also include additional tools, including zoom, fit to window, rotate, download, and print features.
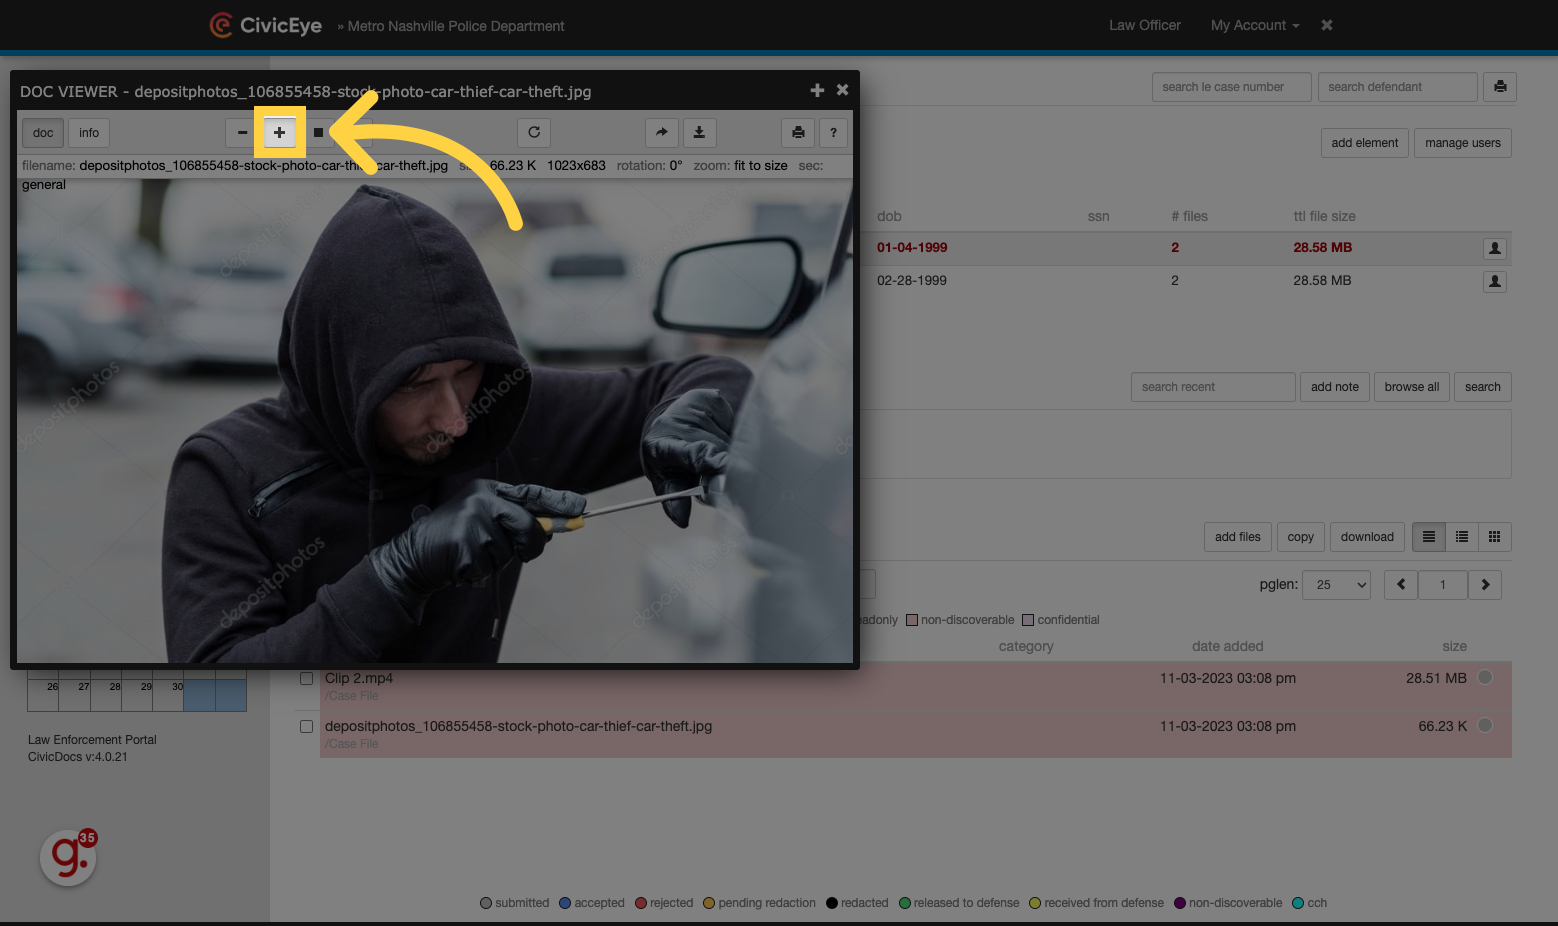
25. Zoom In
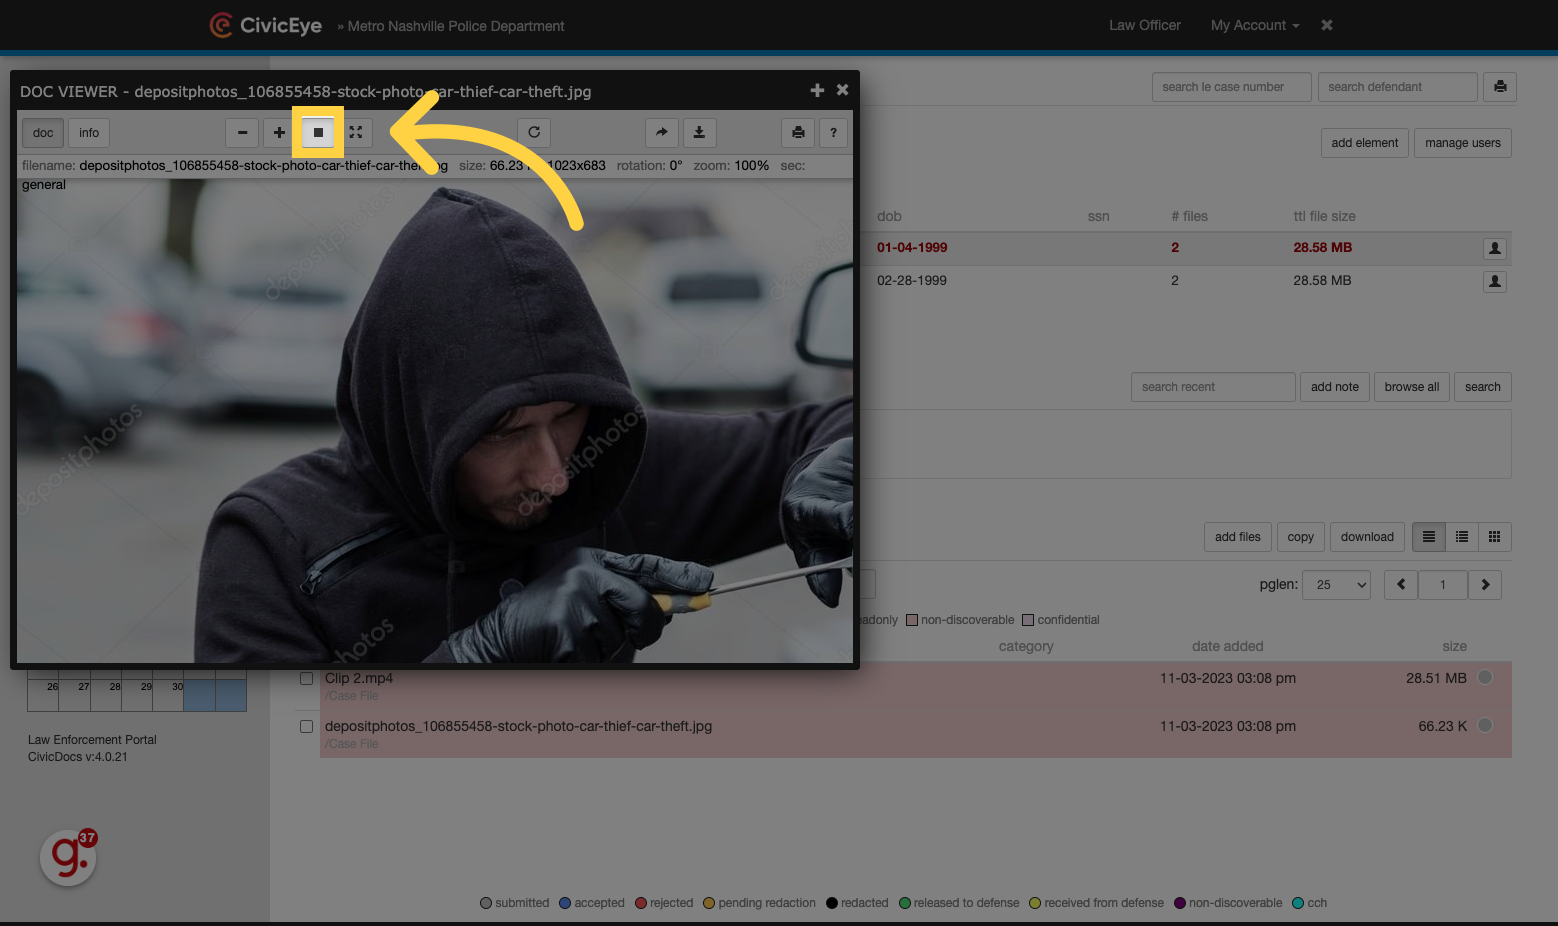
26. Fit to original size
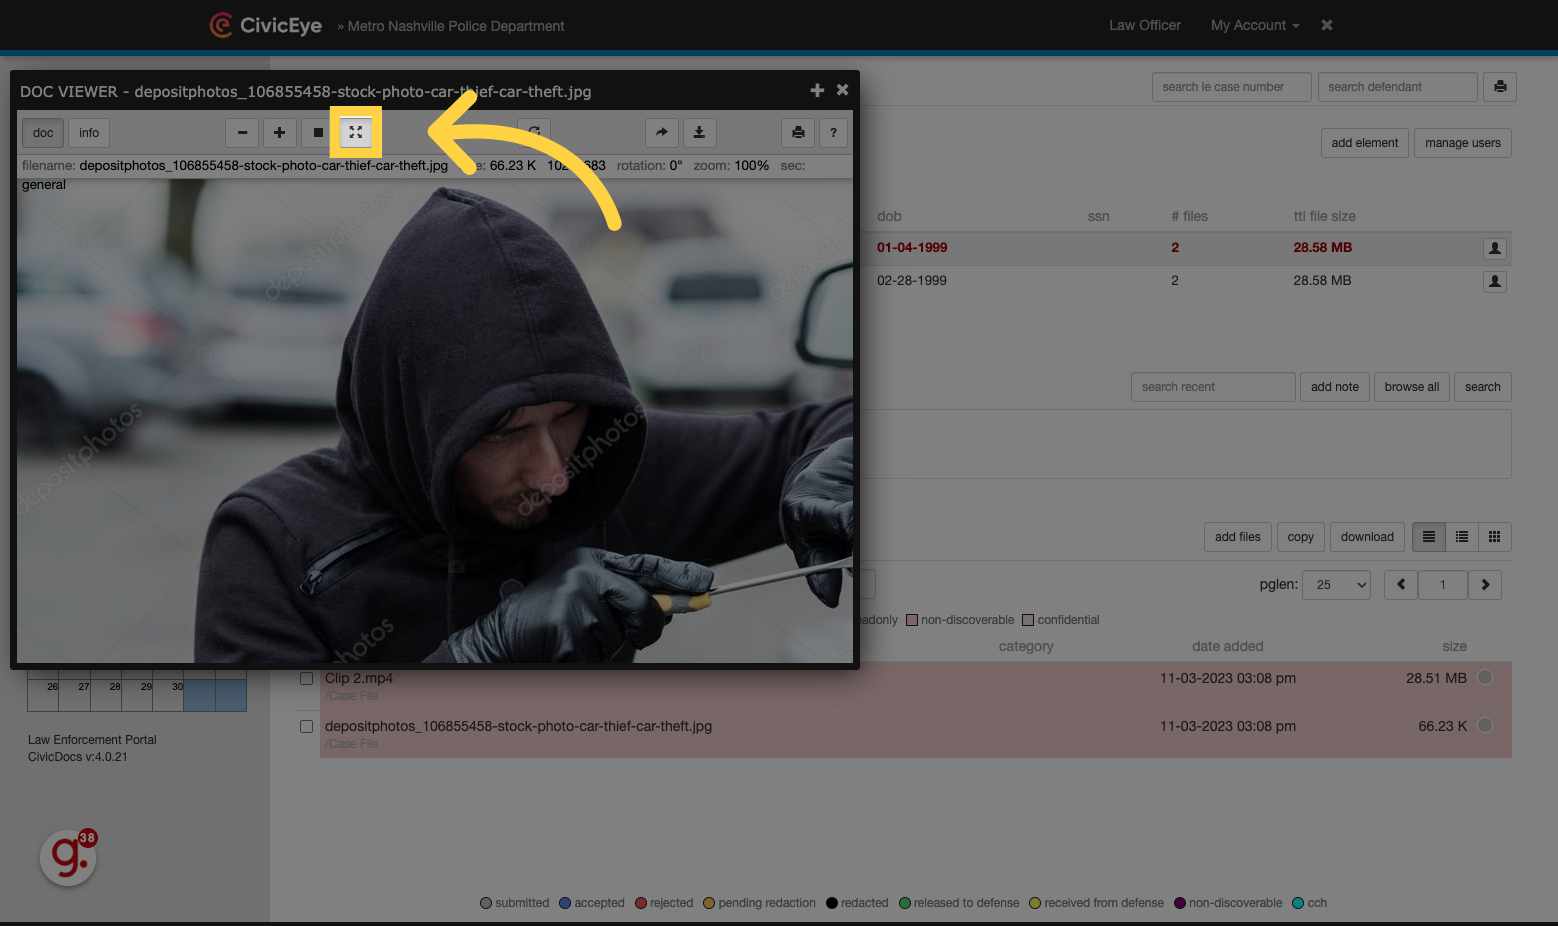
27. Fill Window
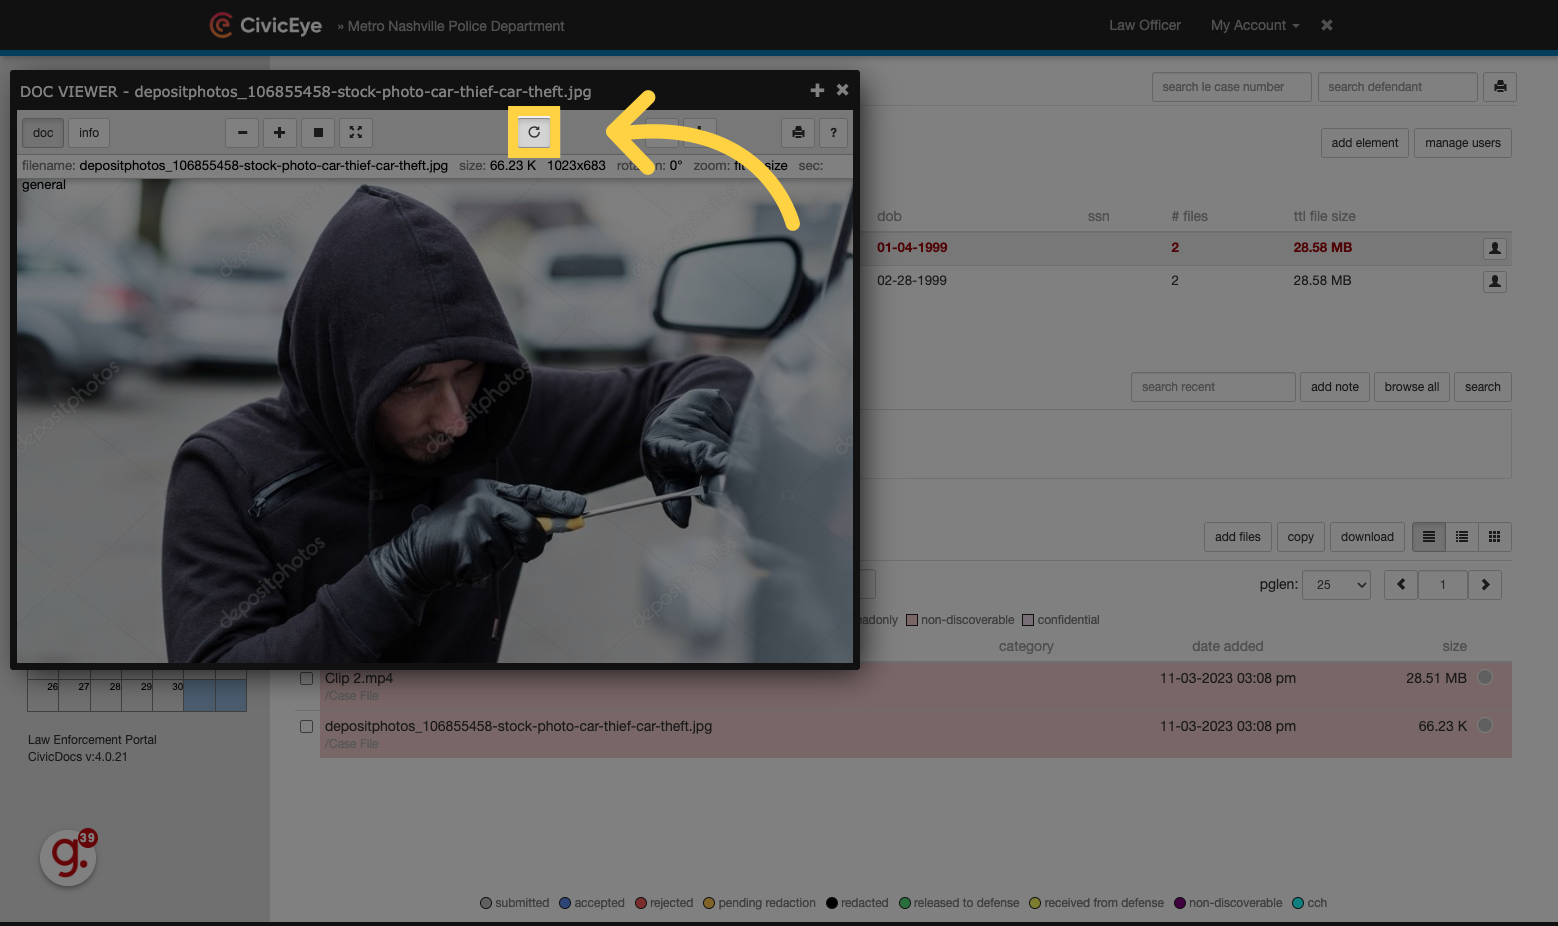
28. Rotate a file
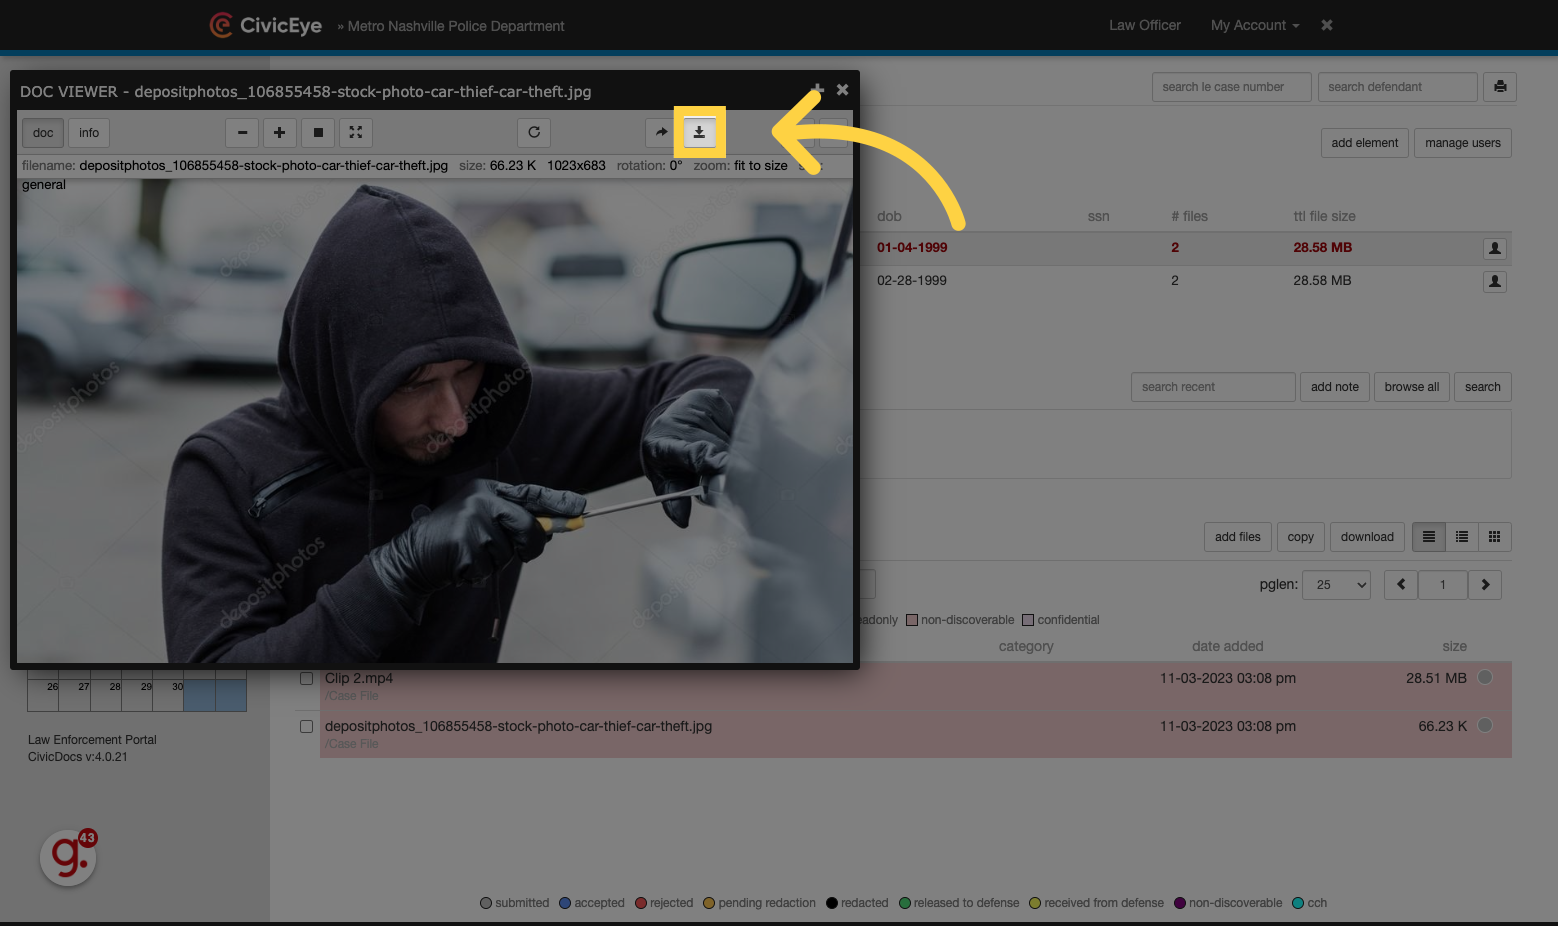
29. Download a file
30. Print Documents or Files
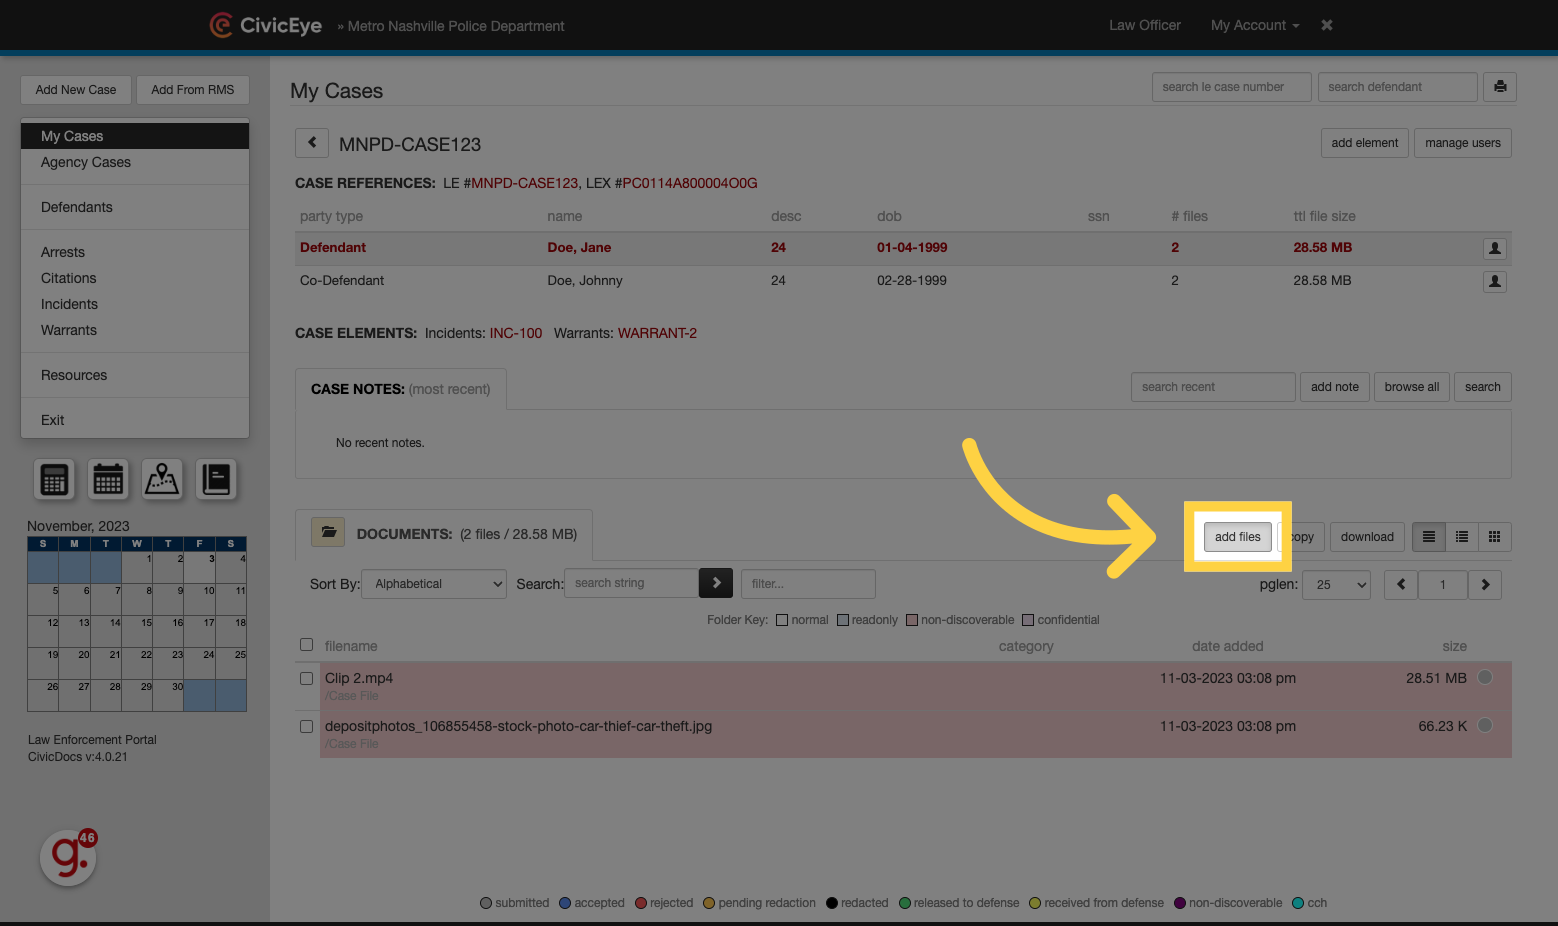
31. Uploading Files
To add files to a case, click the "add files" button
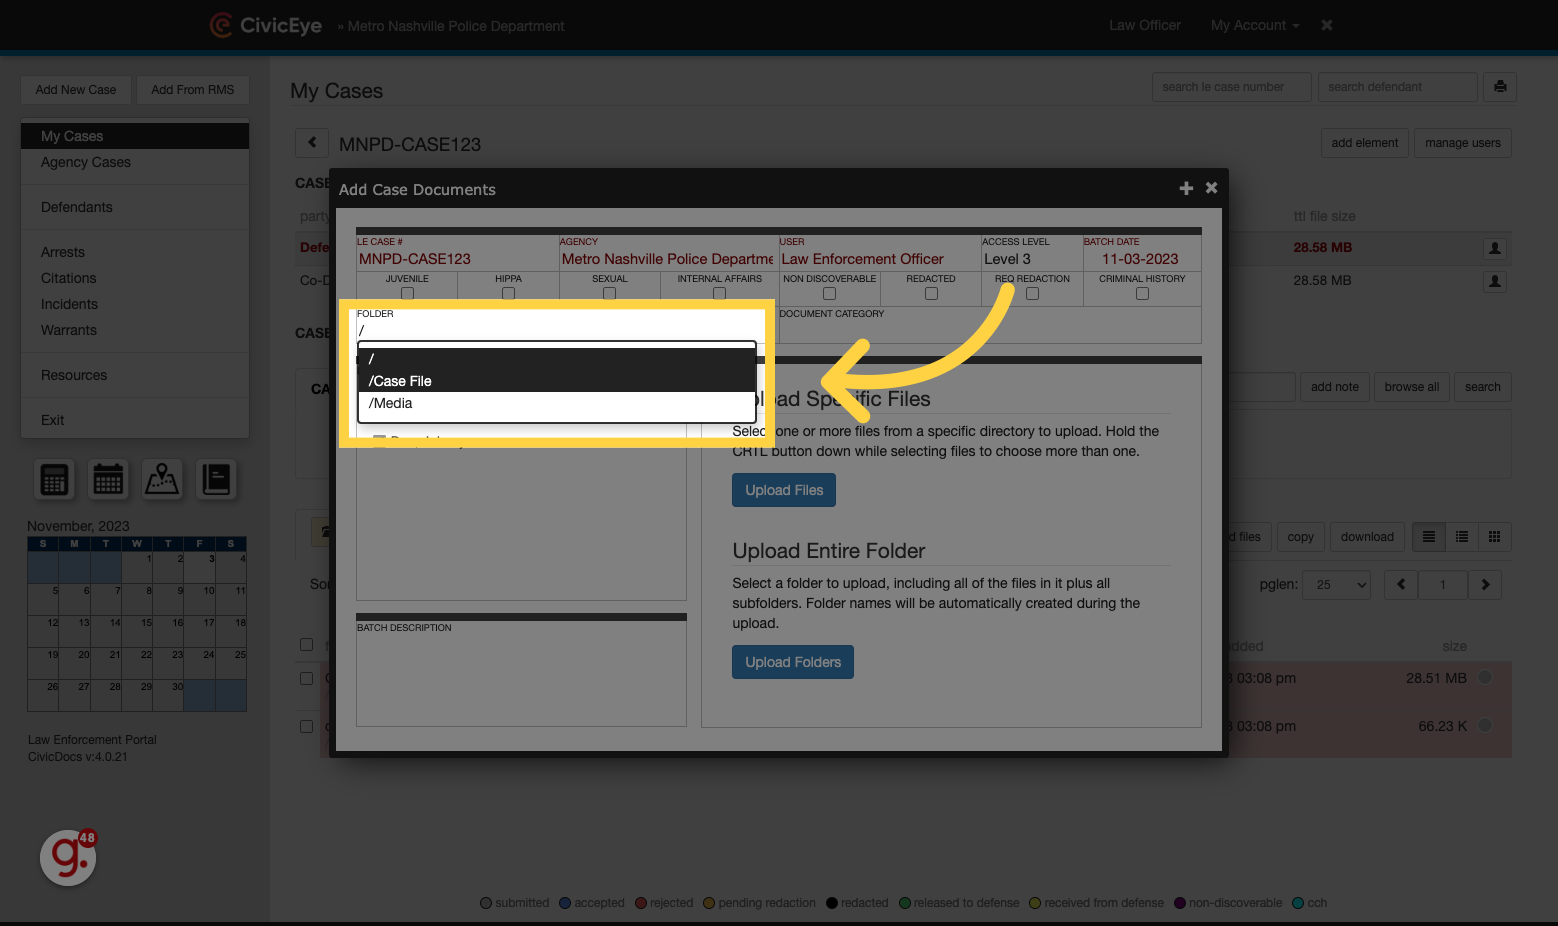
32. Choose a folder location
Choose a folder where the file will be uploaded in the Case
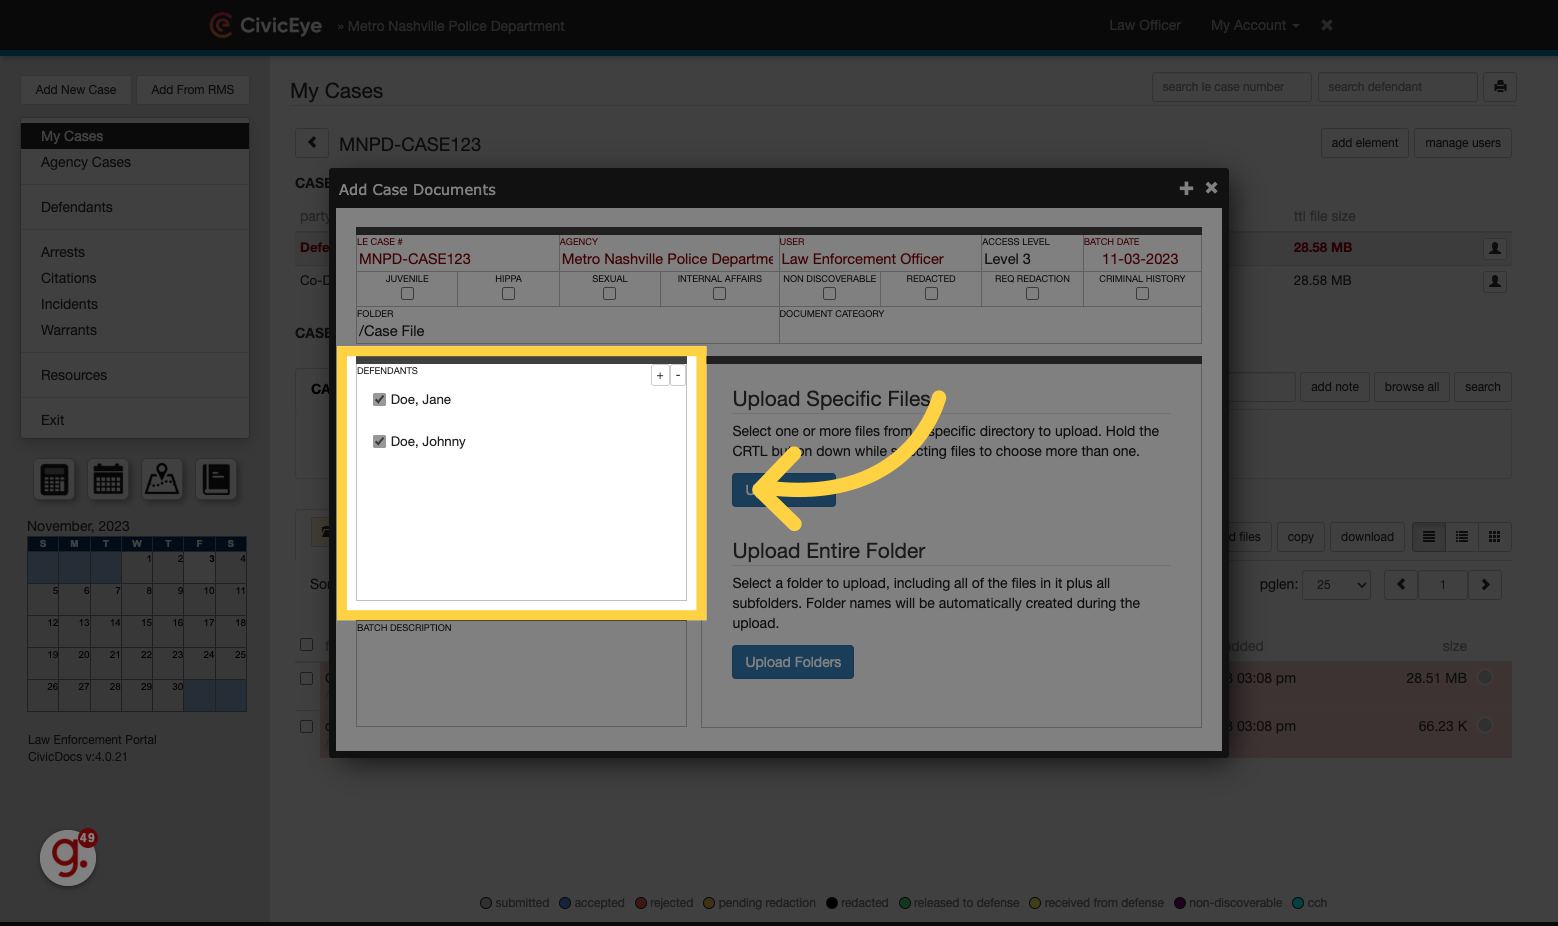
33. Choose applicable defendants
For cases with multiple co-defendants, files can be upload to one, some, or all co-defendants by choosing which defendants are associated with the upload content.
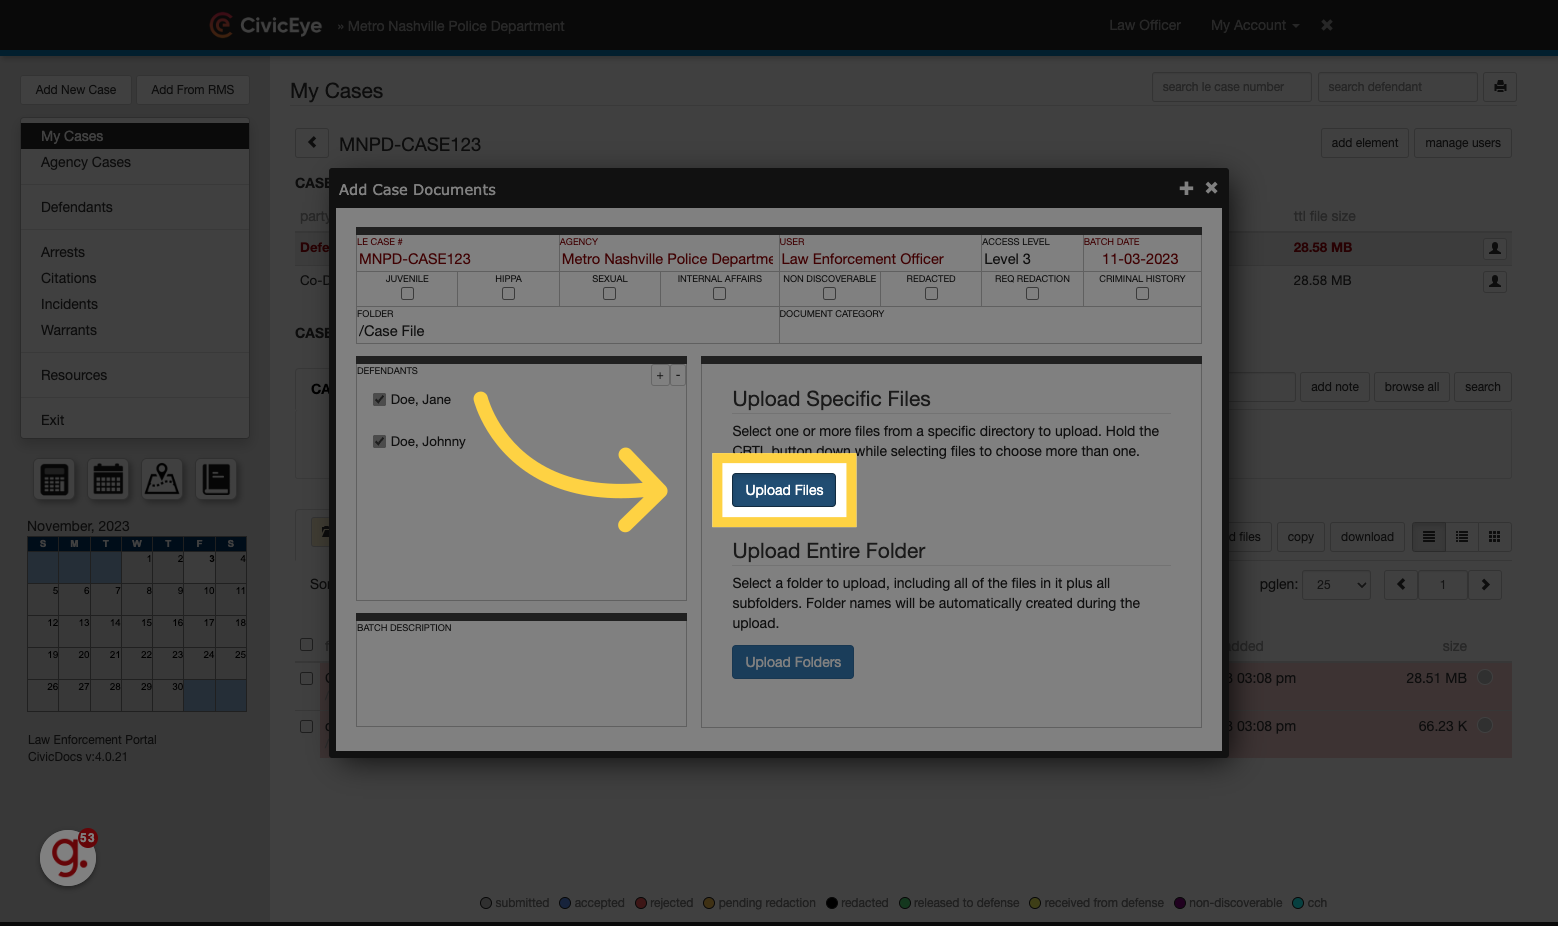
34. Upload Files
Click "Upload Files" to locate and upload the evidence content
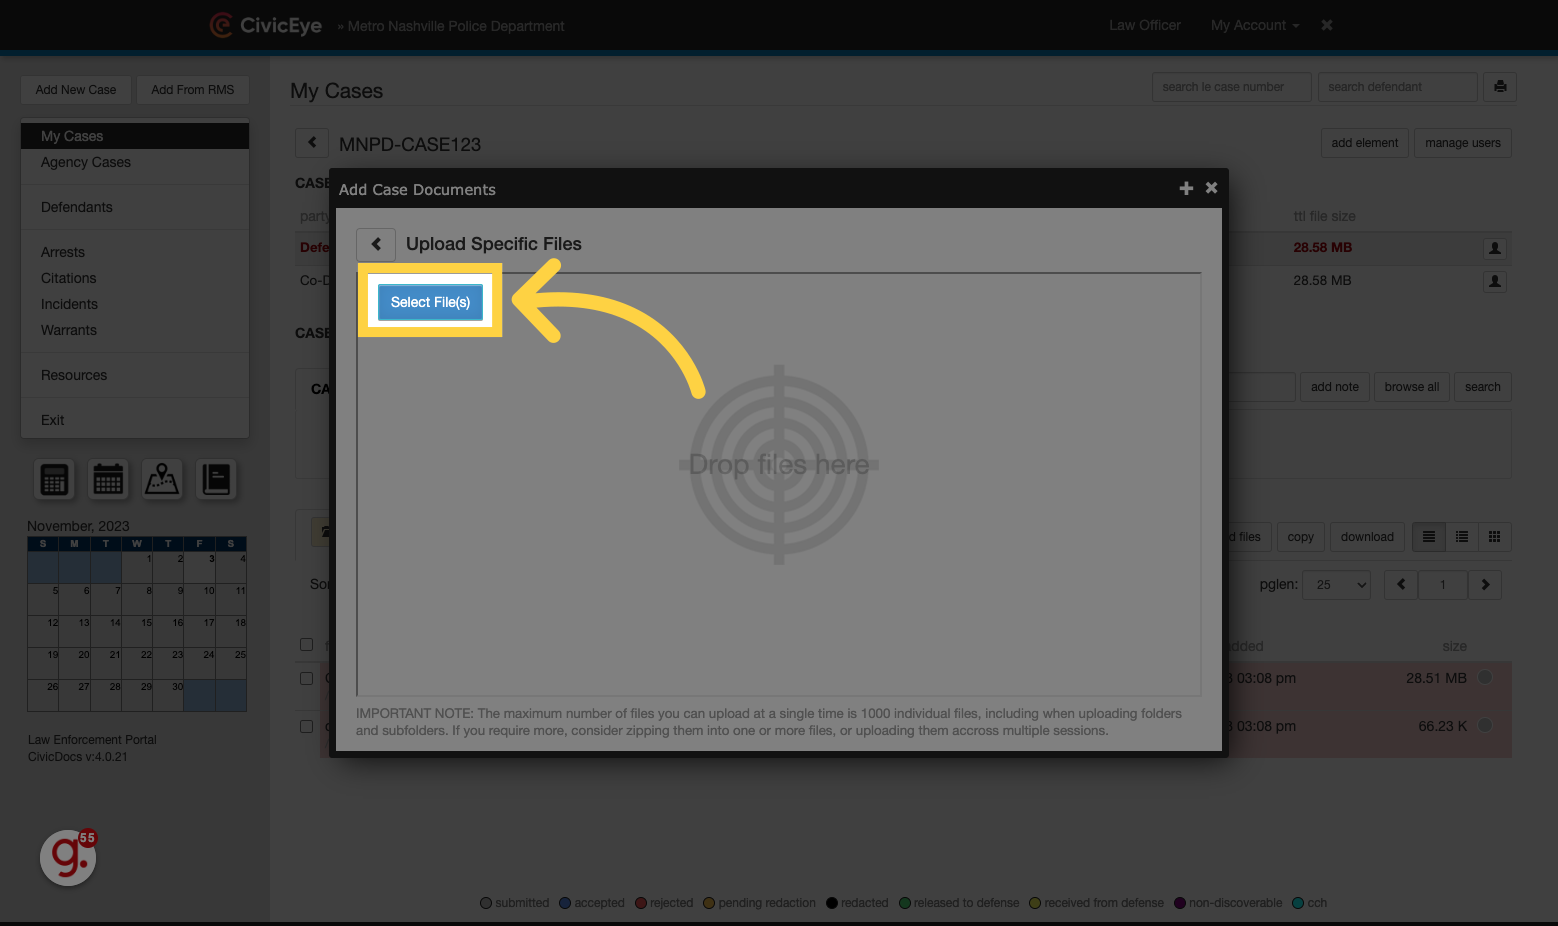
35. Browse to select content
Click the selected button
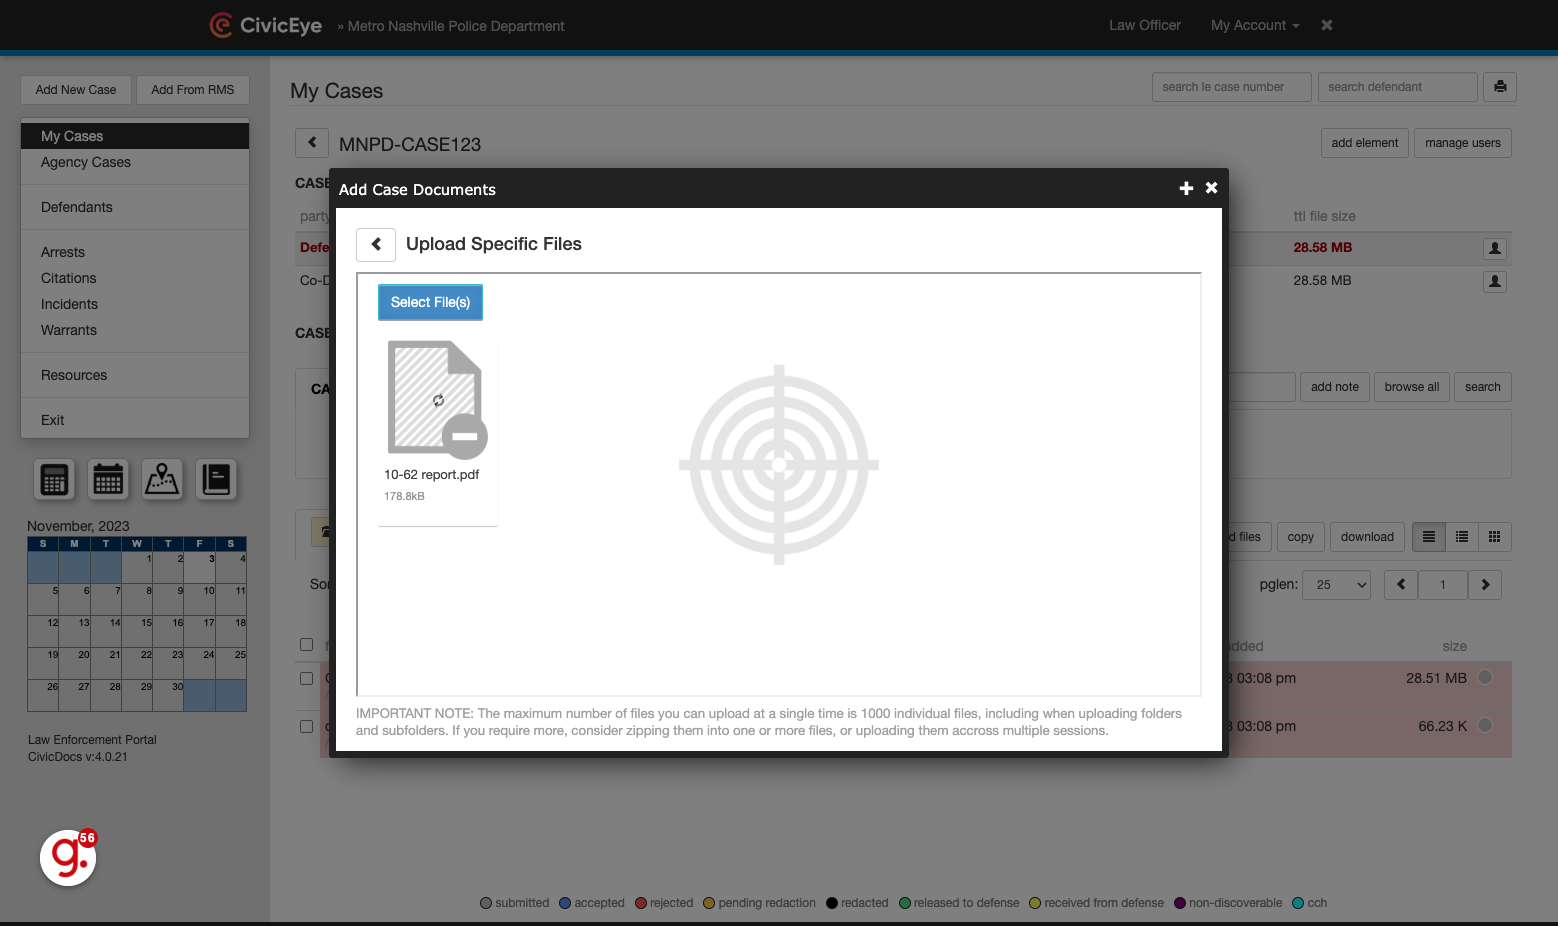
36. Upload file(s)
Browse to upload files, or drag and drop them into the File Upload window.
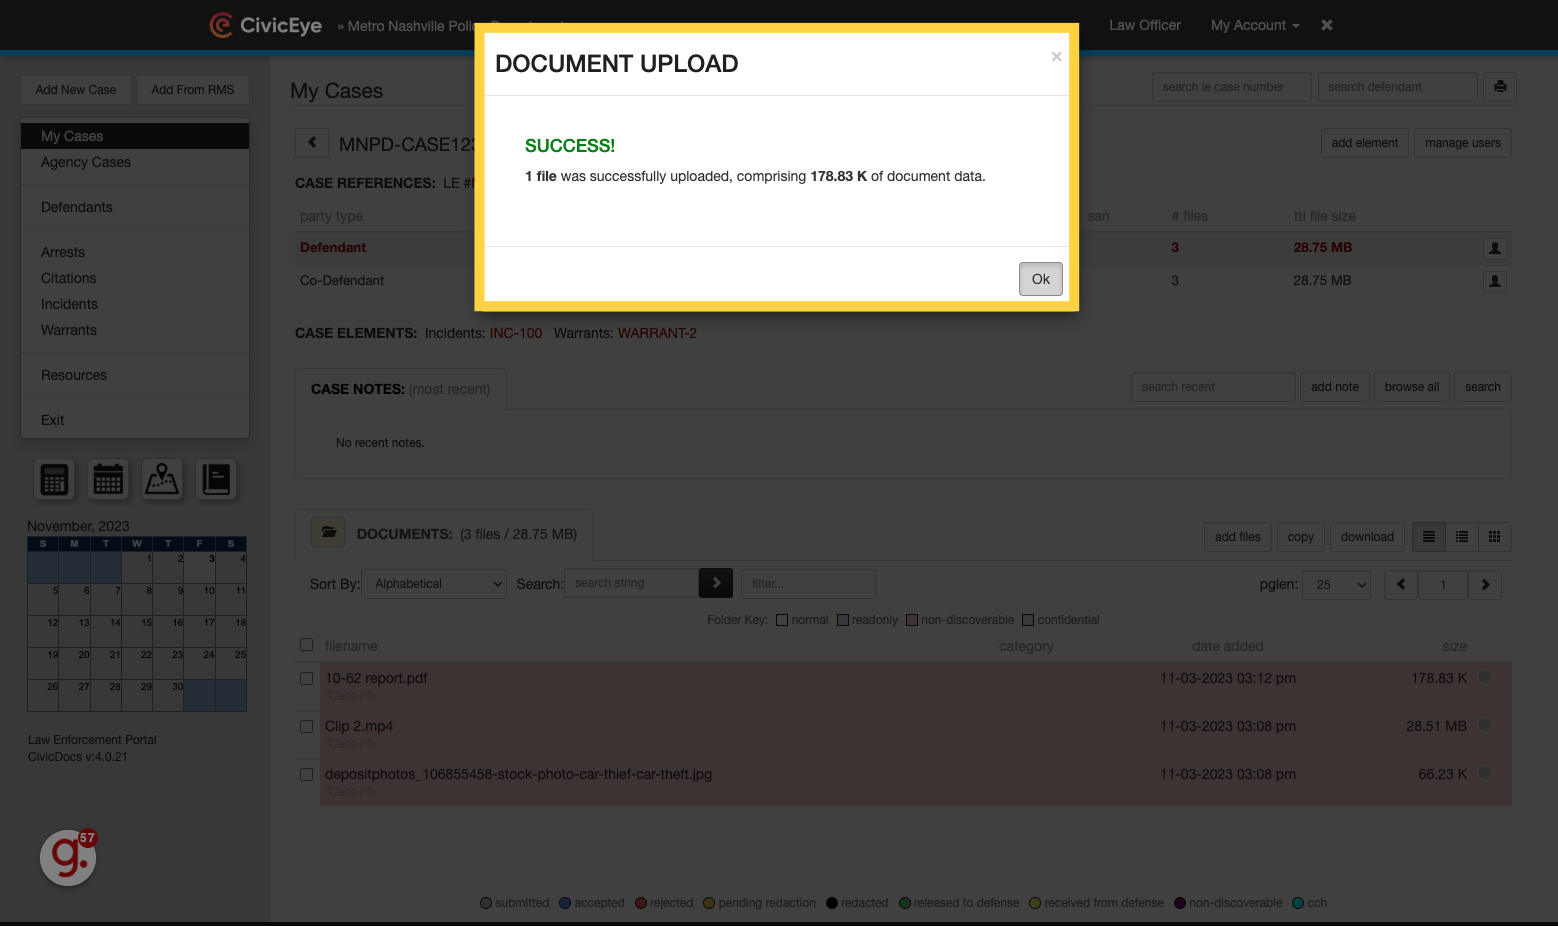
37. Confirmation window
Upon completion of the upload, a pop-up message will confirm success.
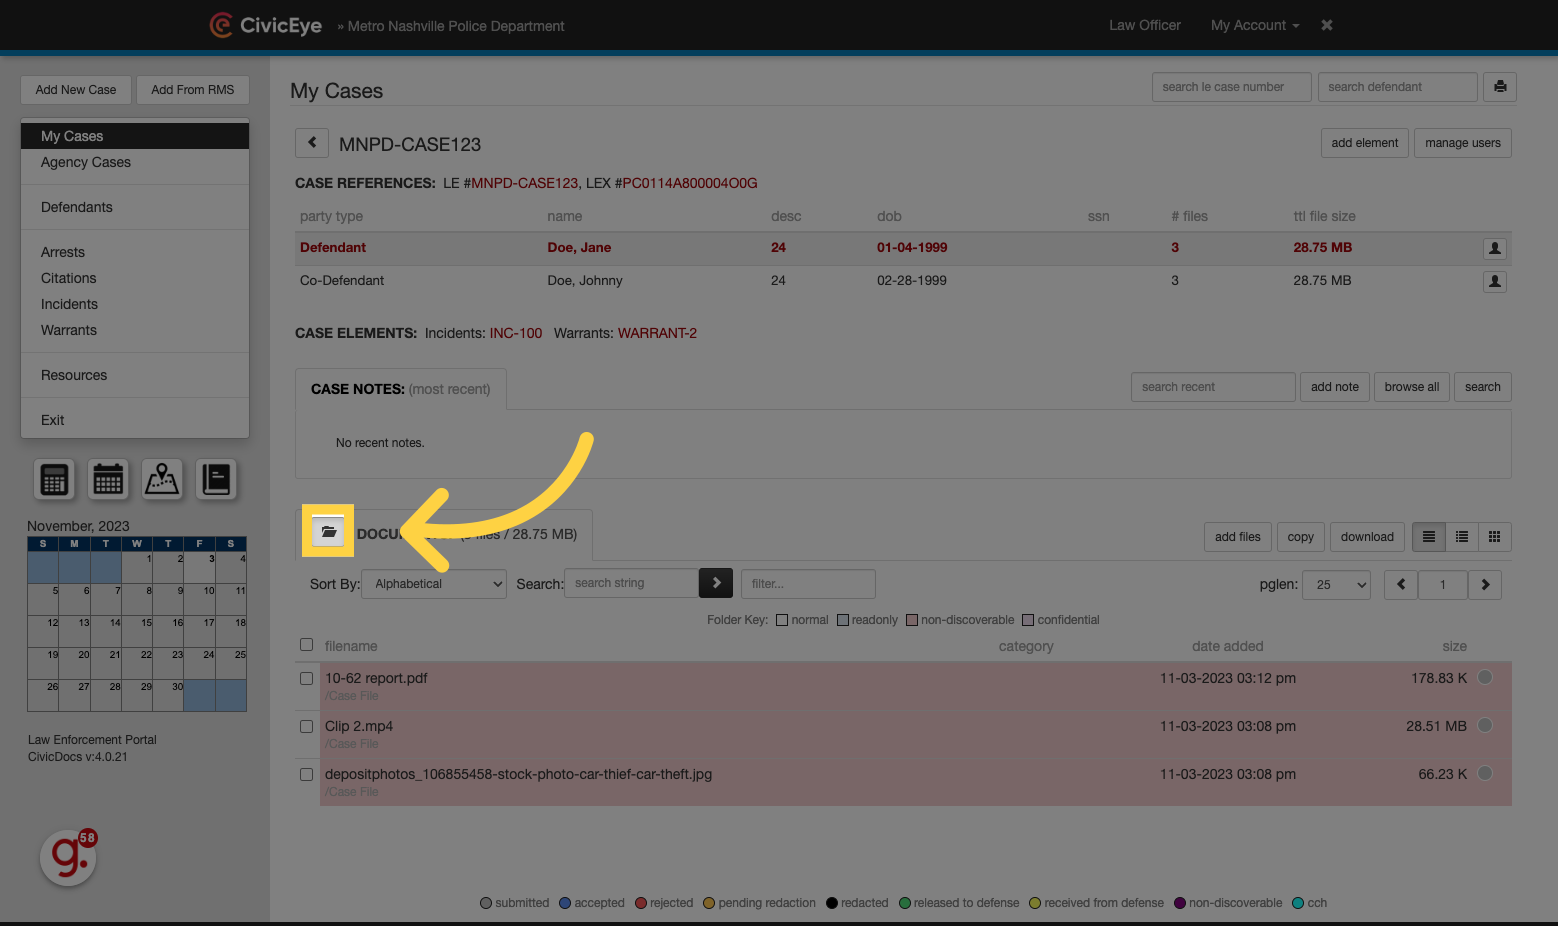
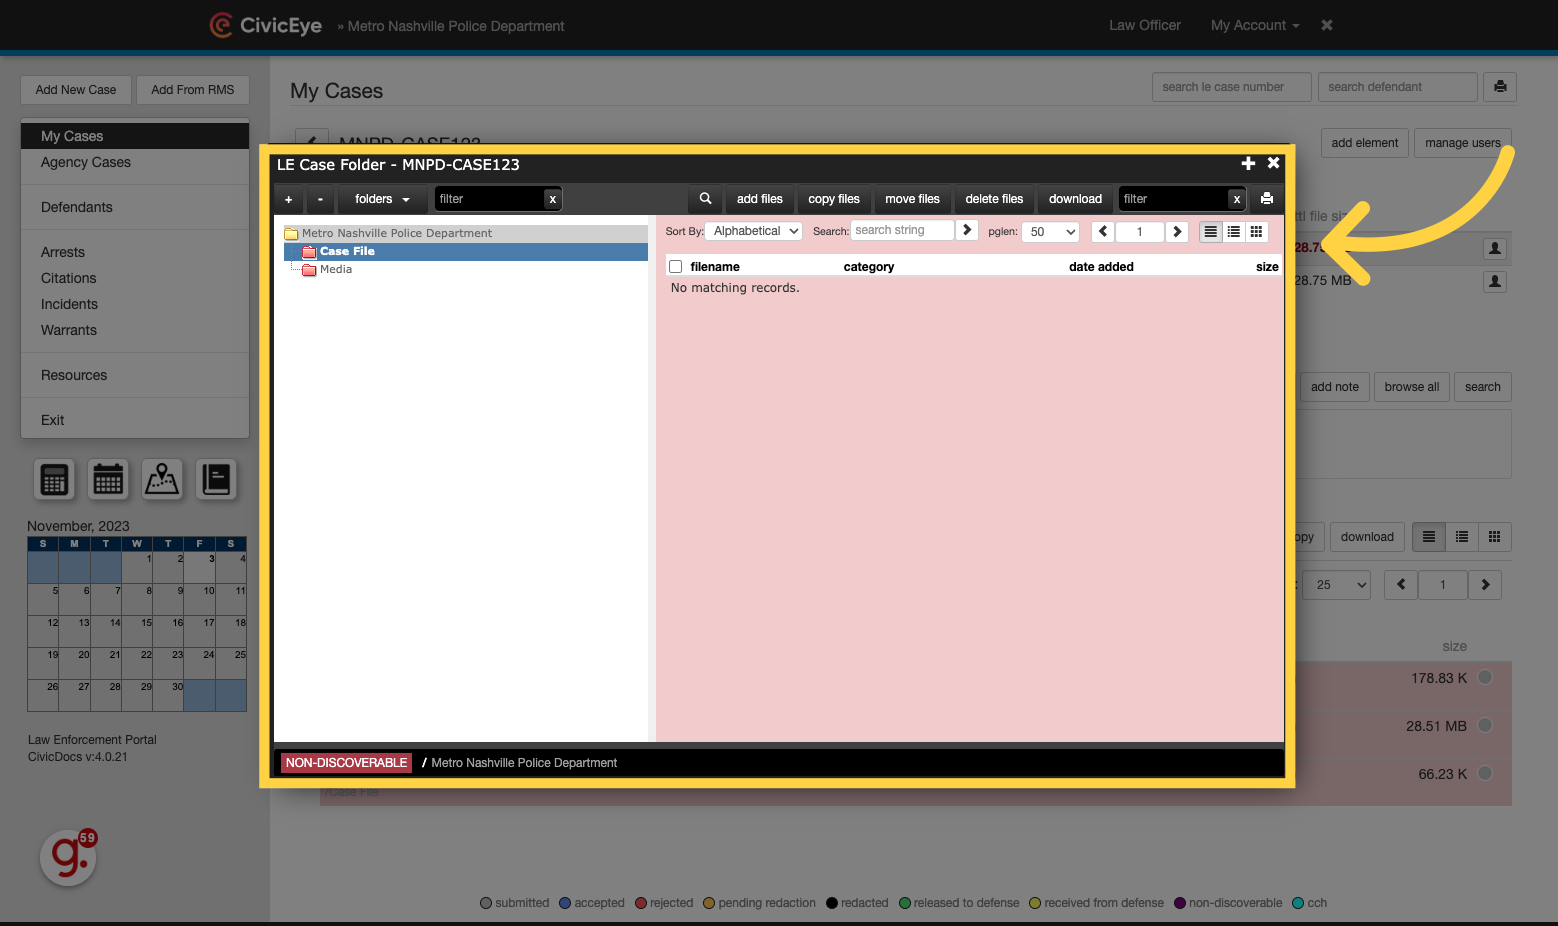
38. Accessing the Folder View
Users may also interact with, and upload content using the Folder View option.
39. Folders Overview
Users can review folder and file content in the folder view, as well as upload new files, download content to their local computer, or move files between folders inside the Case.
40. Add Files in the Folder View
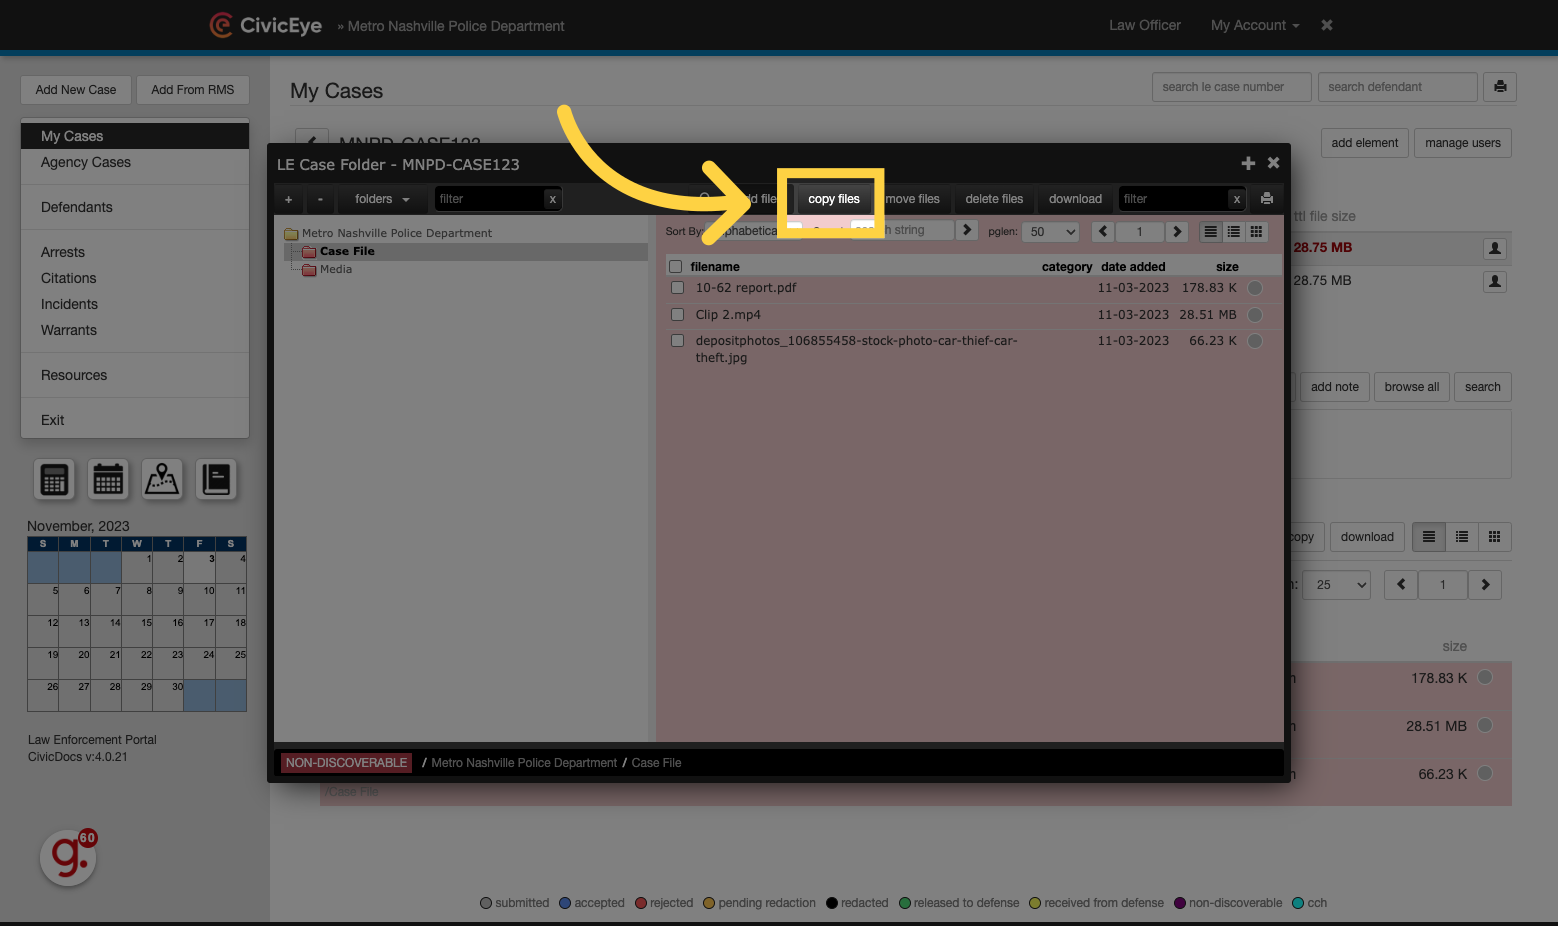
41. Copy Files in the Folder View
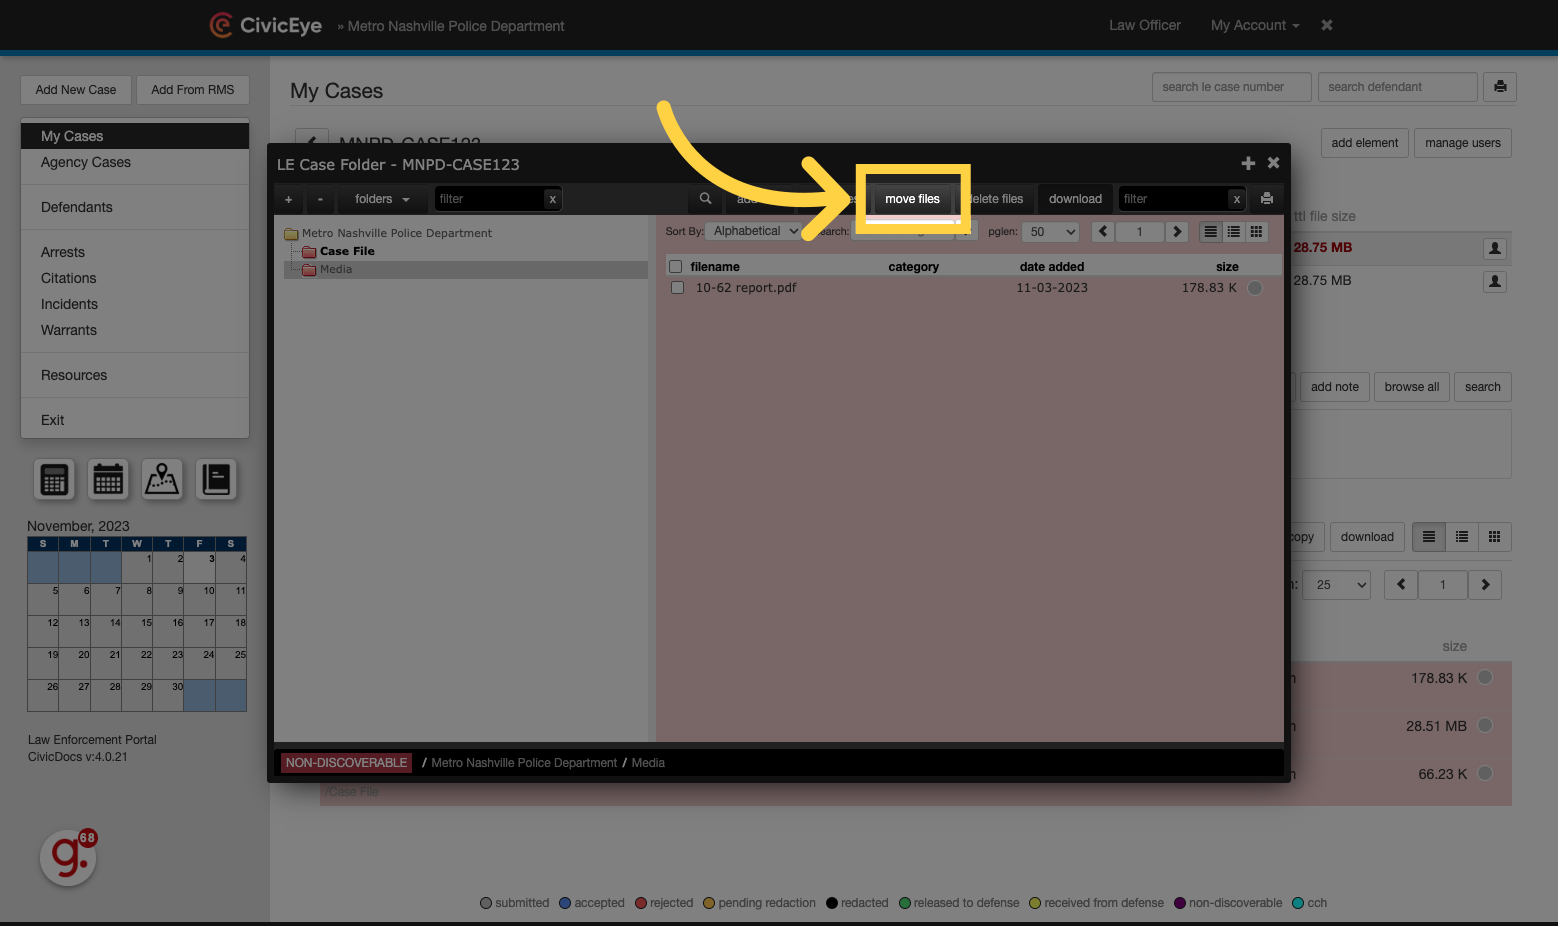
42. Move Files in the Folder View
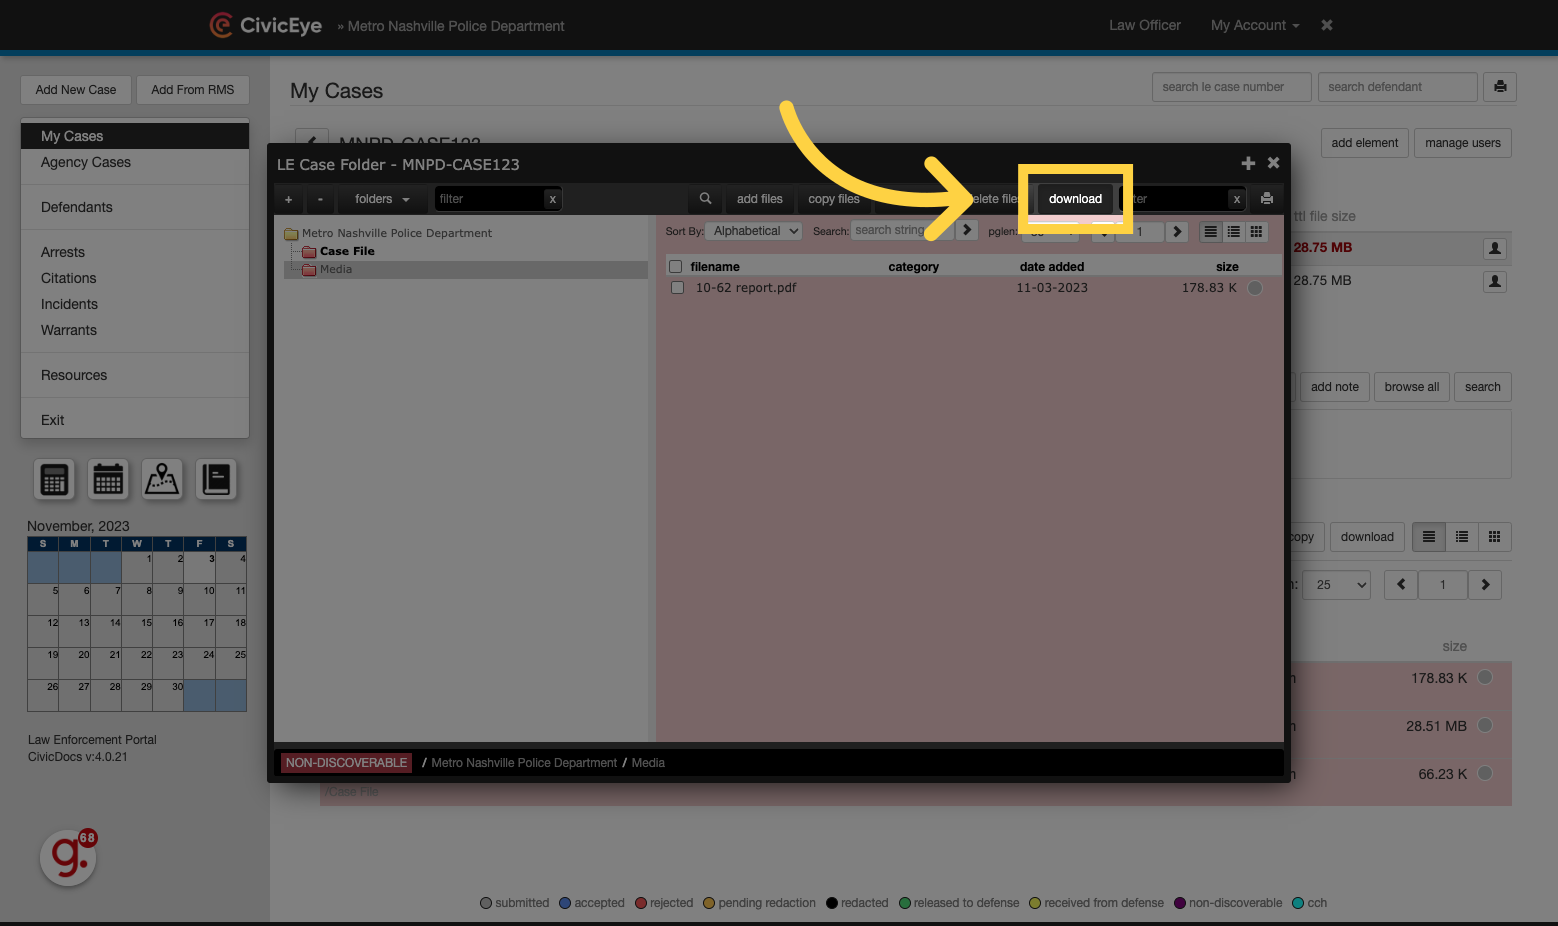
43. Download Files in the Folder View
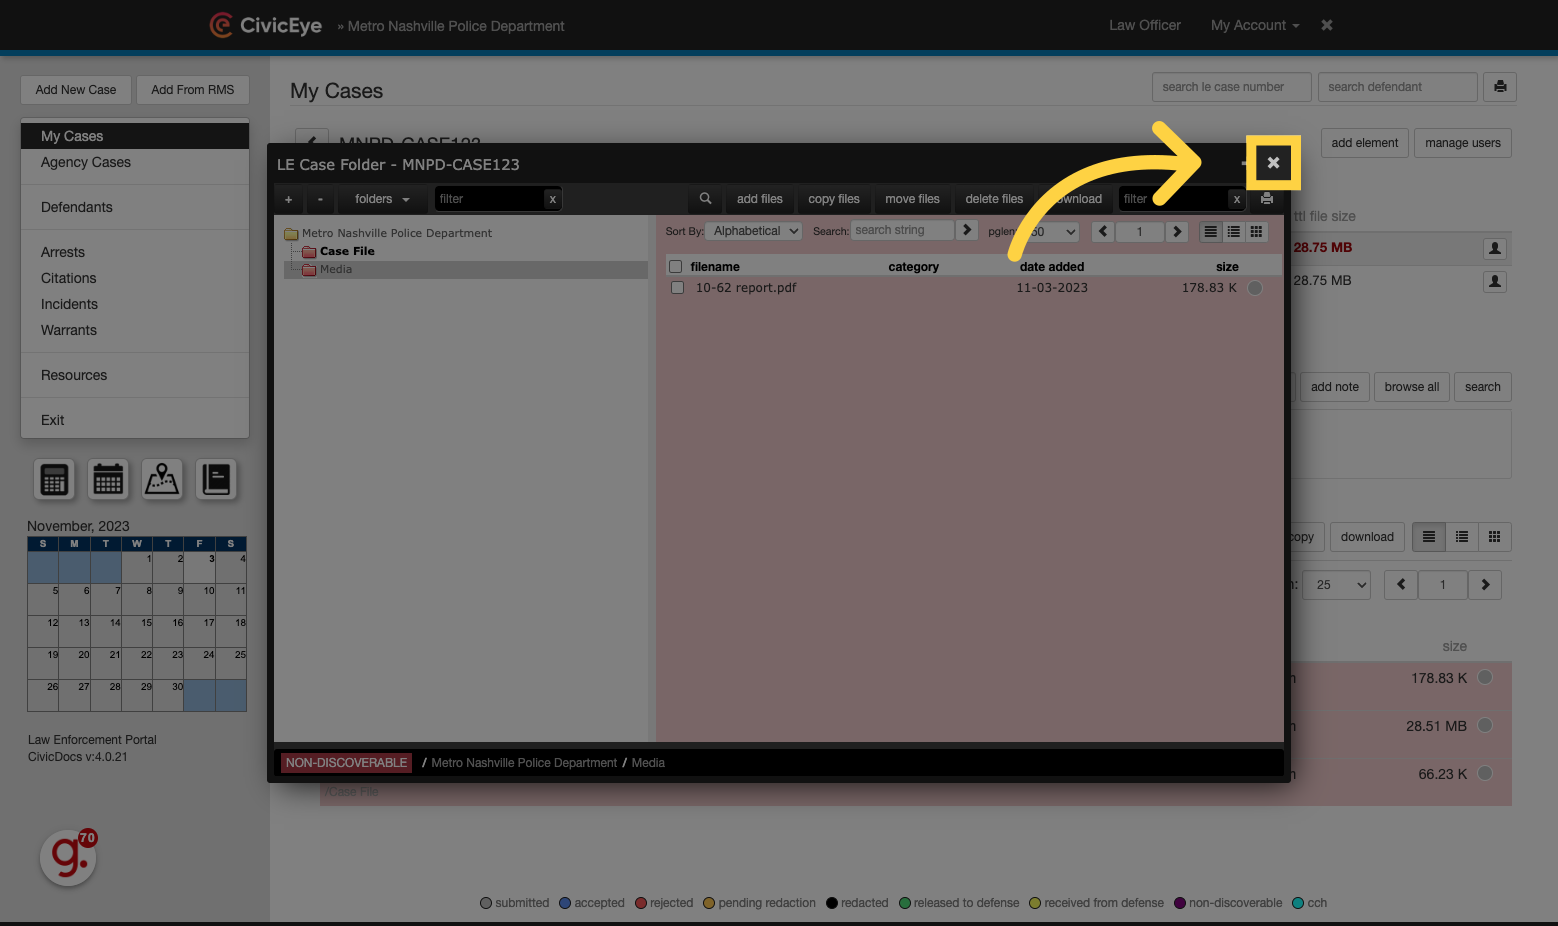
44. Closing the Folder View window
To close the Folder View, click the "X" button in the upper, right-hand corner of the screen.
Thank you for watching, we hope you found this CivicDocs Law Enforcement Portal tutorial helpful!
Click here to learn about CivicRMS