.png?width=250&height=99&name=CivicEye_Identity_Secondary%20(4).png)
Managing Cases in the CivicDocs Defense Portal
Learn how to efficiently manage defense cases in the CivicDocs Defense Portal. This step-by-step guide will walk you through the necessary actions to navigate the application and perform various tasks as part of the electronic discovery and case management process.
Managing Defense Cases in the CivicDocs Defense Portal
Learn how to efficiently manage defense cases in the CivicDocs Defense Portal. This step-by-step guide will walk you through the necessary actions to navigate the application and perform various tasks as part of the electronic discovery and case management process.
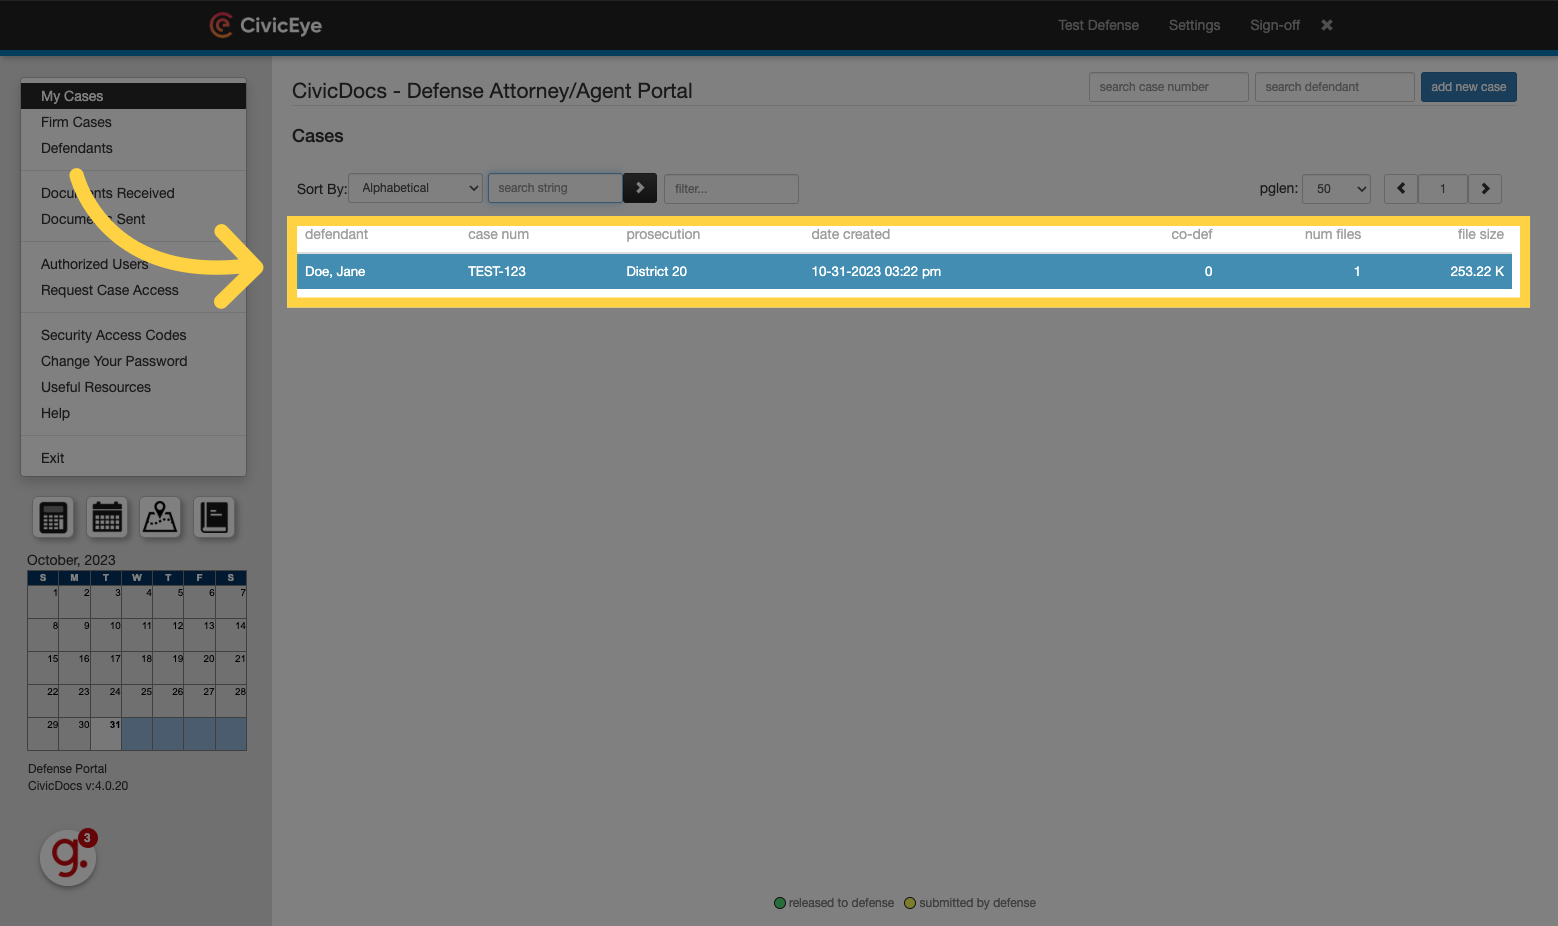
1. My Cases Screen
Upon logging into the CivicDocs Defense Portal, users will arrive at the My Cases screen. This screen will display a list of any cases where the user has been granted access by Prosecution Staff.

2. Opening a existing case
To open a case, click on it in the list of cases displayed.
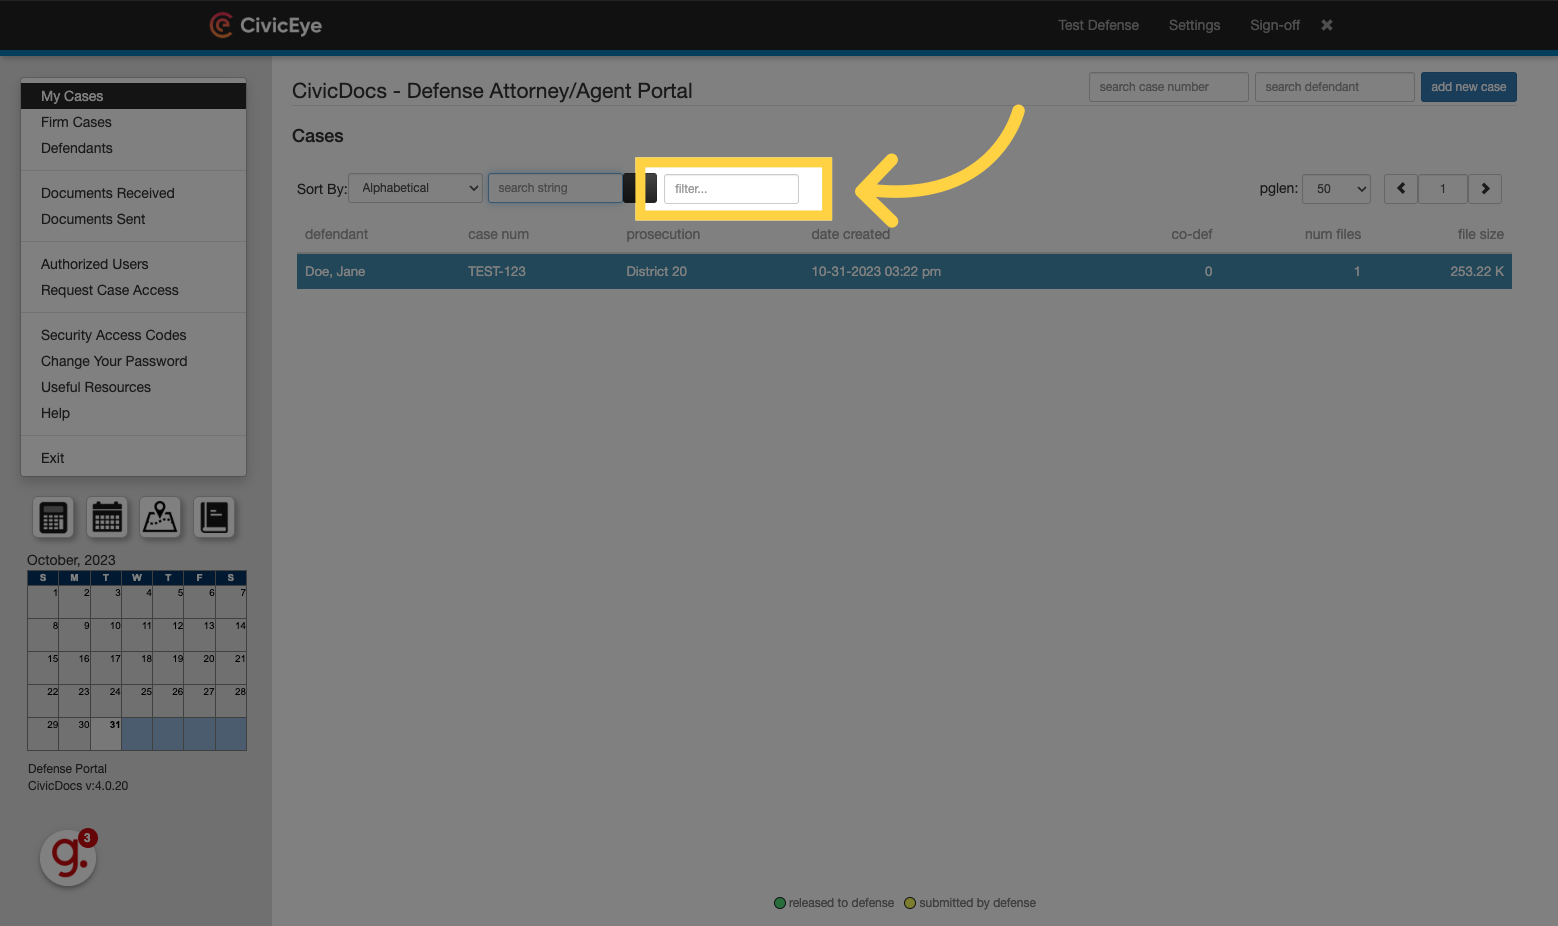
3. Filtering the case list
If there are a large number of cases in the list, search and filter the list using the Filter field directly above the list of cases. Cases can be filtered on defendant name, case number, or prosecution district.
4. Reviewing Case Information
Once inside the case, basic case information can be viewed, as well as any documents that have been released to the defense by prosecution staff.
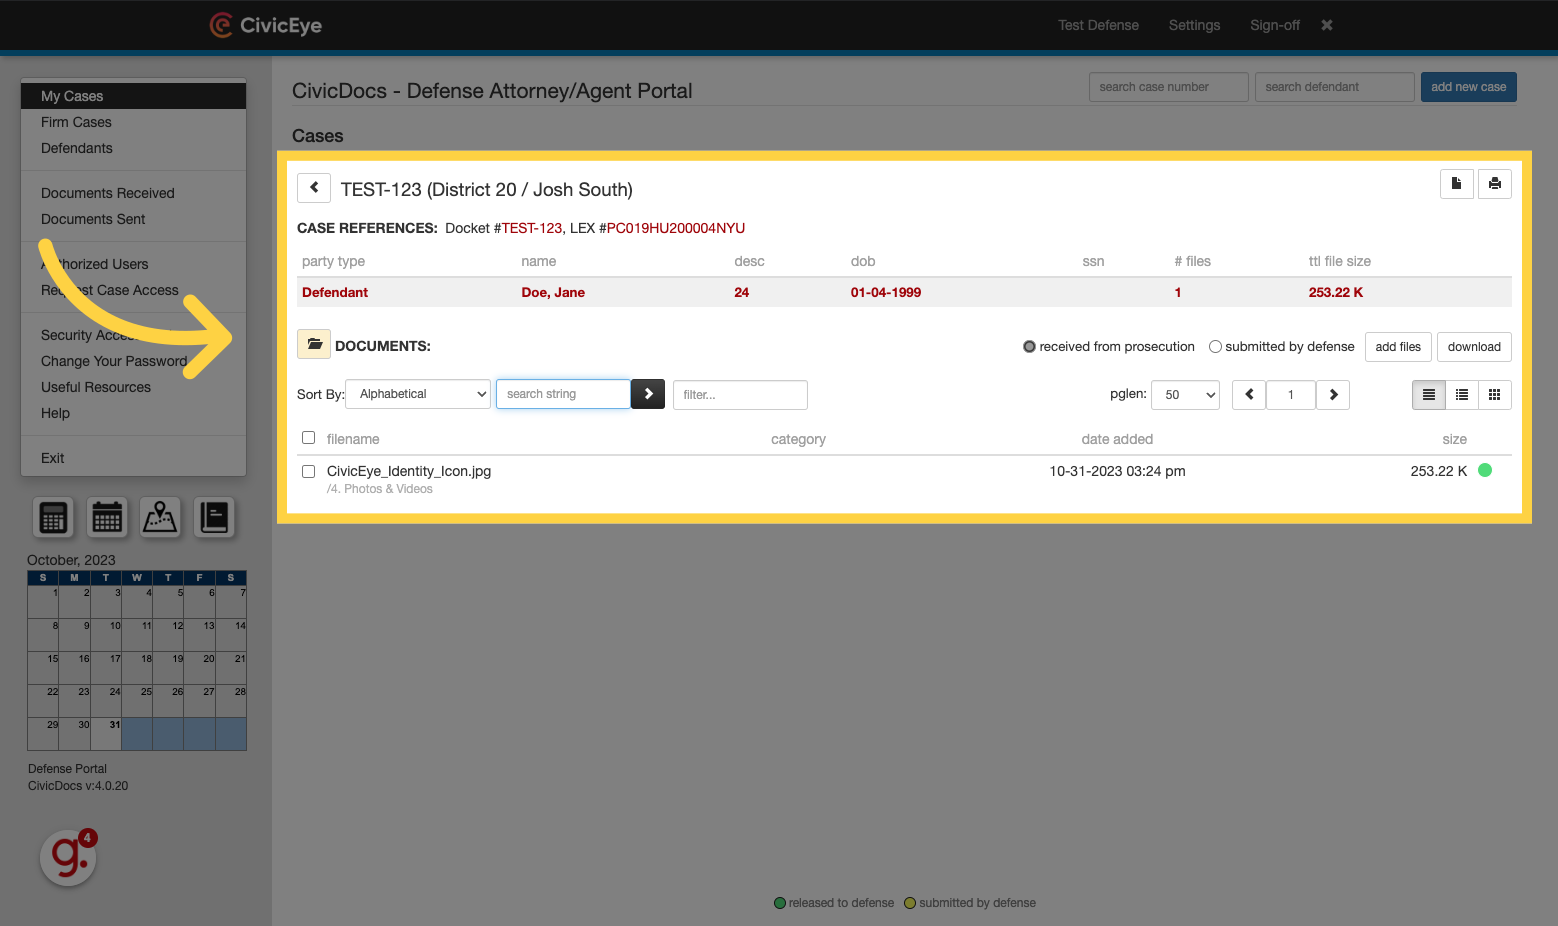
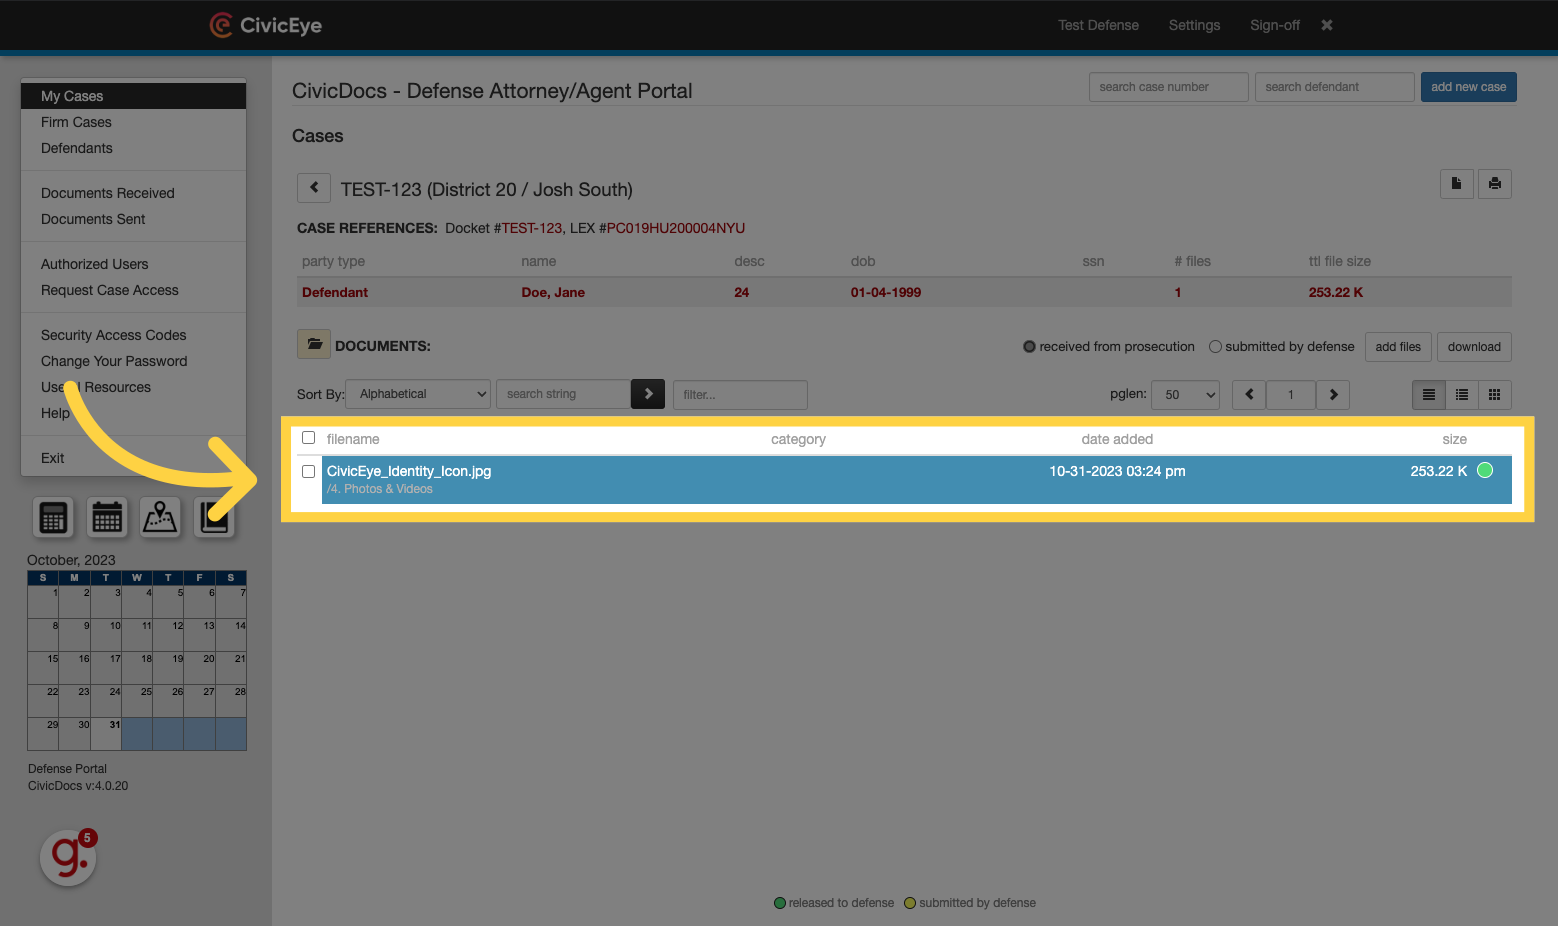
5. Opening a file or document on a case
To open a file, click on it in the list of files released to defense.
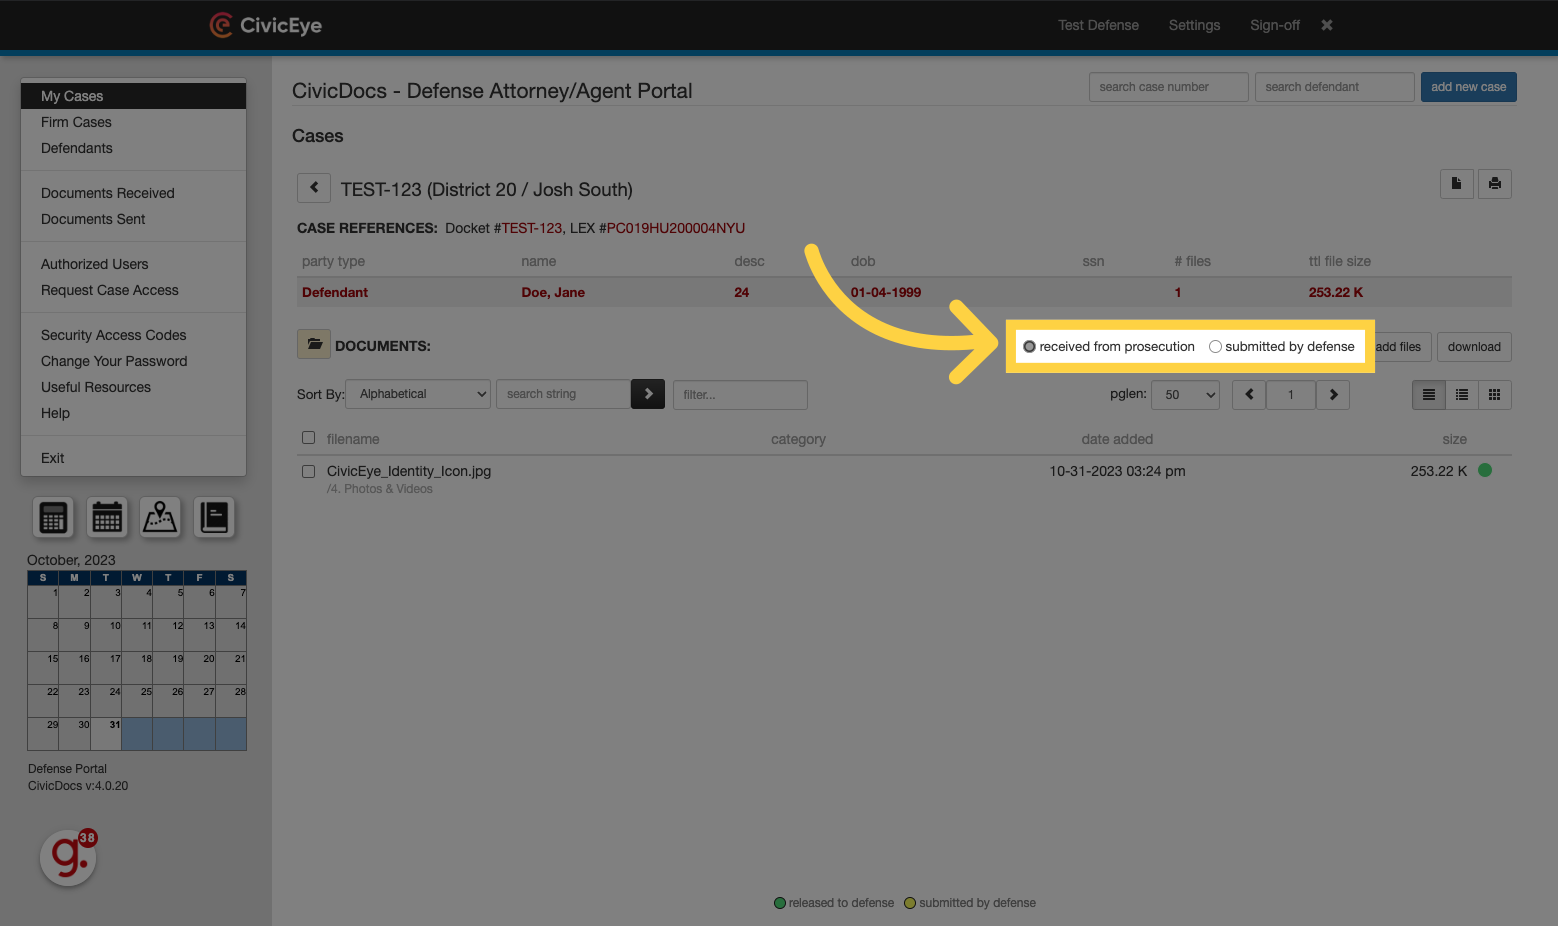
6. Toggling File View
When interacting with files, toggle between files received from prosecution and uploaded by Defense simply by choosing the appropriate option.
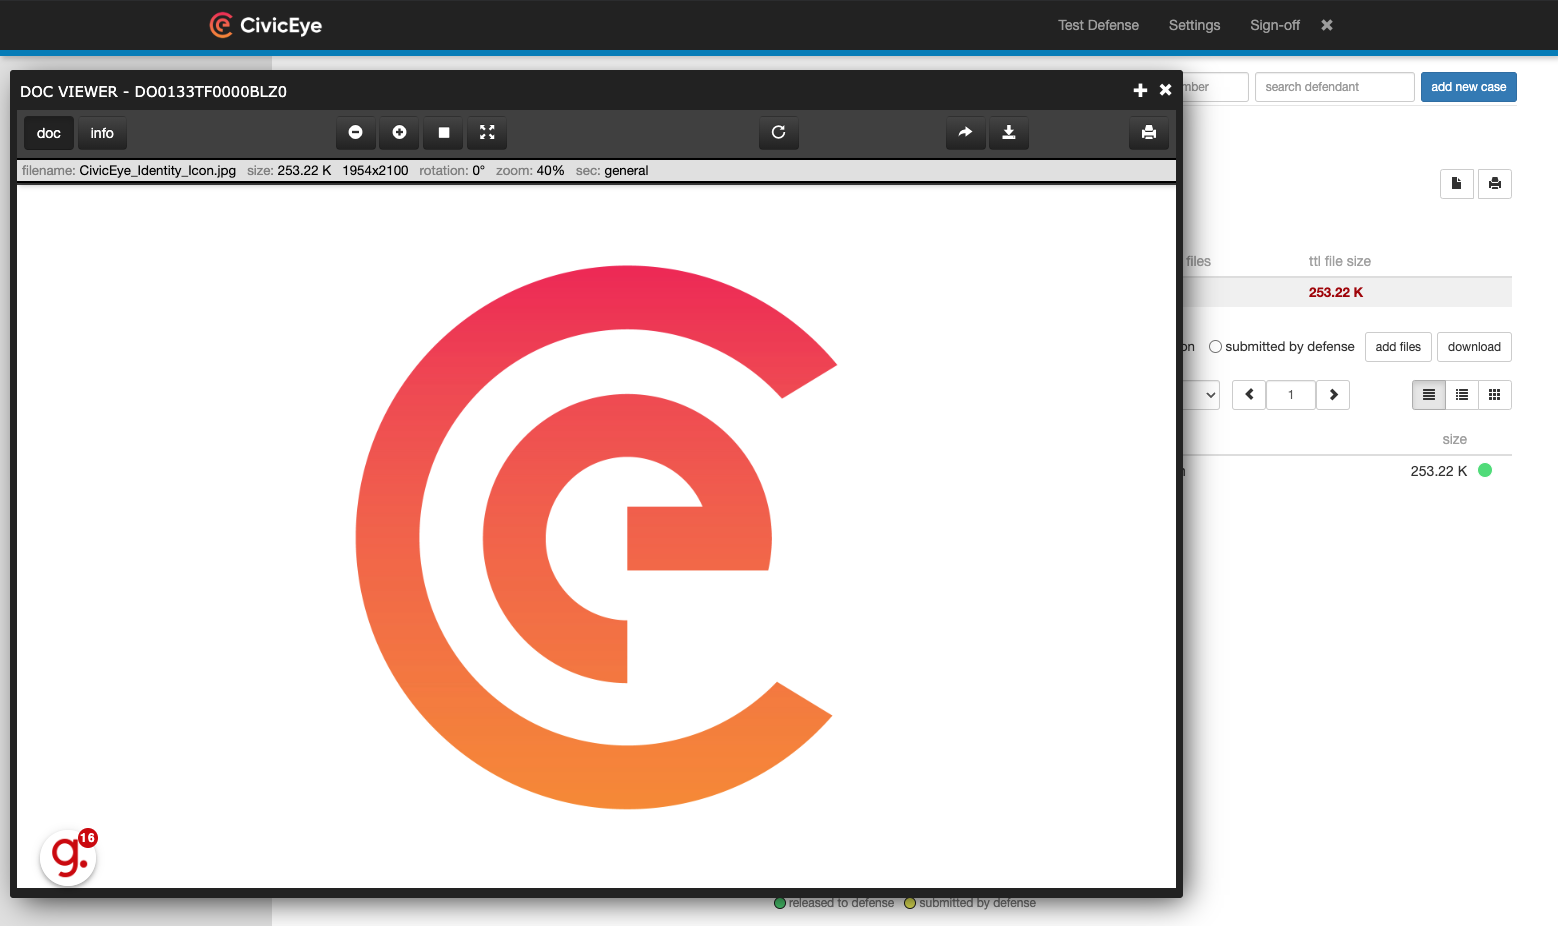
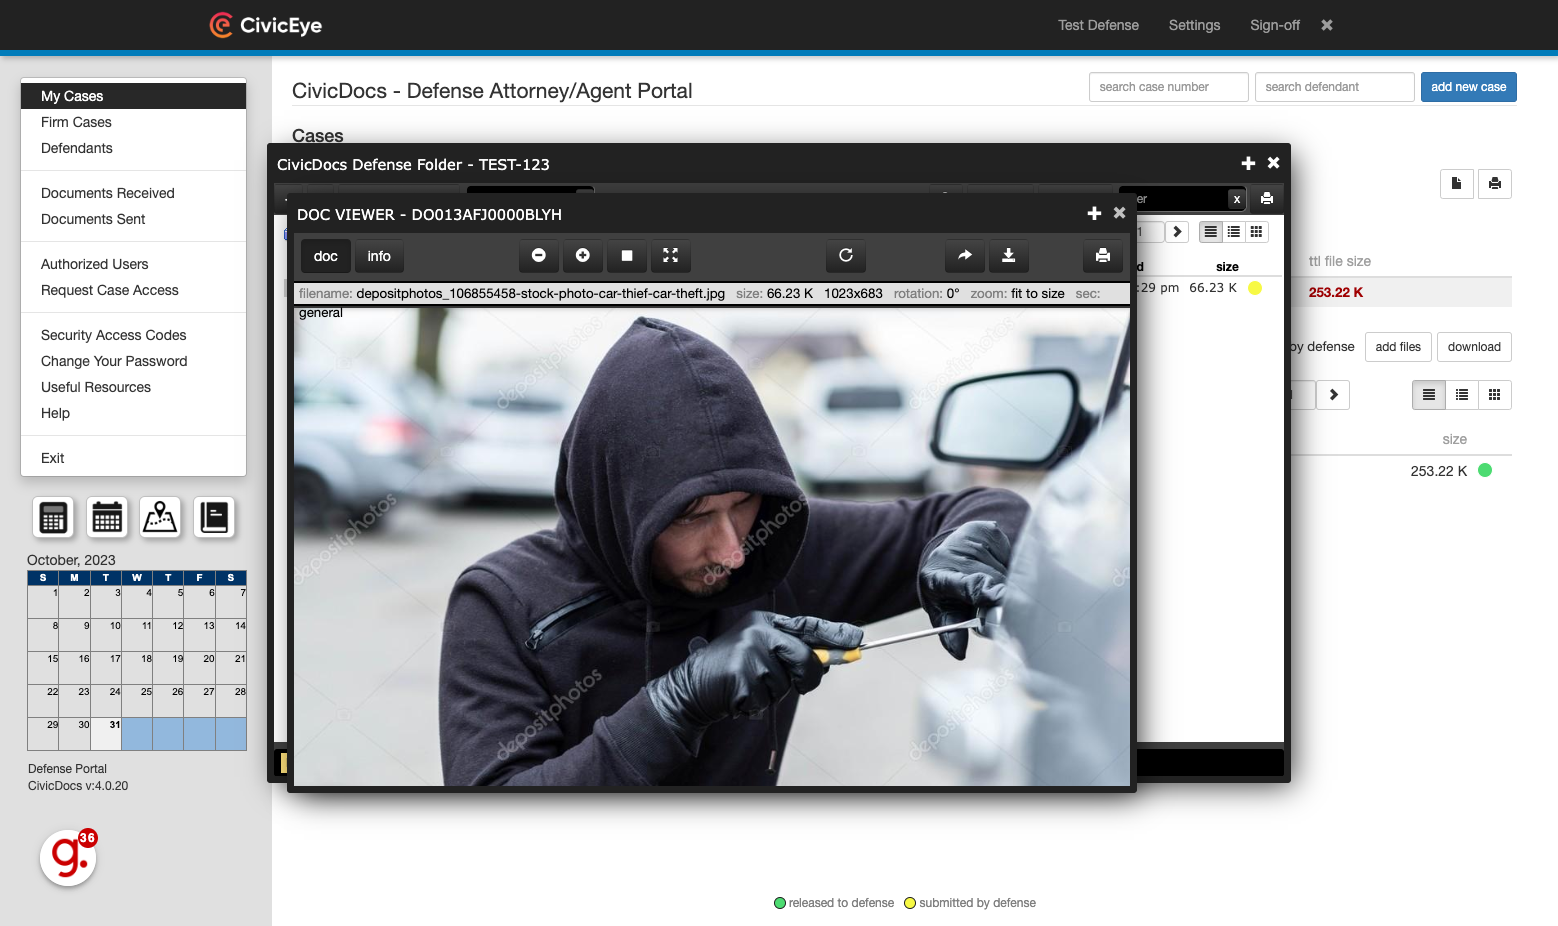
7. Using the Document Viewer
When selected, the file will open directly in the browser window. CivicDocs supports a wide variety of file types, to include documents, images, and videos.
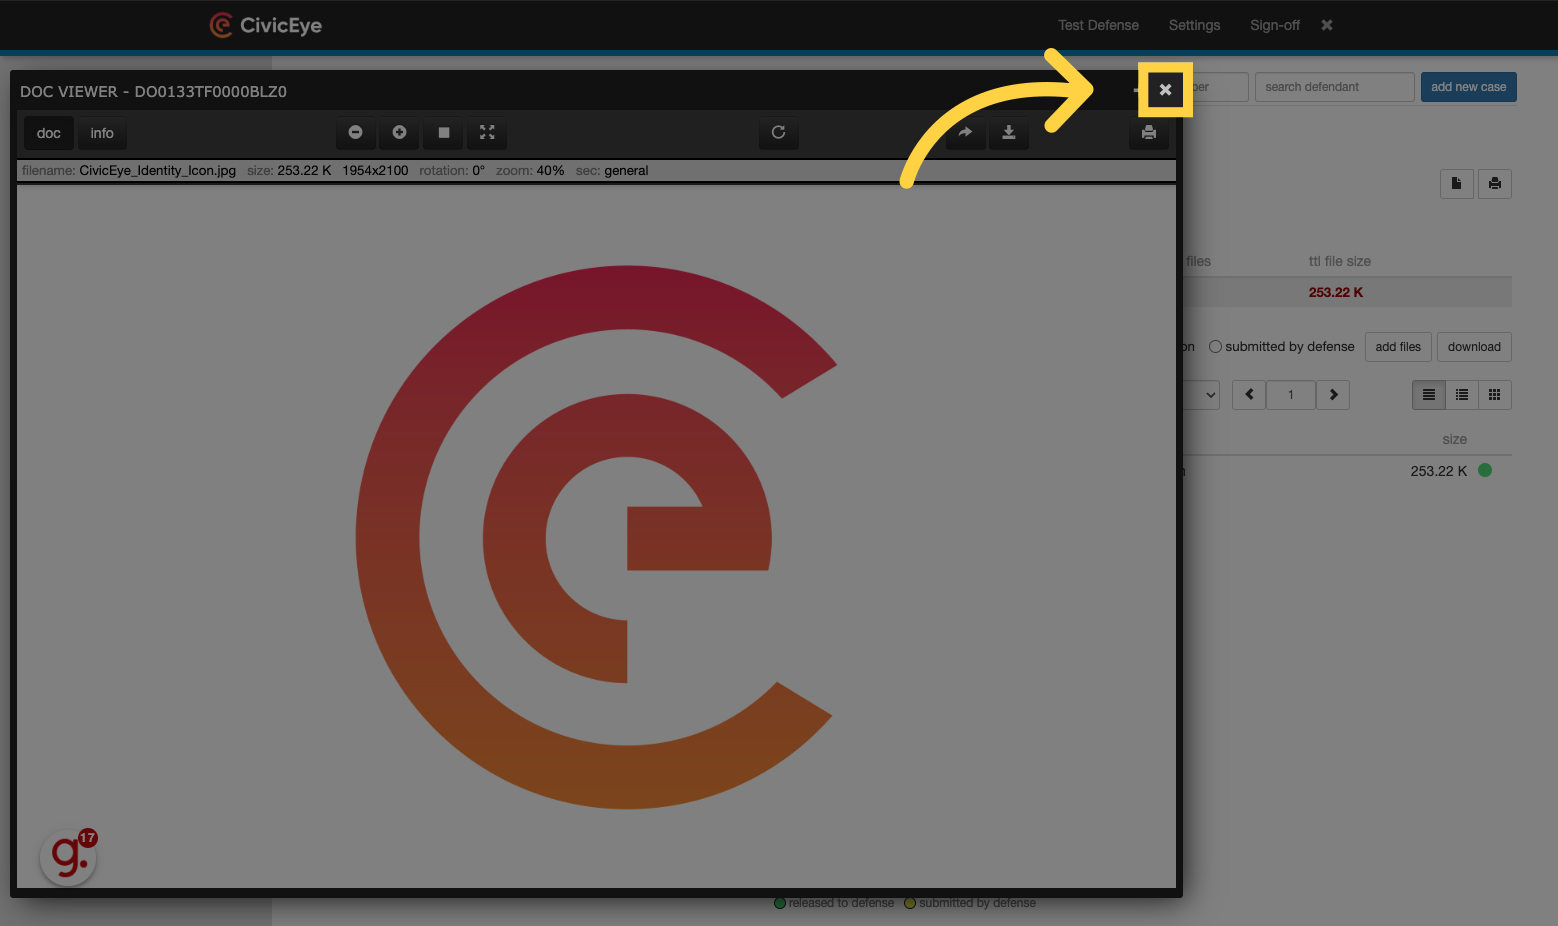
8. Click here to close the screen
Click the "X" to close the document window.
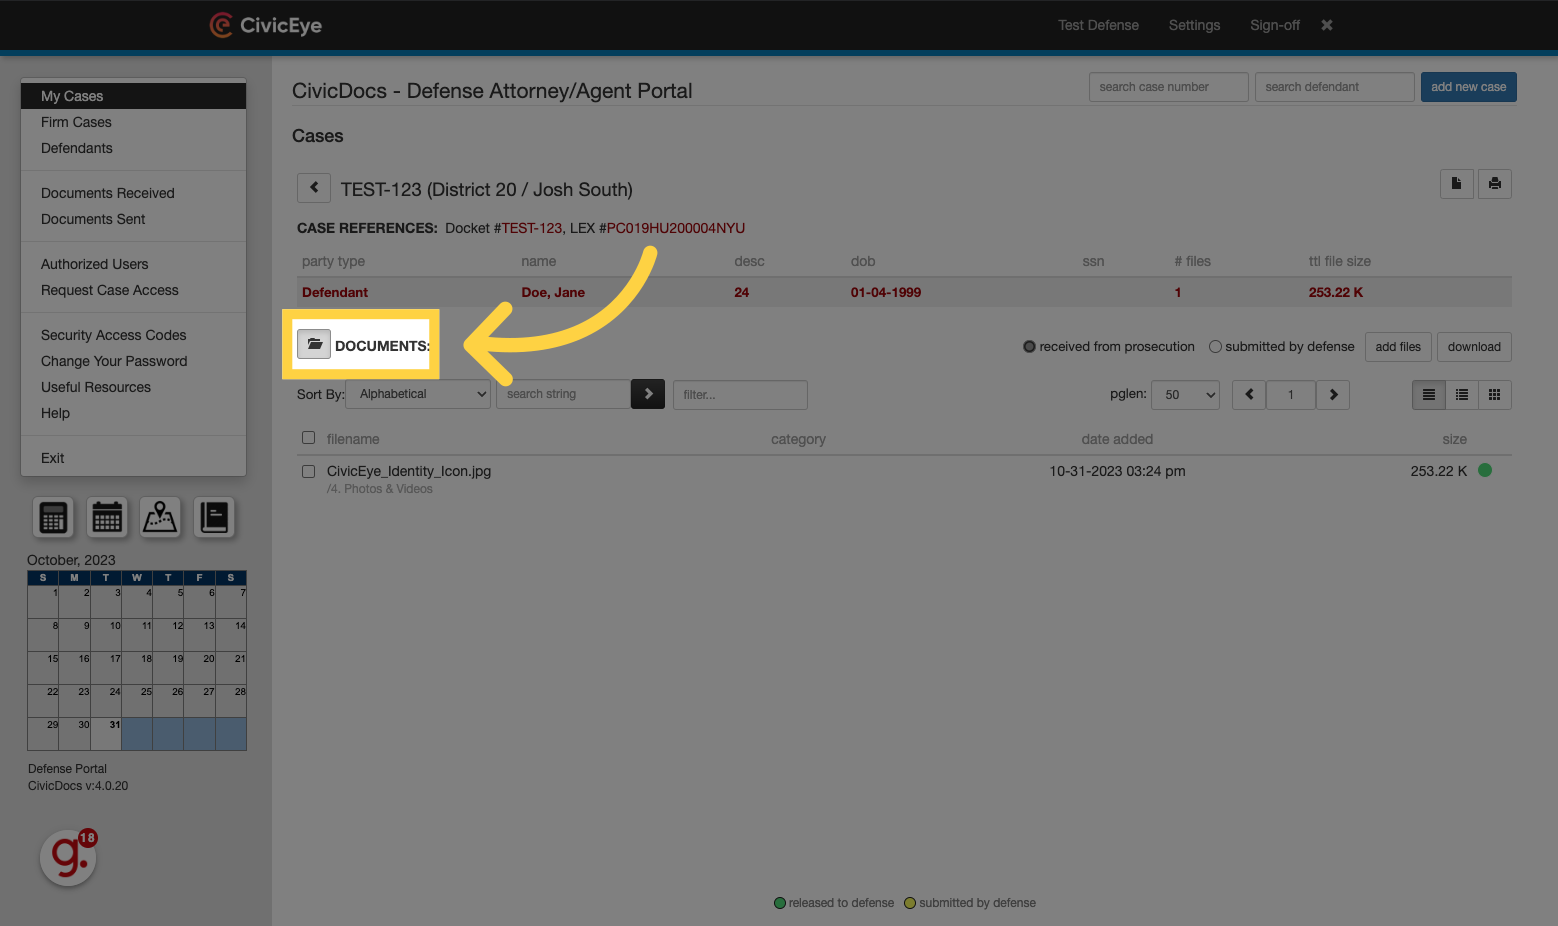
9. Accessing the Folder View
Documents can also be viewed using the Folder View.
10. Folder names and contents
In the folder view, any folders with contents released to defense will appear with the folder names bolded. Empty folders will have regular, unbolded text.
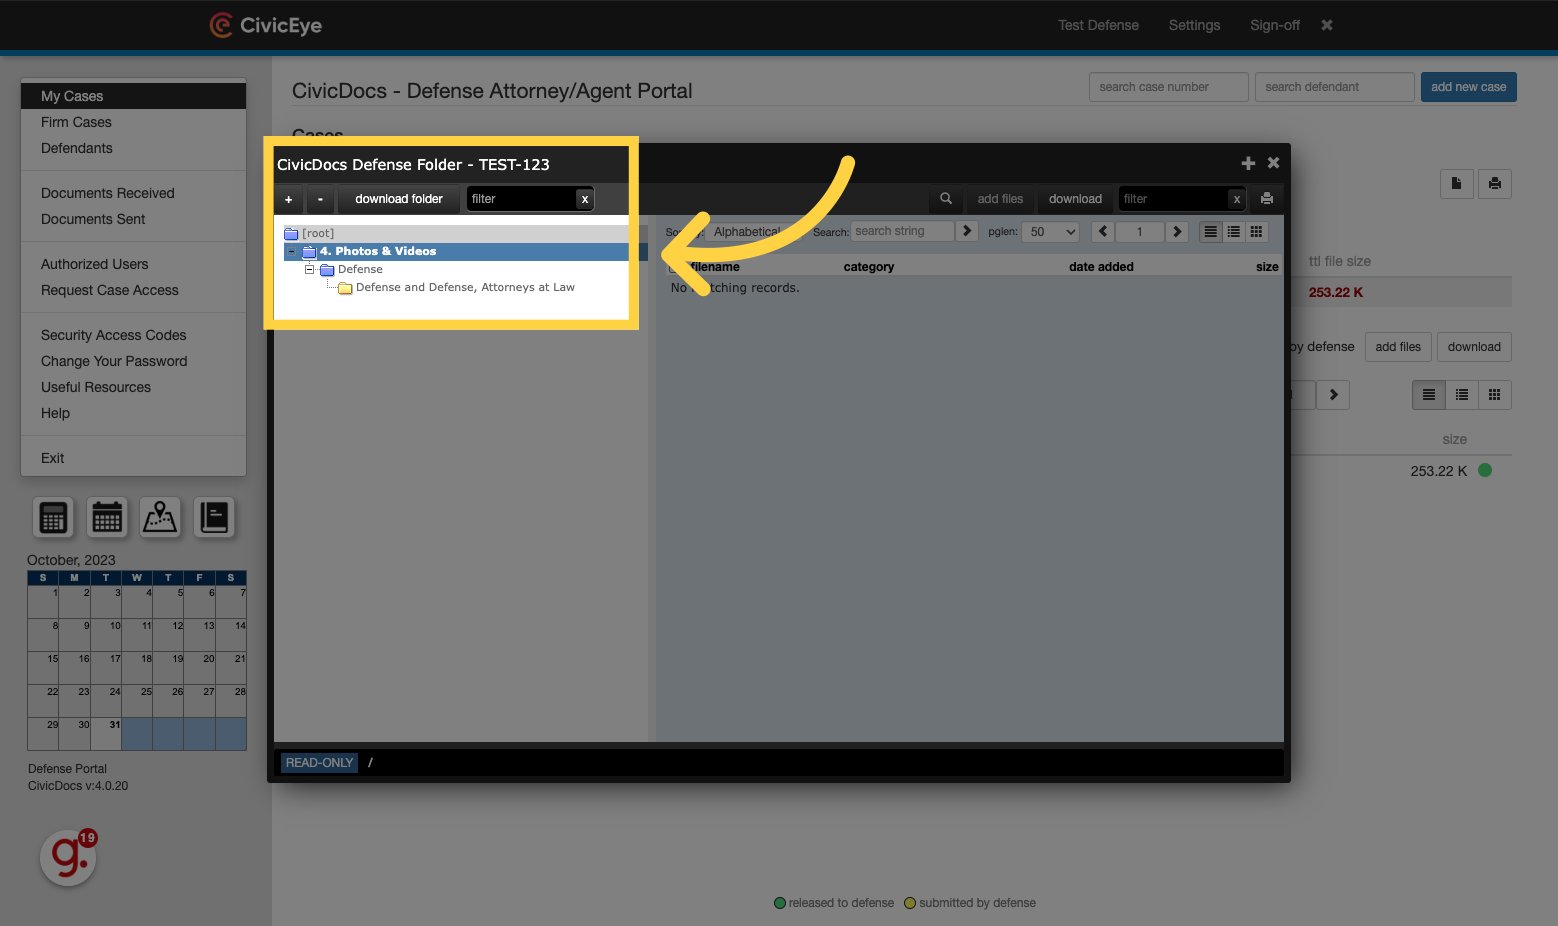
11. Opening a document in the folder view
After clicking on a folder, any files in it will display in the right-hand side of the window. Clicking on the file will open it in the same Document Viewer window displayed previously in this video.

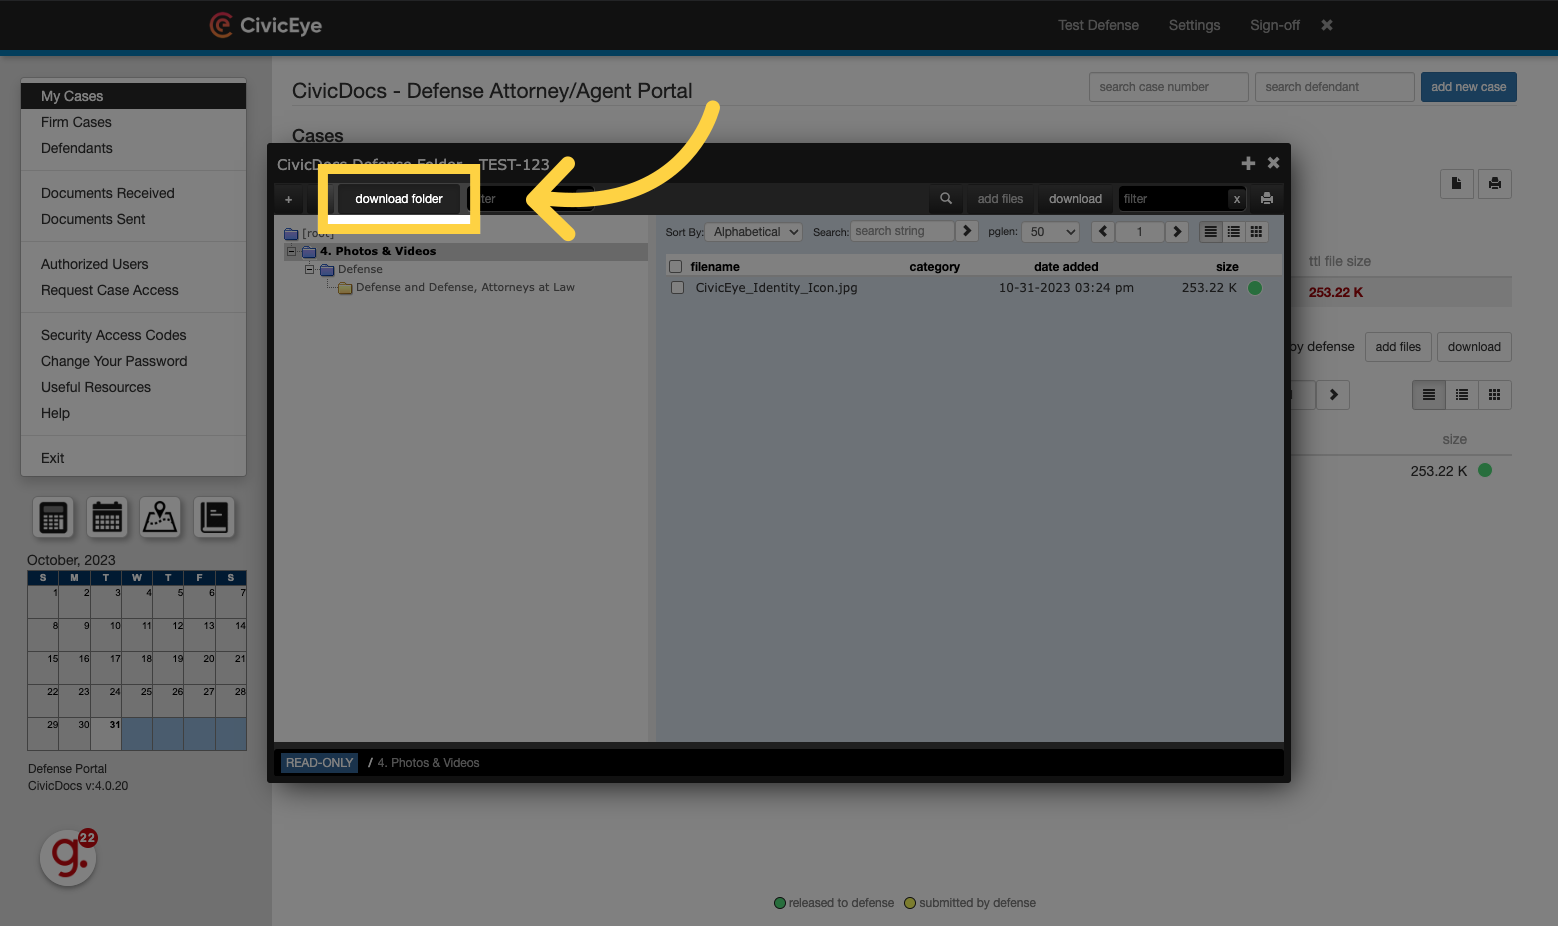
12. Downloading Folder Contents
Click on the "download folder" option to download the contents of the entire folder.
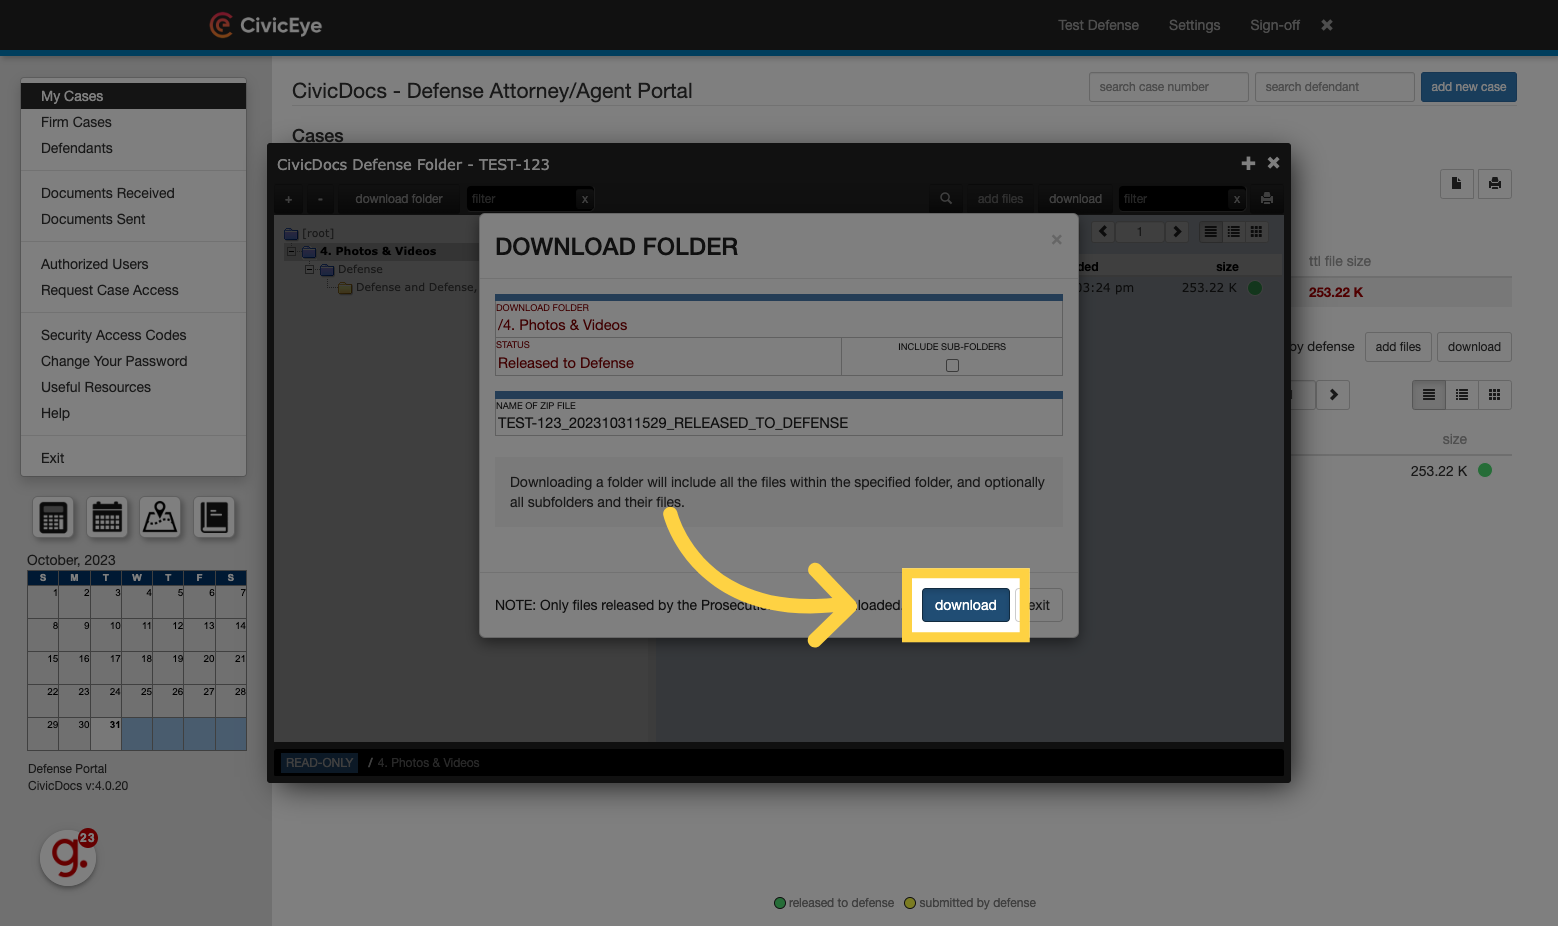
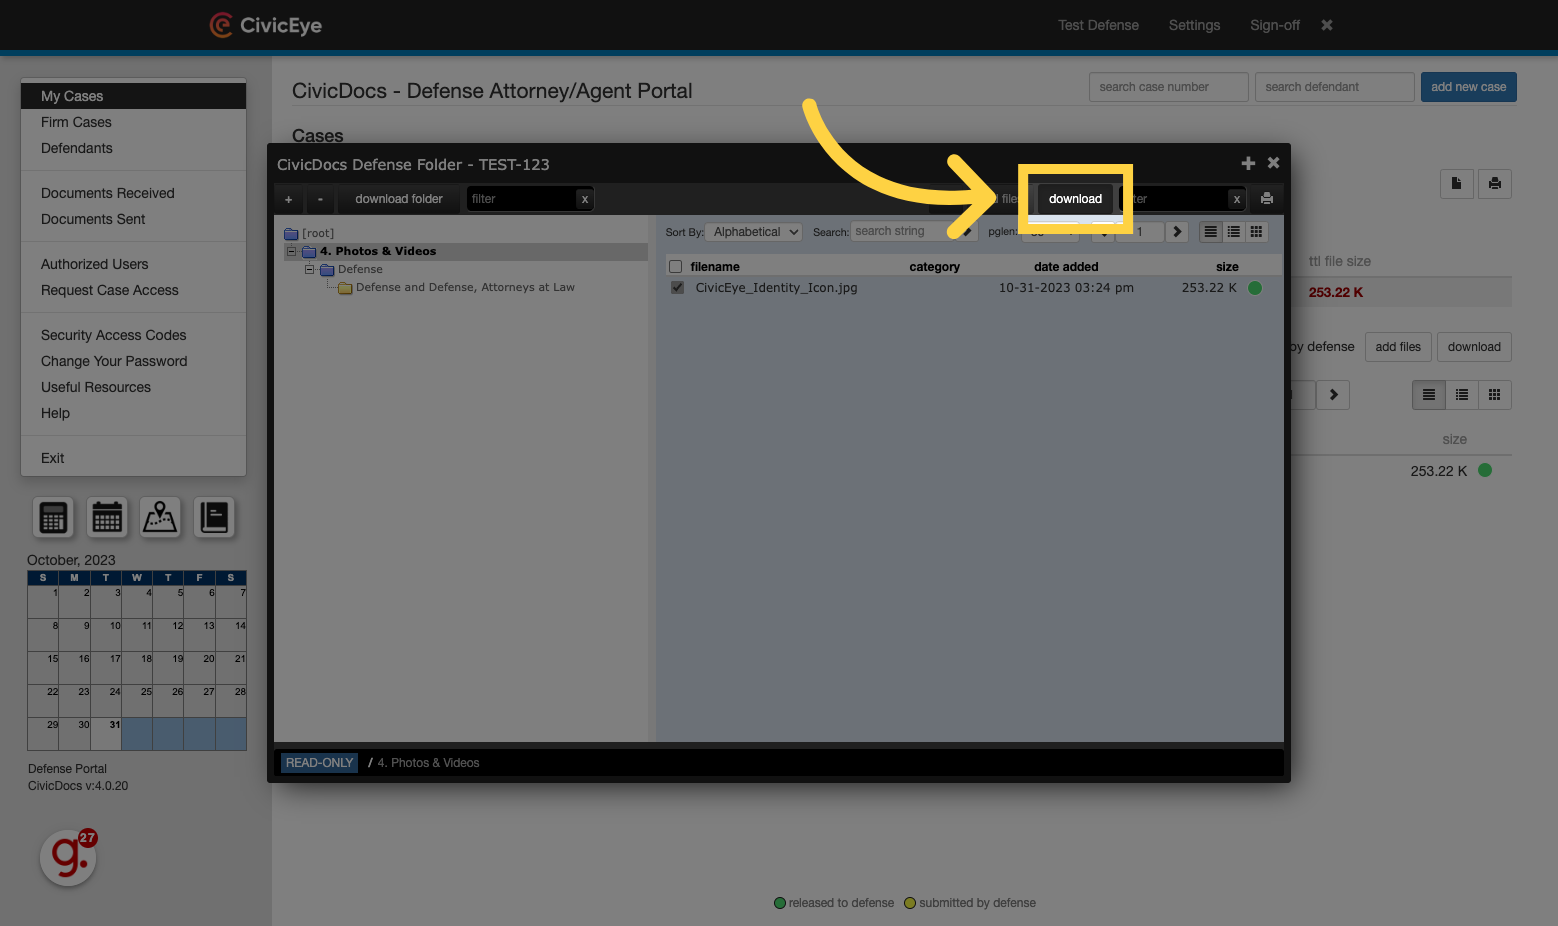
13. Click "download" to confirm the download
Click on the "download" option.
14. Selecting a single file to download
To download individual files, click the select checkbox next to the filename.
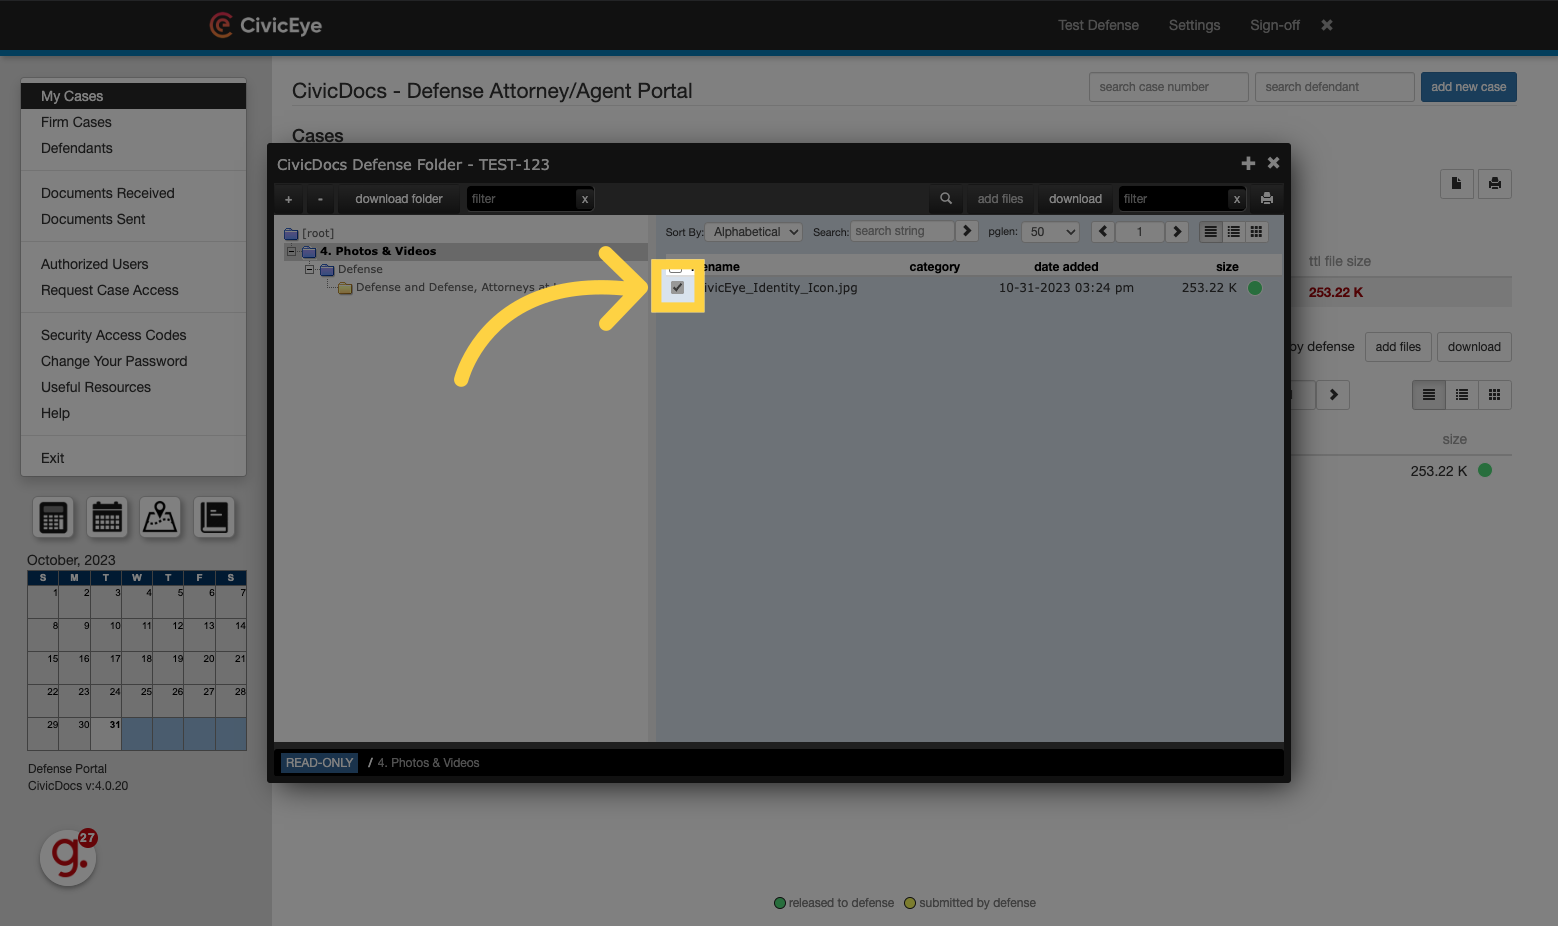
15. Click "download" to download individual file(s)
Click on the "download" option.
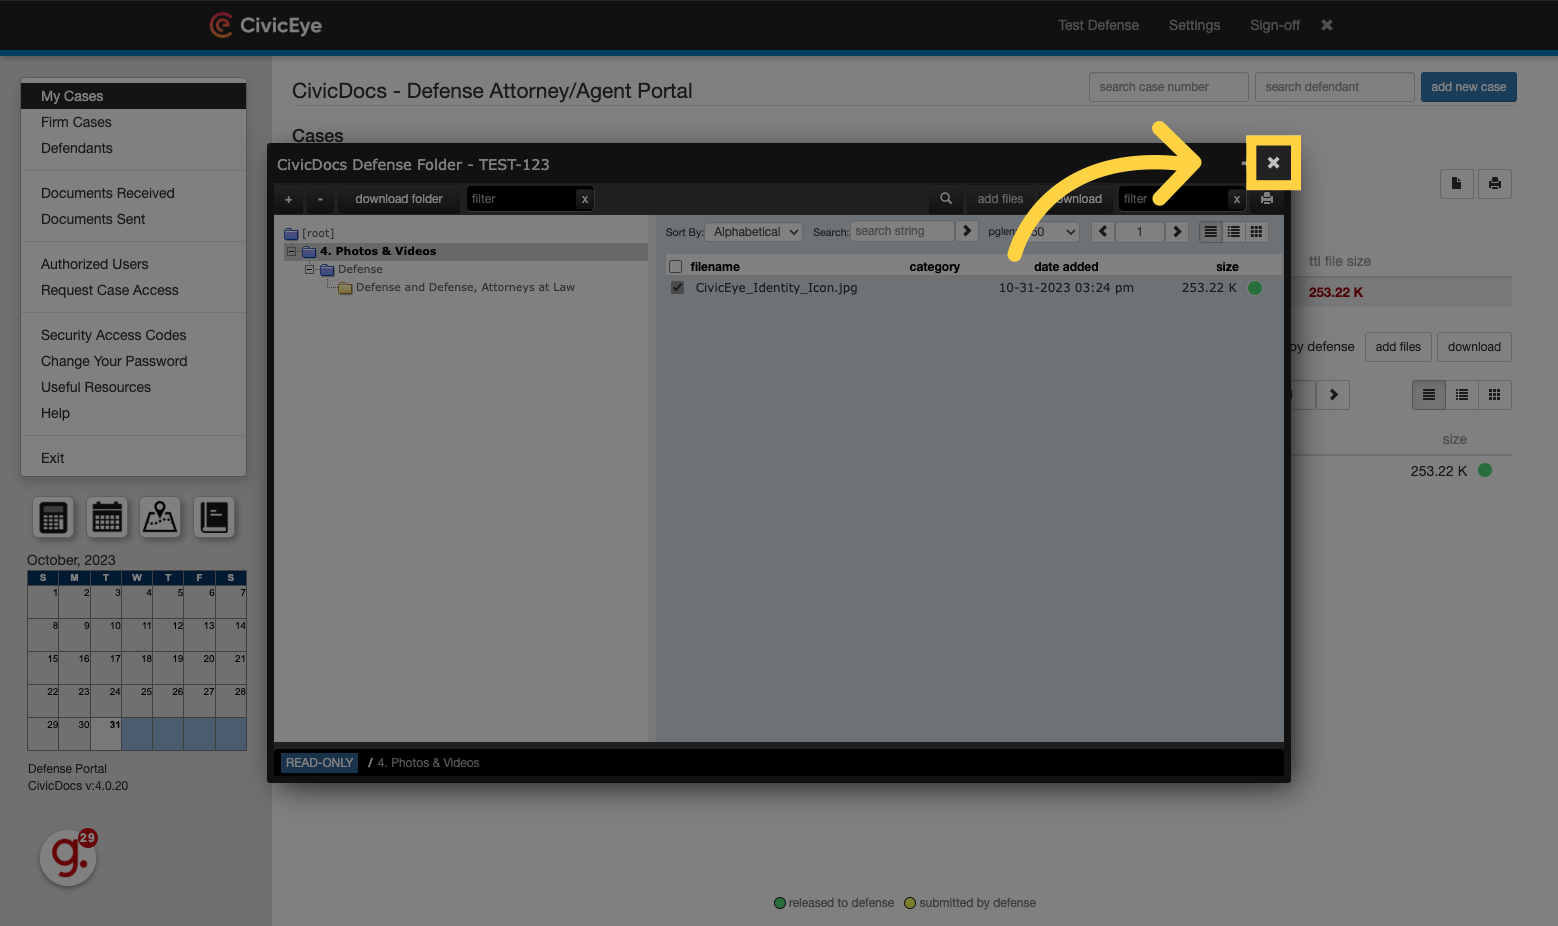
16. Closing the folder view window
Click the "X" in the upper, right-hand corner to close out of the folder view window.
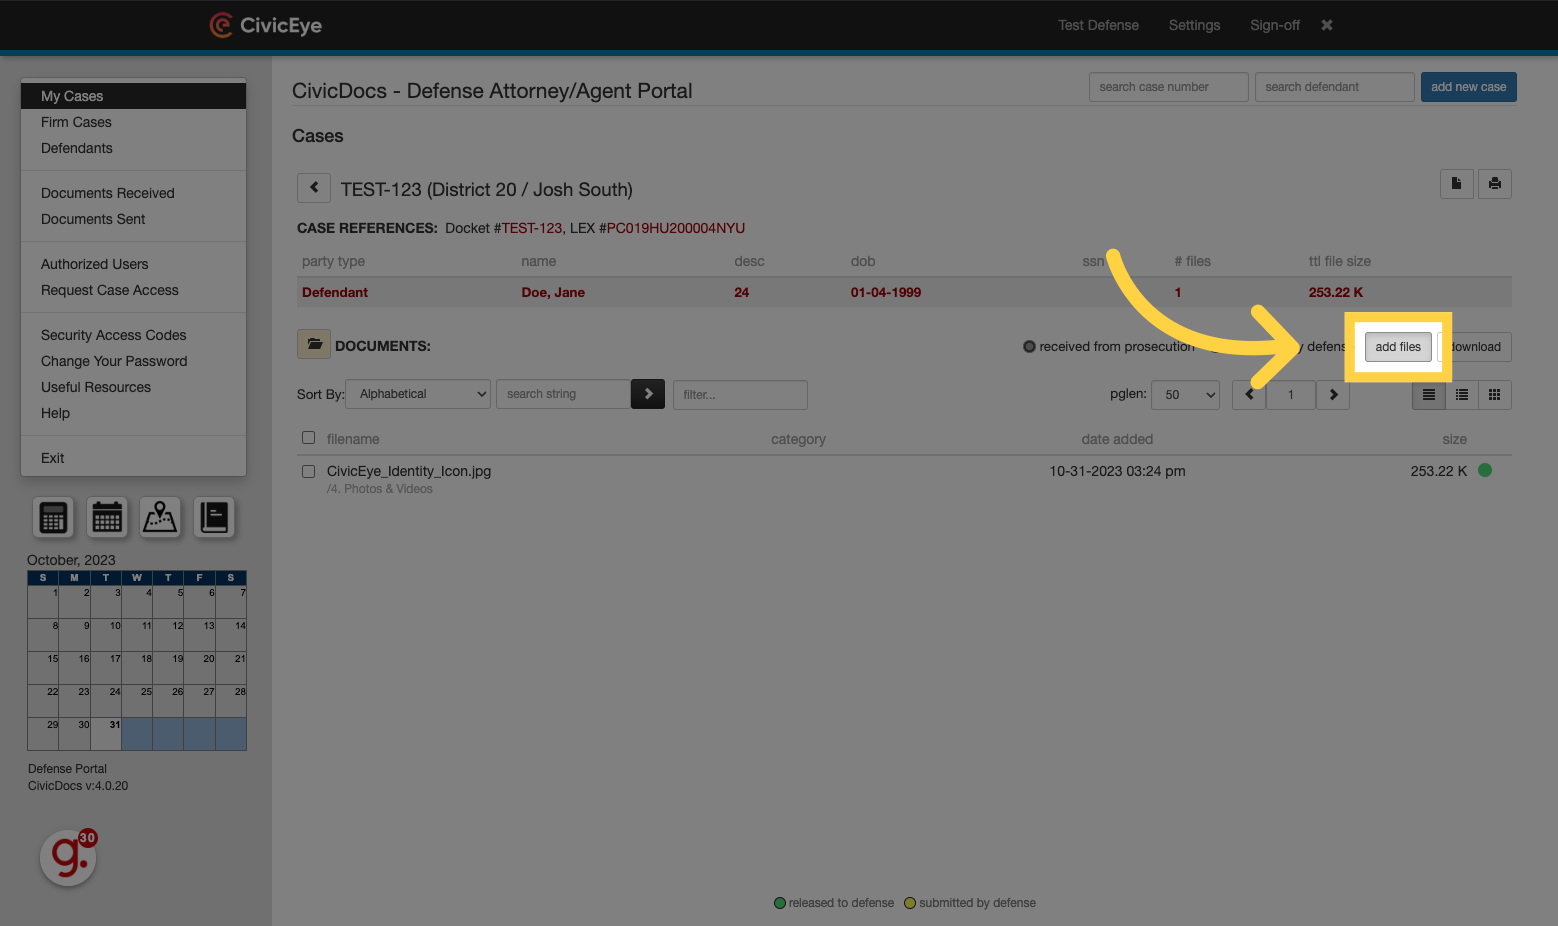
17. Click "add files" to begin the file upload process
To upload files to a case, click the "Add Files" button.
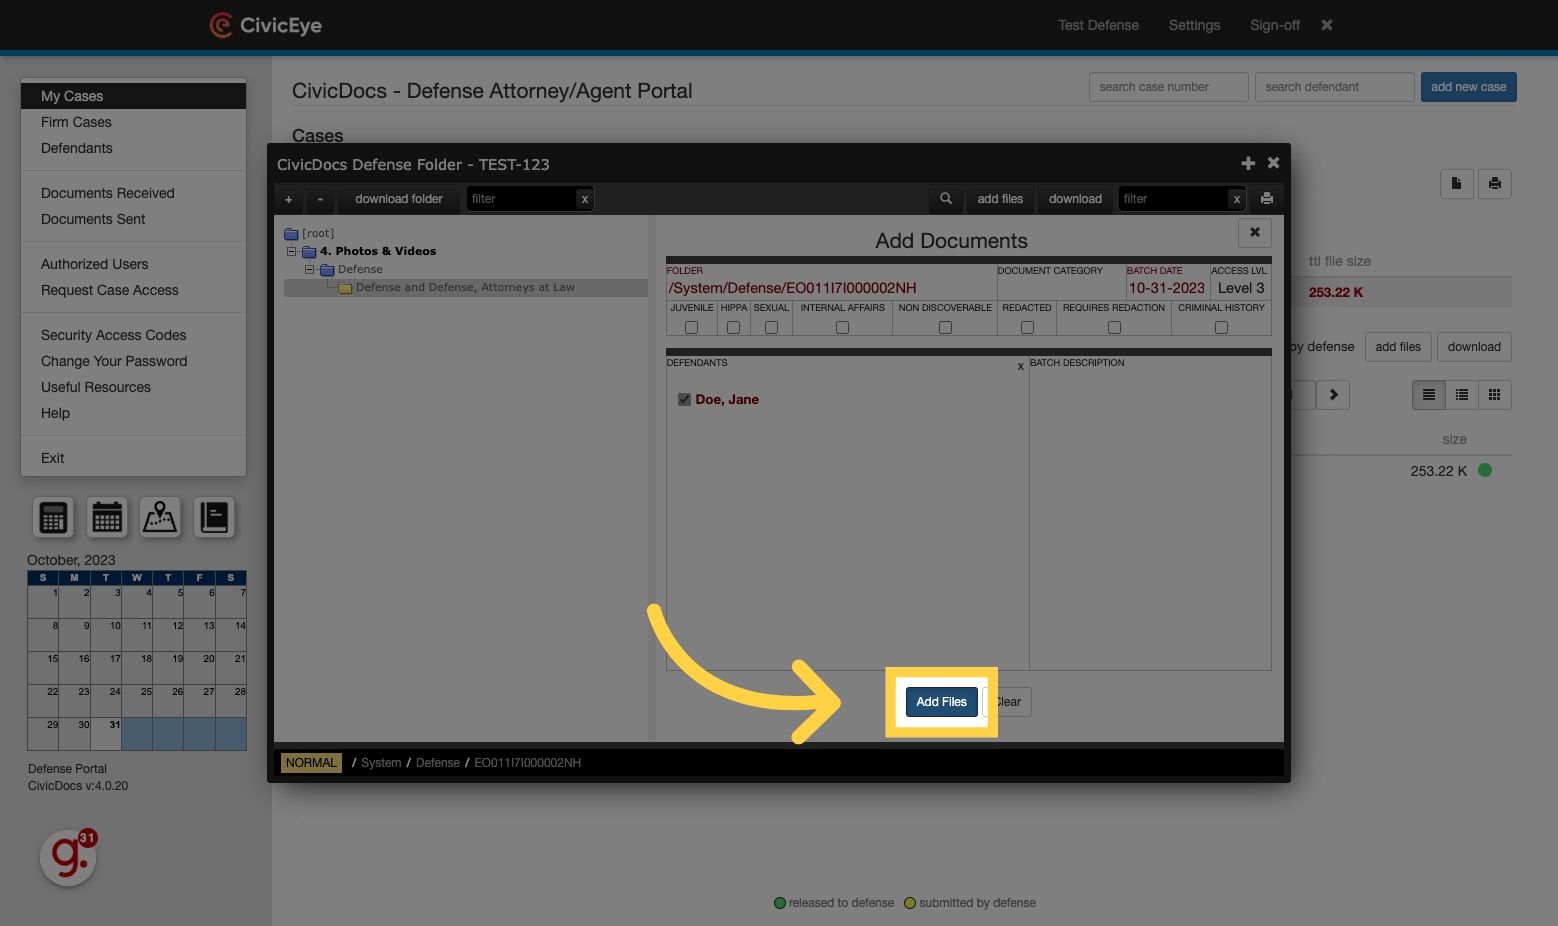
18. Click "Add Files"
Click on the "Add Files" button.
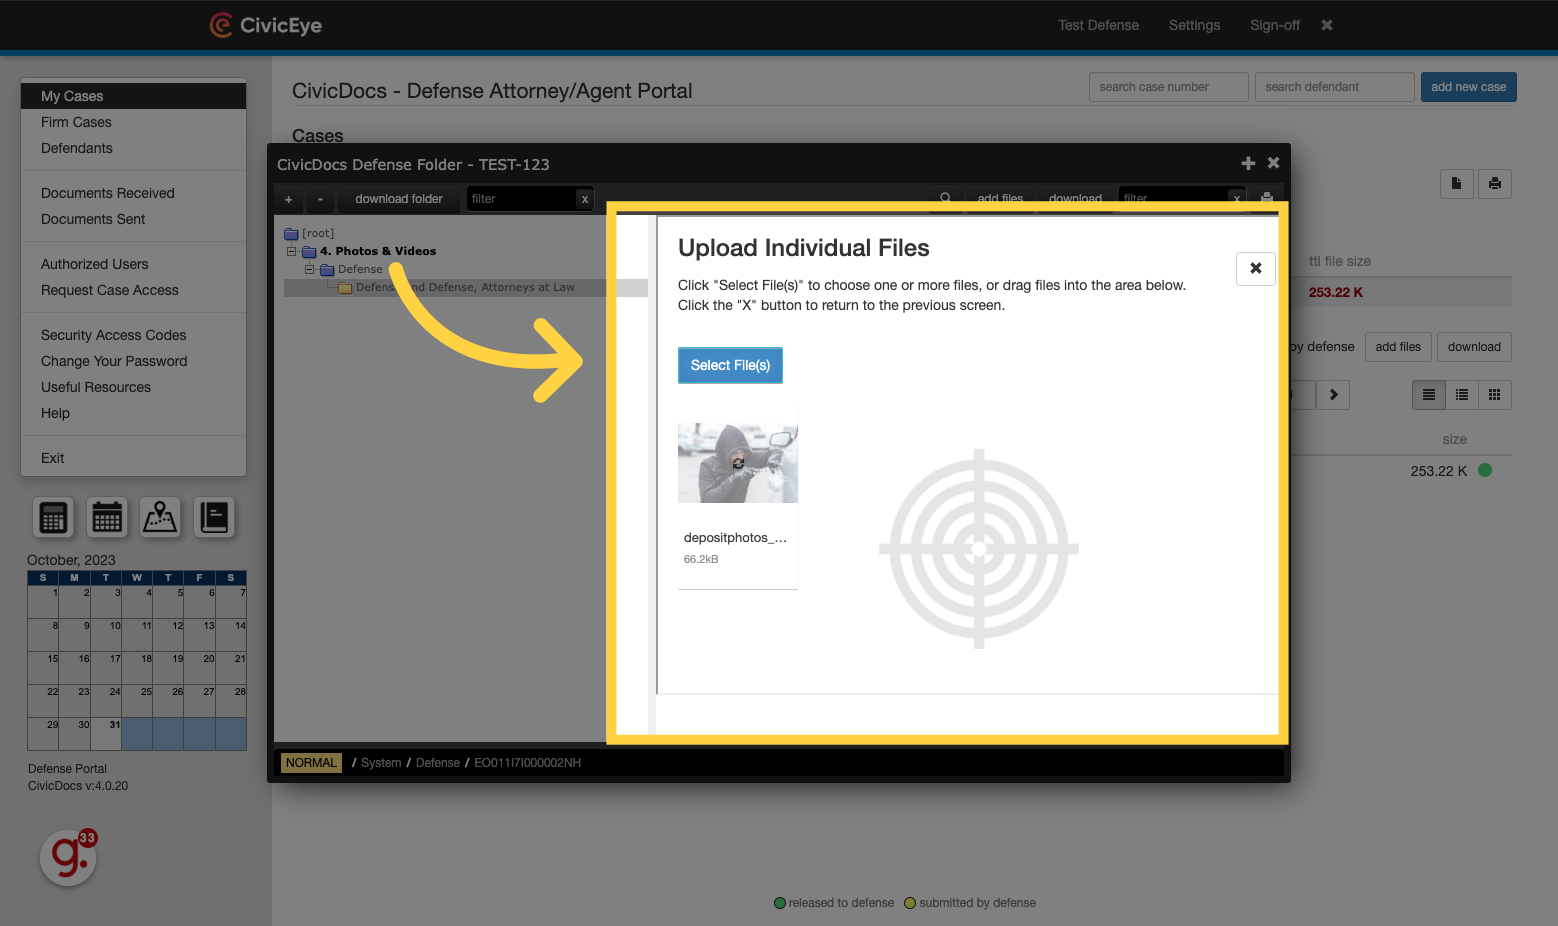
19. Browse or drag and drop to upload content
Browse computer folders and select a file to upload by clicking the "Select Files" button, or by dragging and dropping a file into the Upload window.
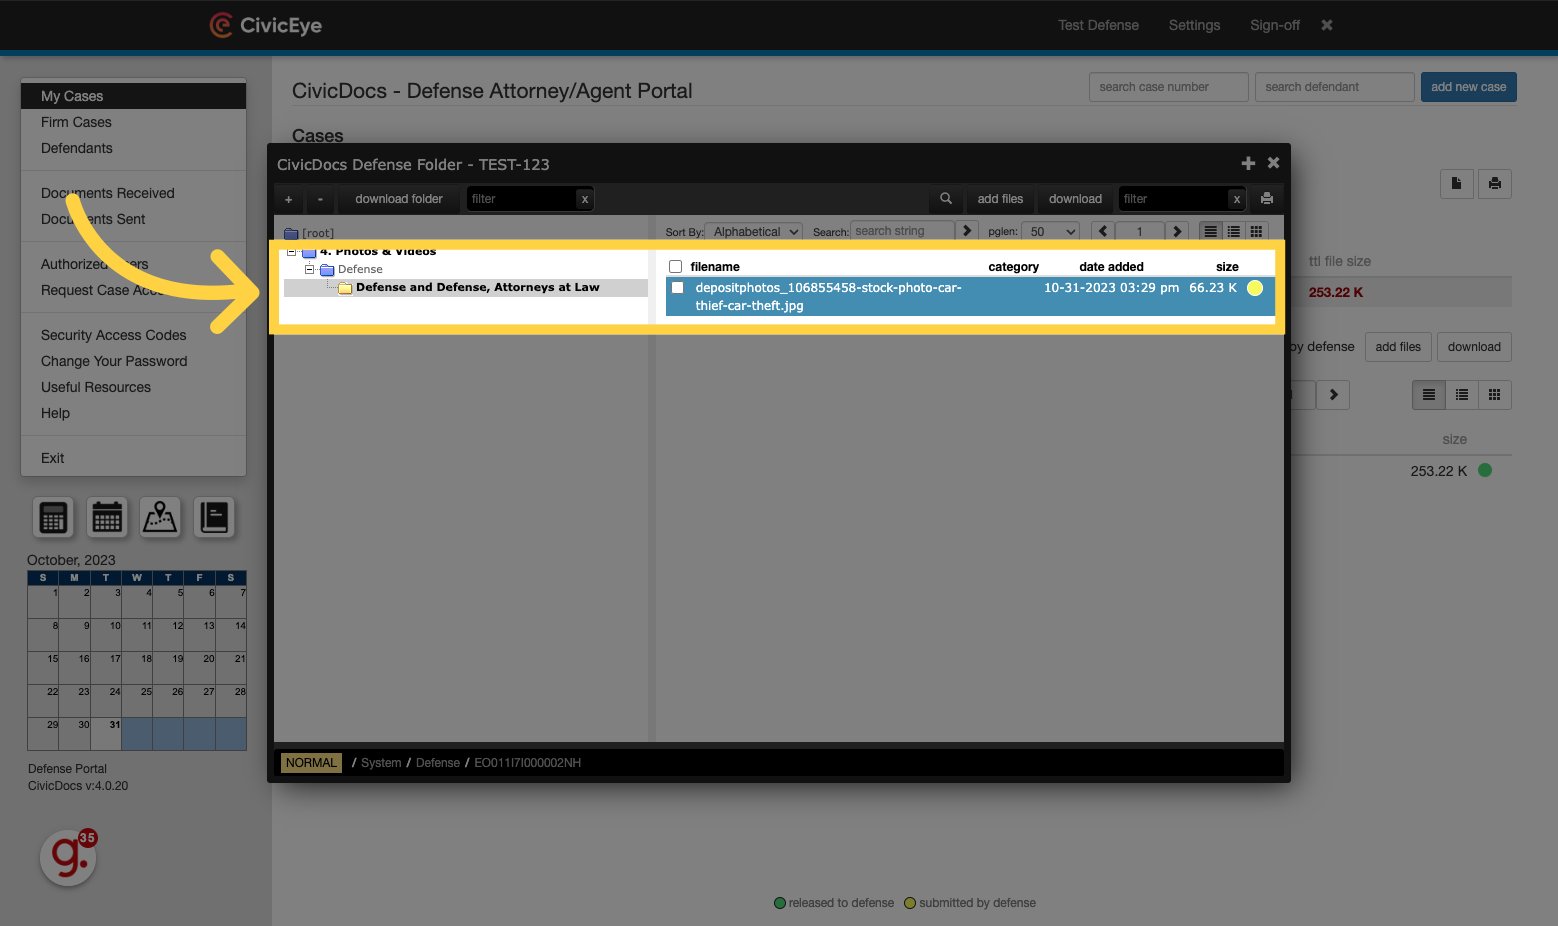
20. Viewing Defense-uploaded files in the folder view
Files will then be displayed in the Defense Firm folder, displayed to the left in the folder tree. This folder is pre-configured to be named based on the Defense Firm assigned to the users account. Click on a file to open it in the Document viewer.
21. Viewing a Defense File in the Document Viewer
Click the selected option
This guide covered the steps to manage defense cases in the CivicDocs Defense Portal. From accessing different case options to uploading and downloading files, you learned how to efficiently navigate the application and perform necessary tasks.