.png?width=250&height=99&name=CivicEye_Identity_Secondary%20(4).png)
How to Upload Evidence and Files into CivicDocs
How to Upload Evidence and Files into CivicDocs
This guide provides step-by-step instructions on how administrative and prosecution support staff can upload evidence and files into CivicDocs Admin Portal. Follow these instructions to easily and efficiently upload your documents and media files directly into a case containing one or more defendants.
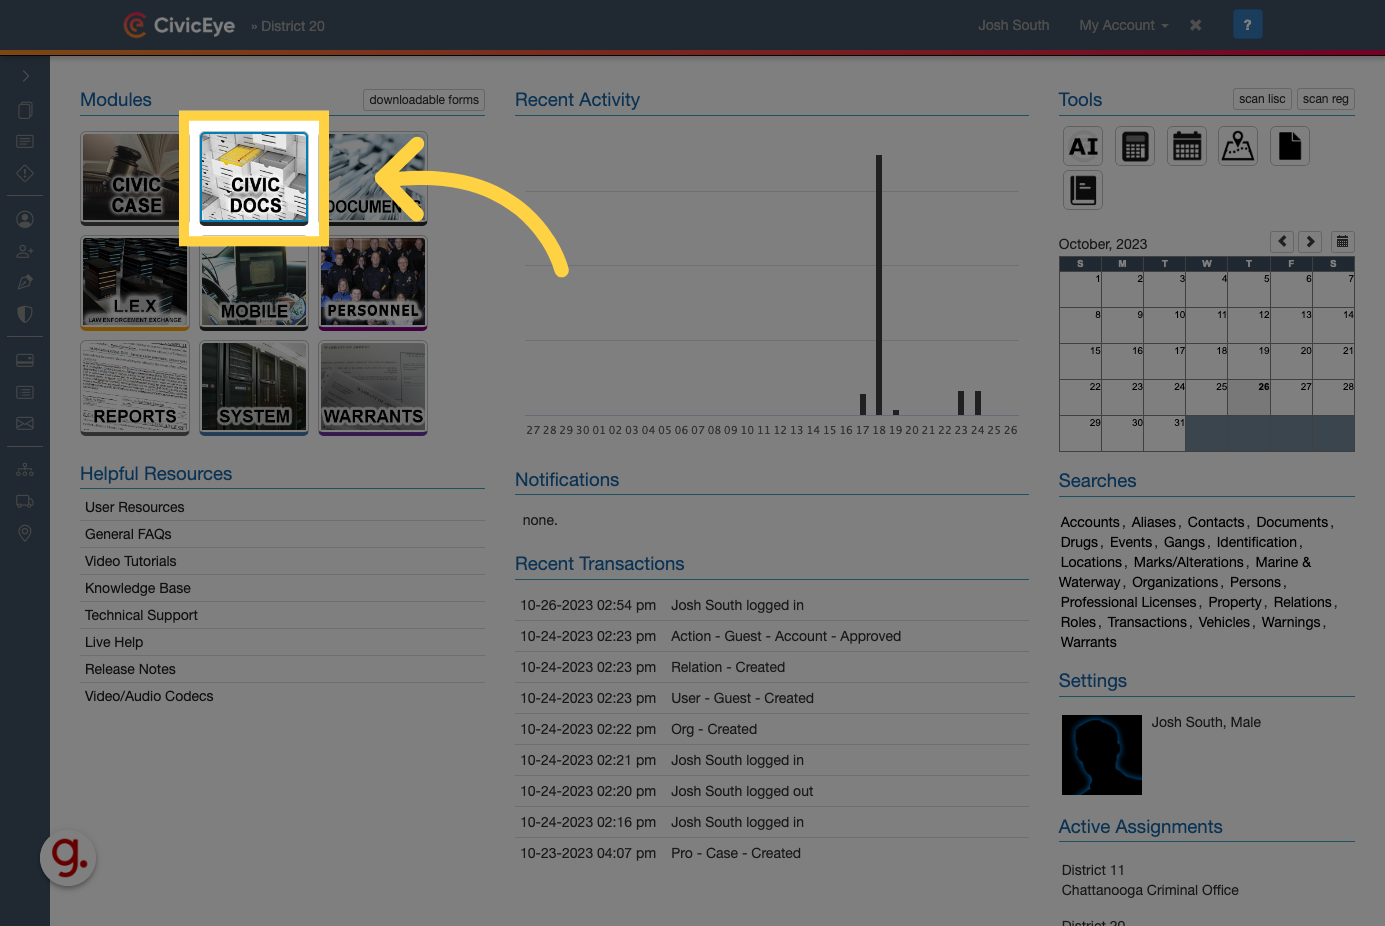
1. Open the CivicDocs application
After logging in, open the CivicDocs application by clicking on the icon displayed in the modules list.
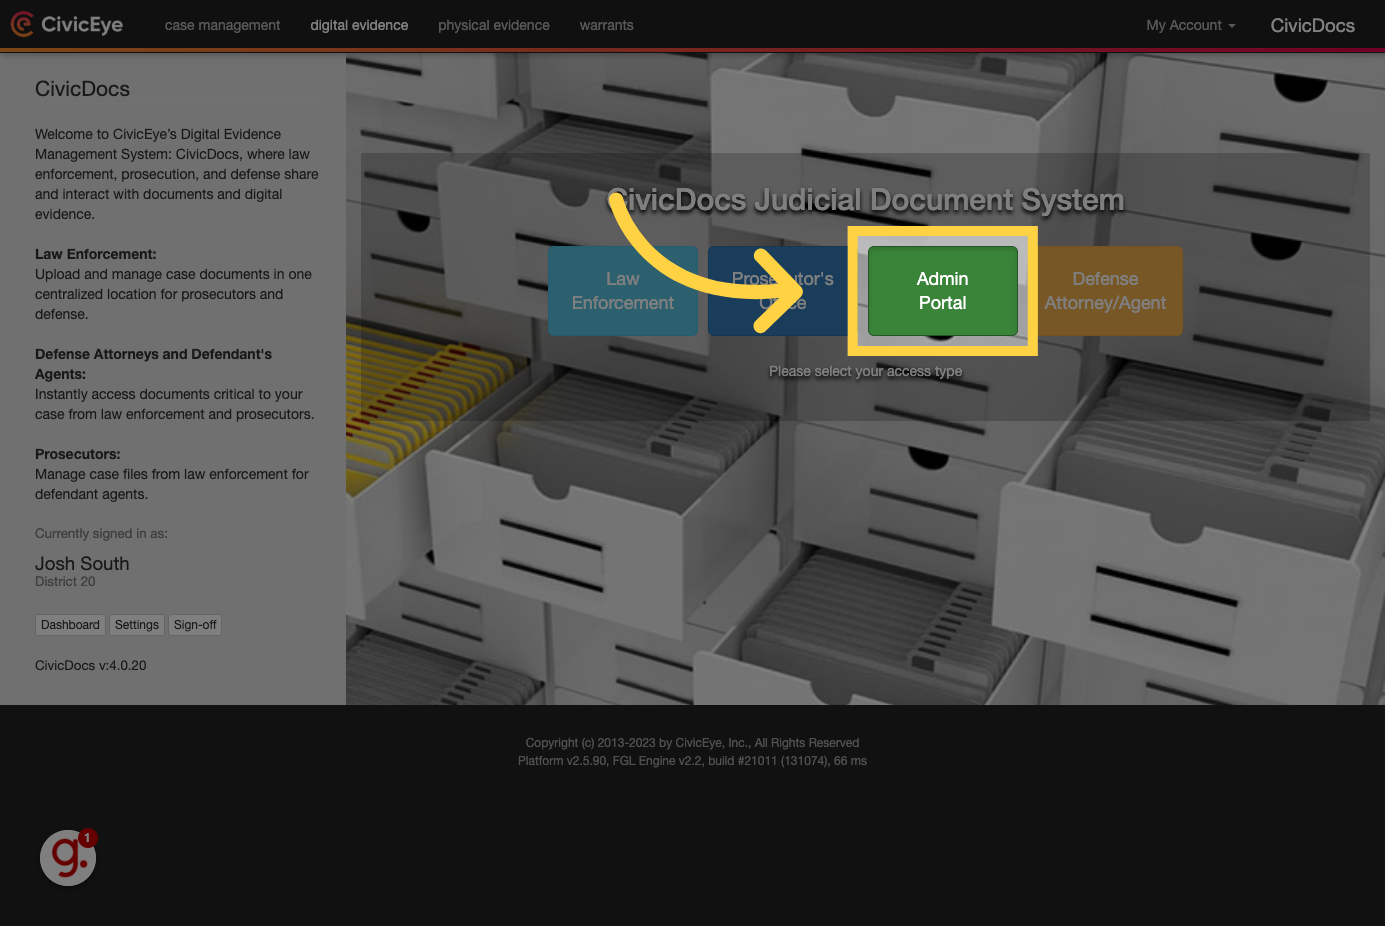
2. Click "Admin Portal"
Access the AdminPortal.
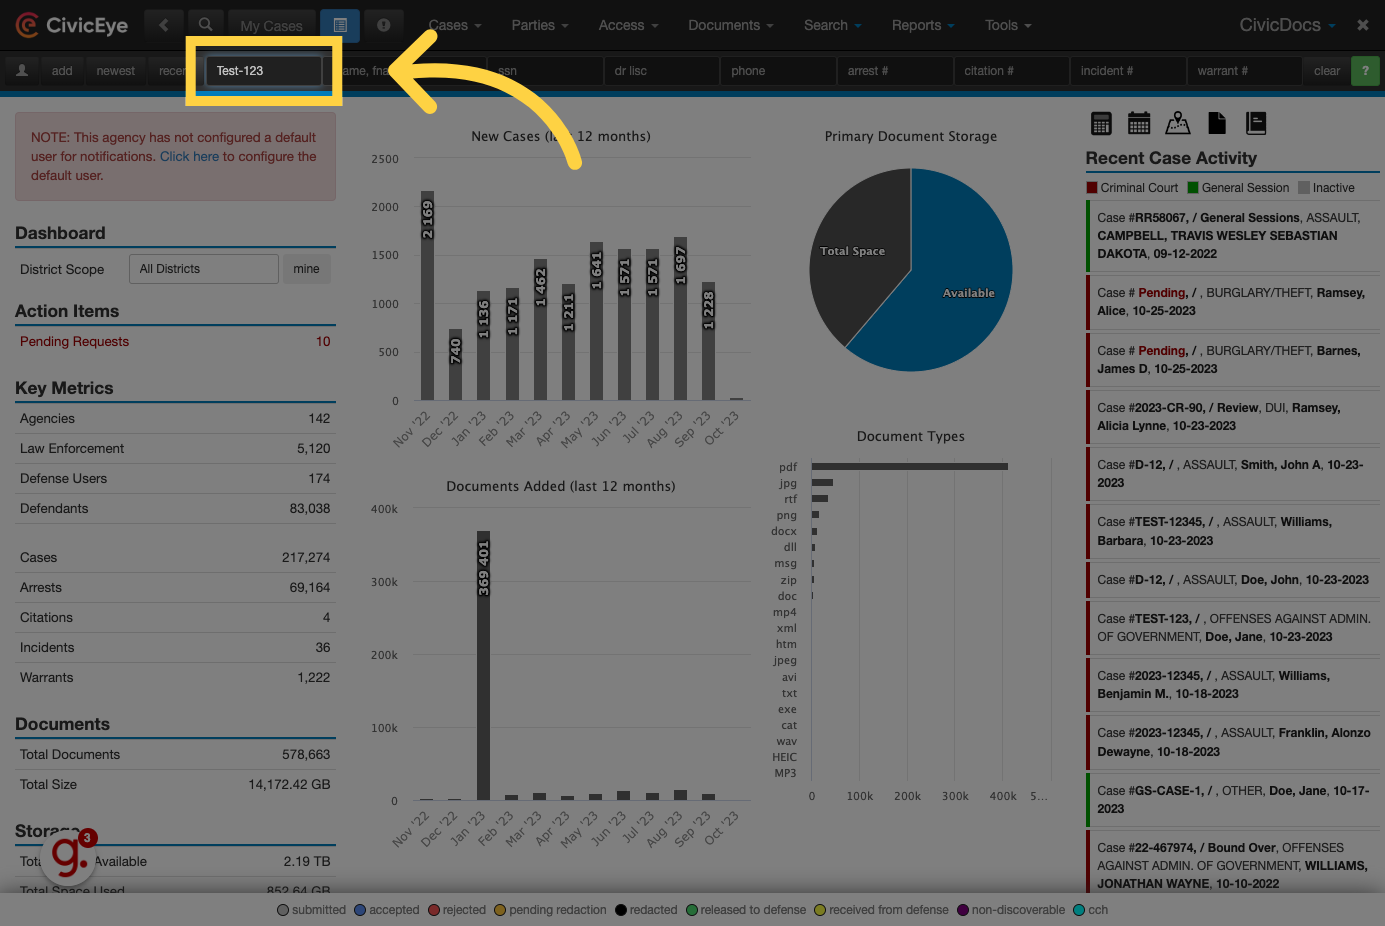
3. Enter a case number
To search for a case, enter a case number in the "case number" search field.
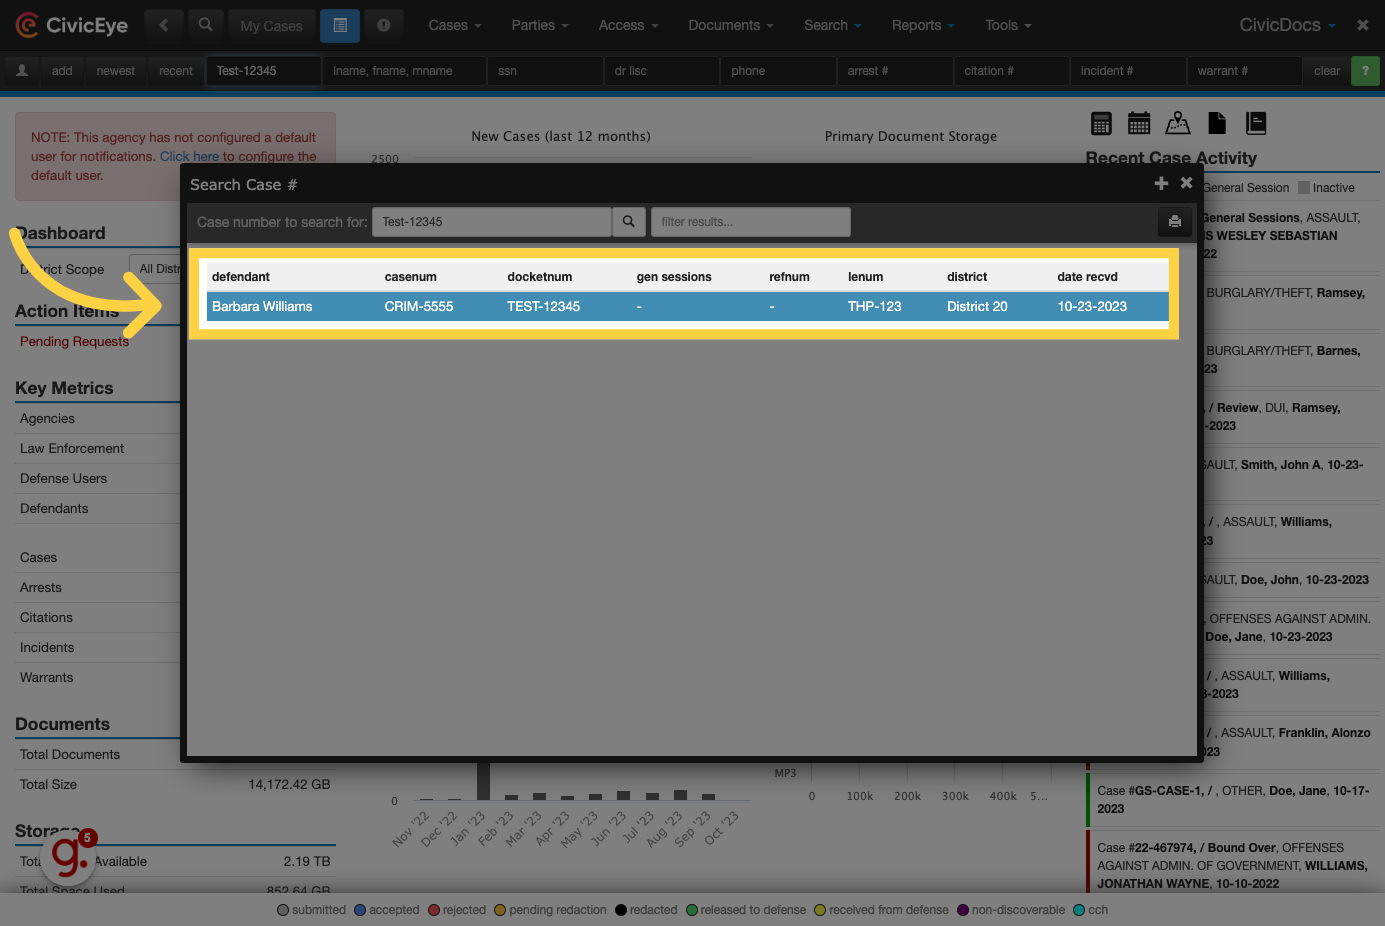
4. Click to open the case
Thanks to CivicEye's high speed indexing technology, search results load quickly. Click on the appropriate case to open it.
5. Documents List View
In CivicDocs, there are two methods to upload documents and files into a case: the documents list view, and the folder view. In this guide we will cover both methods of uploading files.
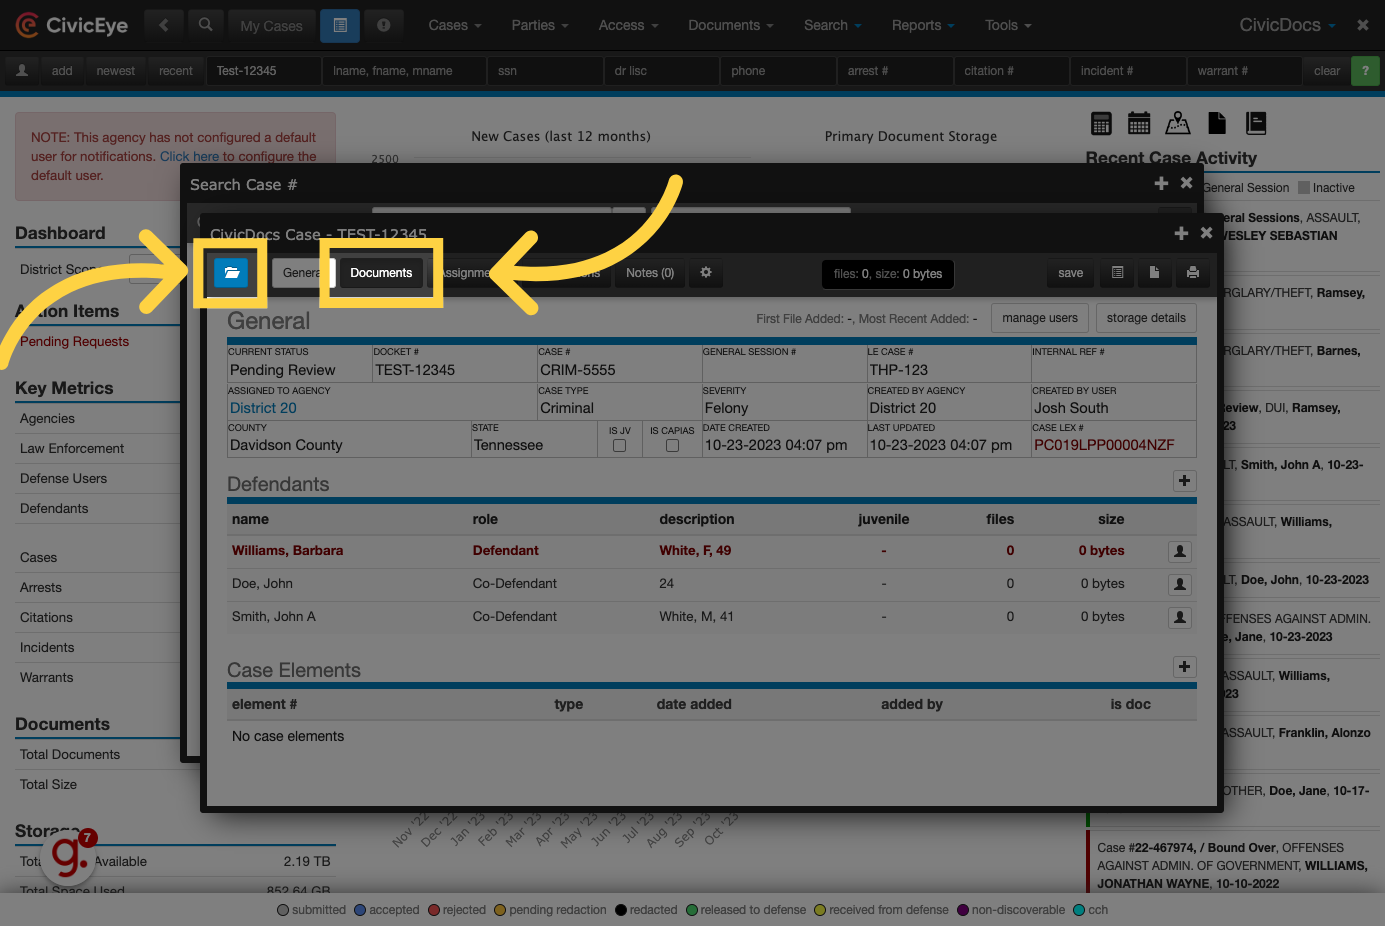
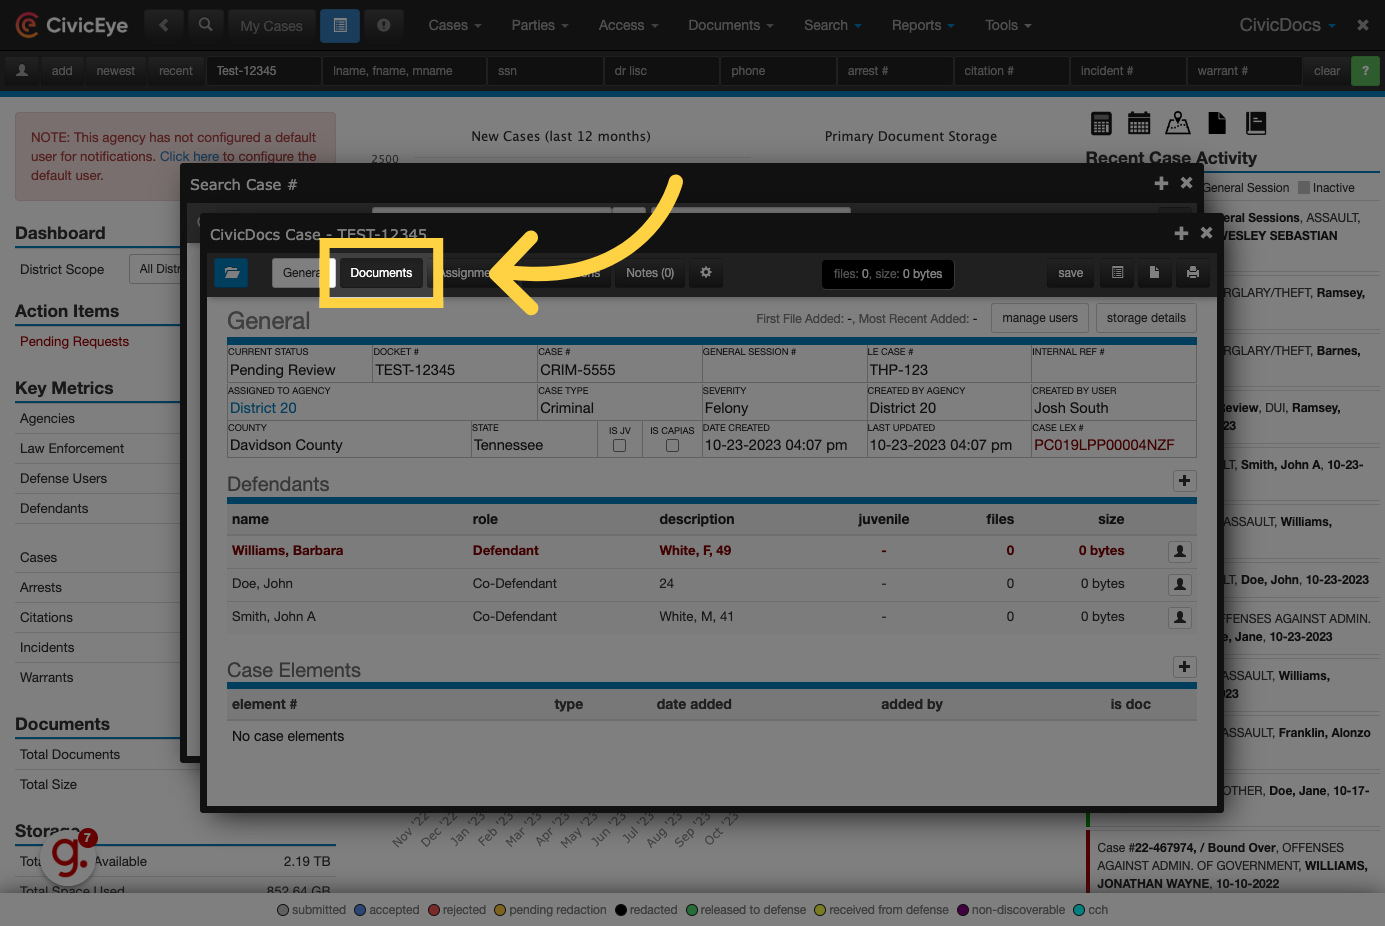
6. Click "Documents"
We will start with the Documents list view - begin by clicking on the Documents tab in the case.
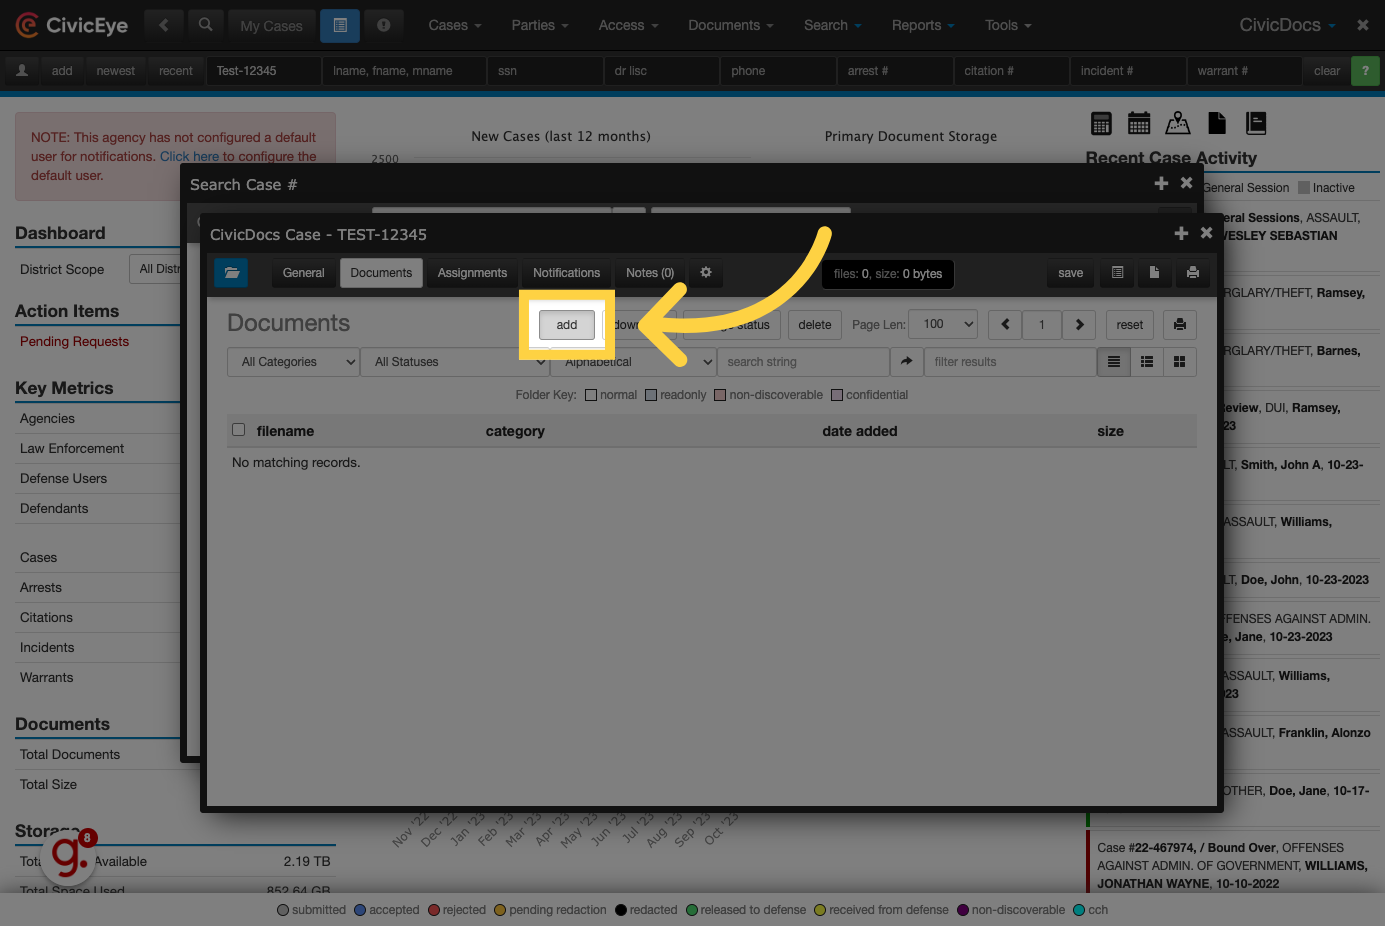
7. Click "add"
Click on the "add" button to begin the file upload process.
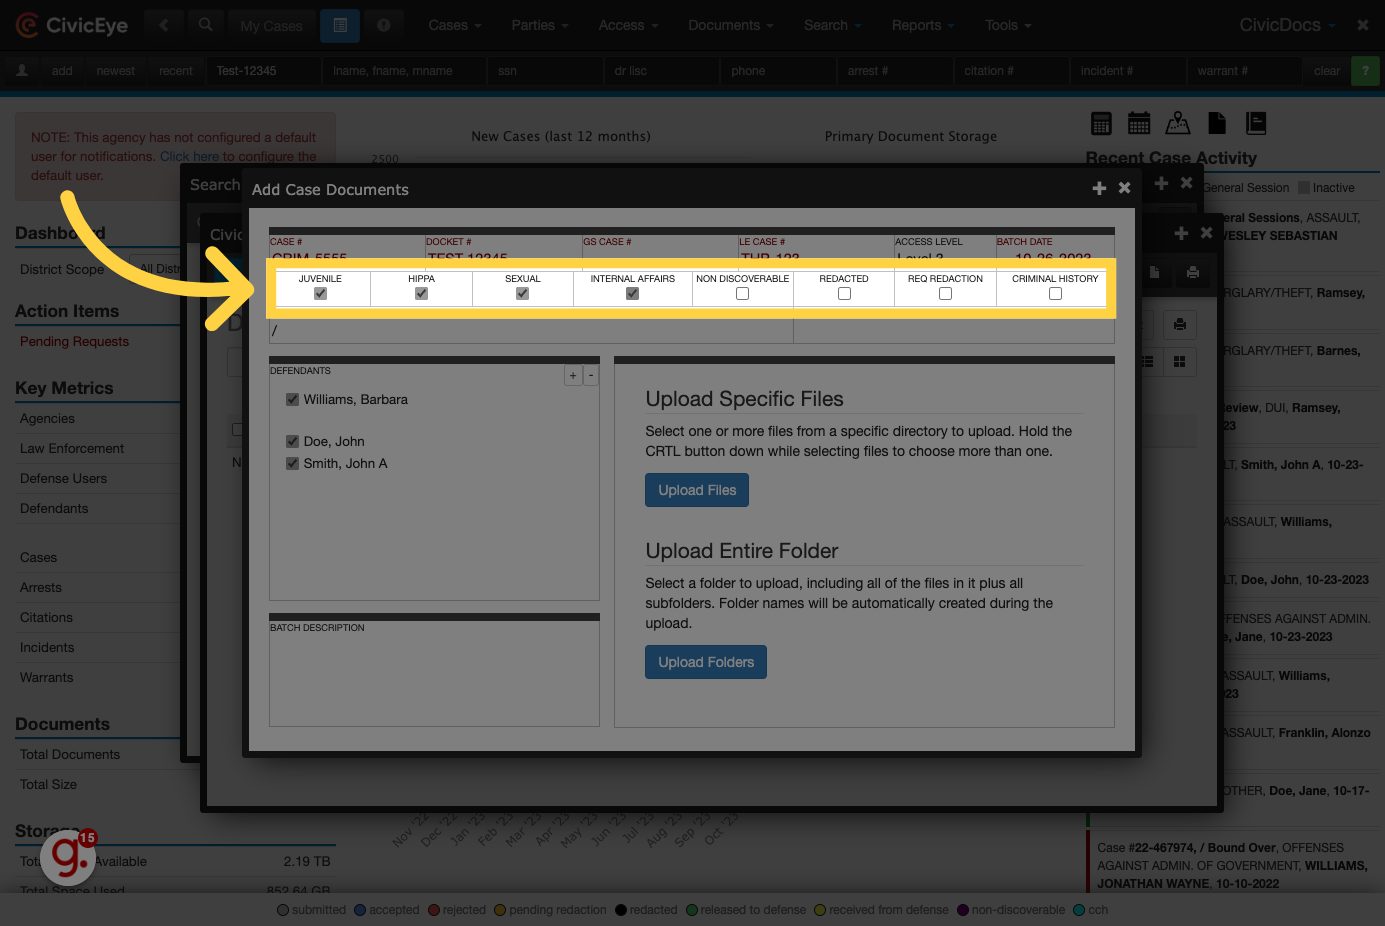
8. Set file security permissions settings
Use the checkboxes to set various access and security permissions settings. These settings restrict access to the content based on the permissions set in a users profile. Users will only have access to those files where their permissions allow.
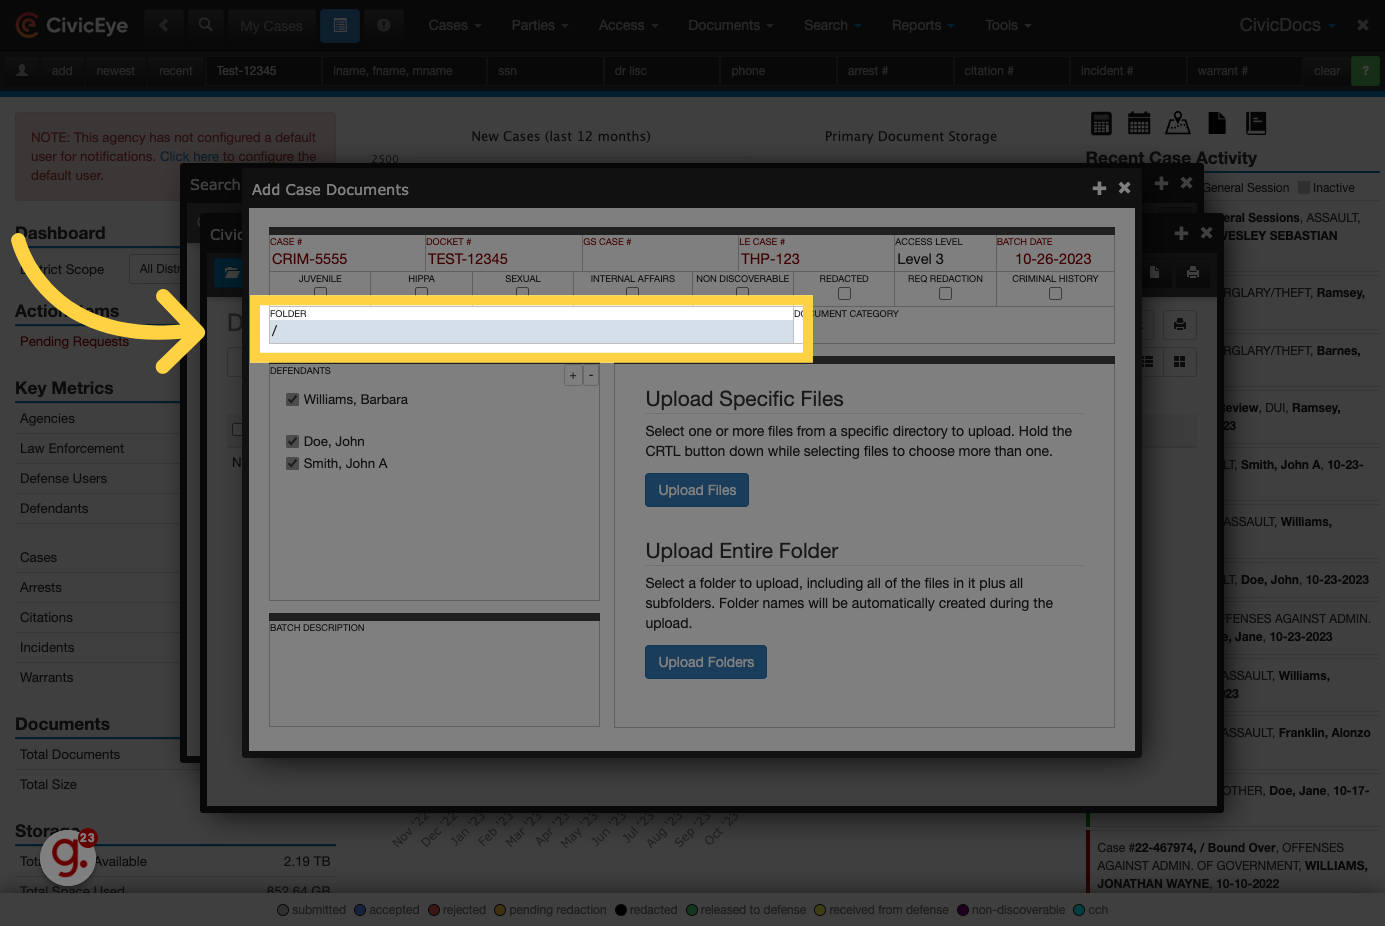
9. Choose a folder
Choose a folder where the file will be uploaded.
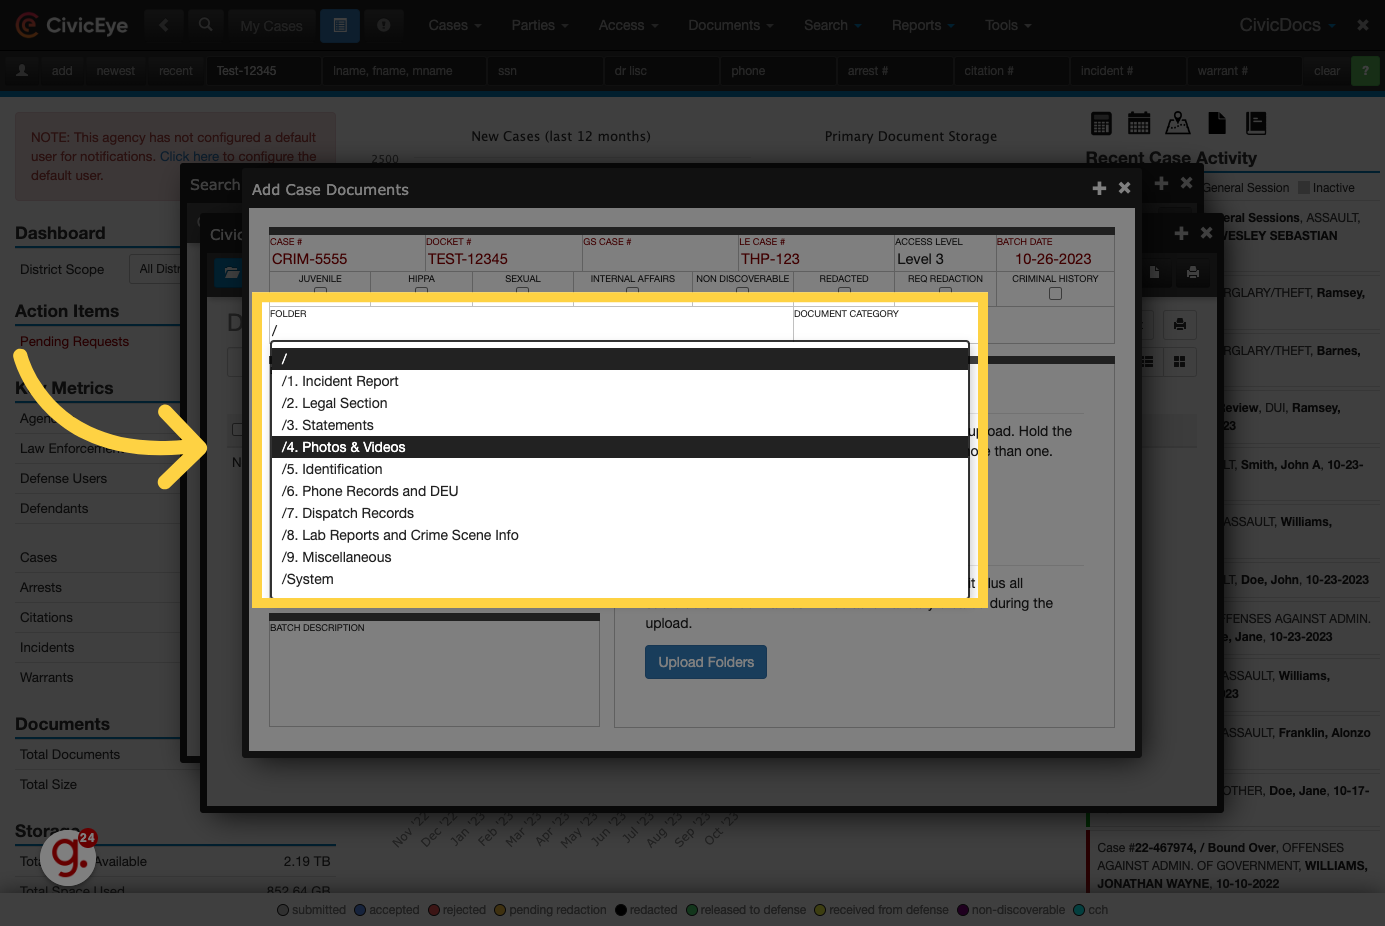
10. Click "/4. Photos & Videos"
Clients have the ability to configure the default folder names to best fit their respective workflows. CivicDocs also supports the configuration of folders at a County, District, or State level, while still supporting the ability to adjust the folder configurations at the local level for those offices that may need a tailored configuration.
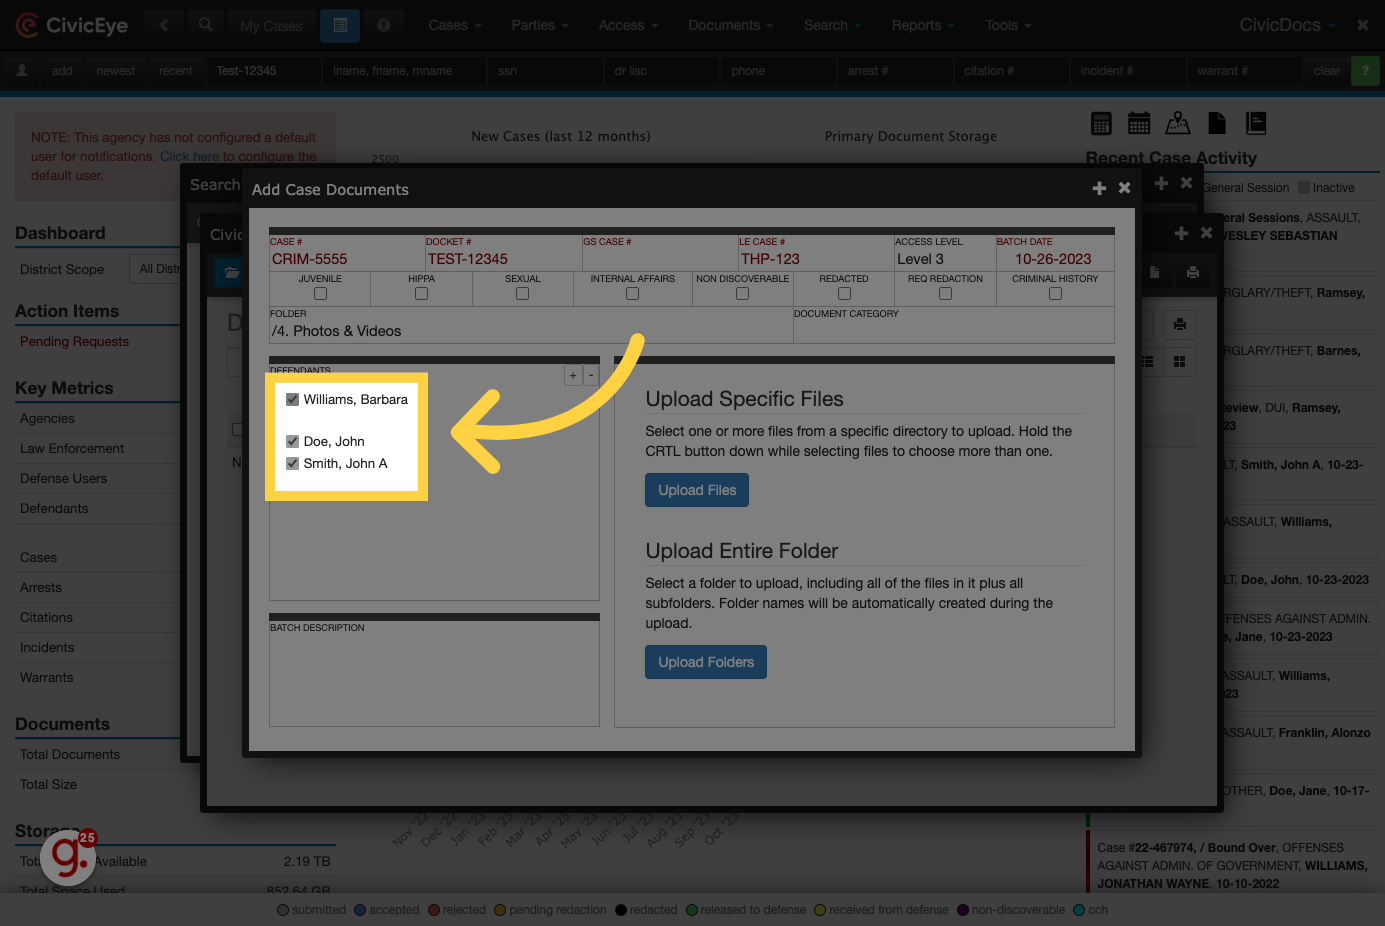
11. Choose applicable defendants
CivicDocs revolutionary co-defendants functionality streamlines how users interact and upload files to cases with multiple defendants. In a case with multiple defendants, simply choose the defendants where the documents or evidence is applicable by selecting the checkbox near their name. Worried about storage? Don't be! CivicDocs uses a unique file upload method to eliminate the need to store the same document once for each applicable defendant. This saves valuable storage space, time, and money!
12. Click "Upload Files"
Click on the "Upload Files" button to browse for a file to upload to the case.

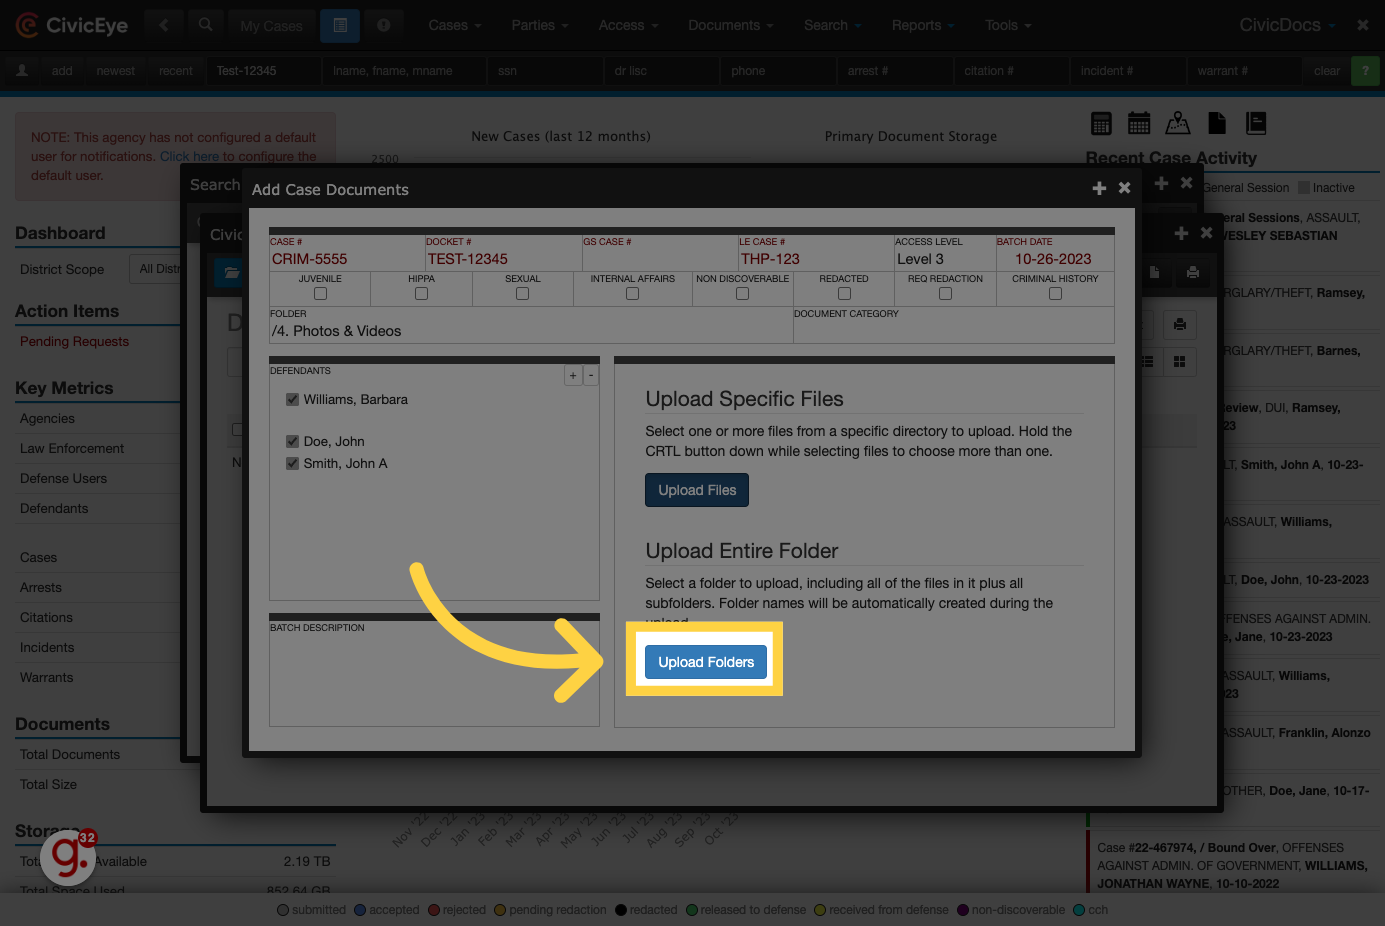
13. Click "Upload Folders"
Users can also upload entire folders along with their subfolder structures by clicking the Upload Folder button. This is especially helpful for complex cases where investigative files may have already been organized by law enforcement officers or prosecution team investigators.
14. Click here
Click the selected button
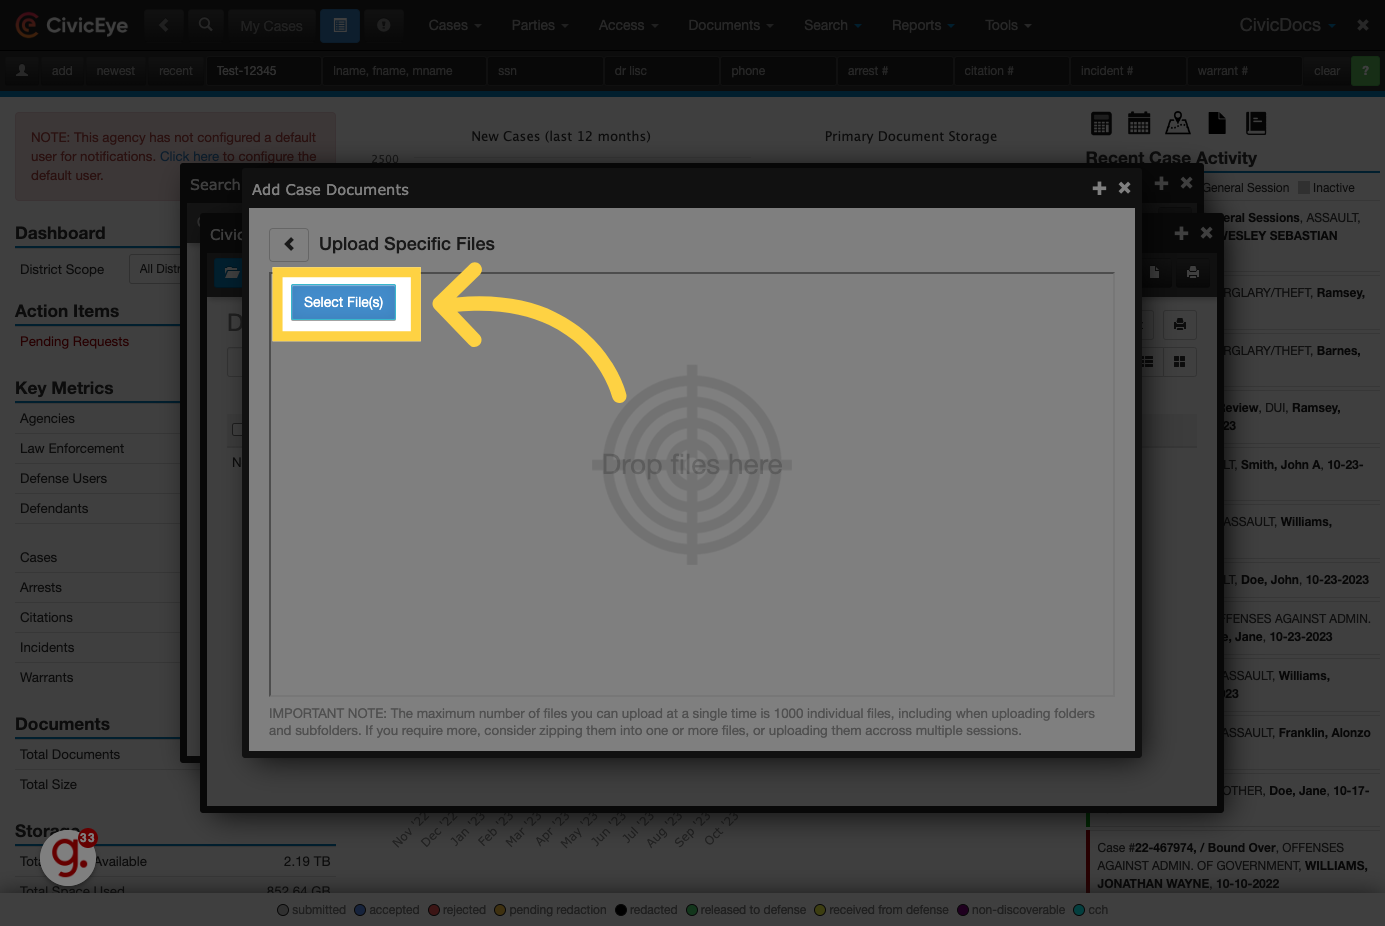
15. Upload the file
Browse your local computer, network drive, or cloud storage location such as onedrive to locate and upload the file to CivicDocs.

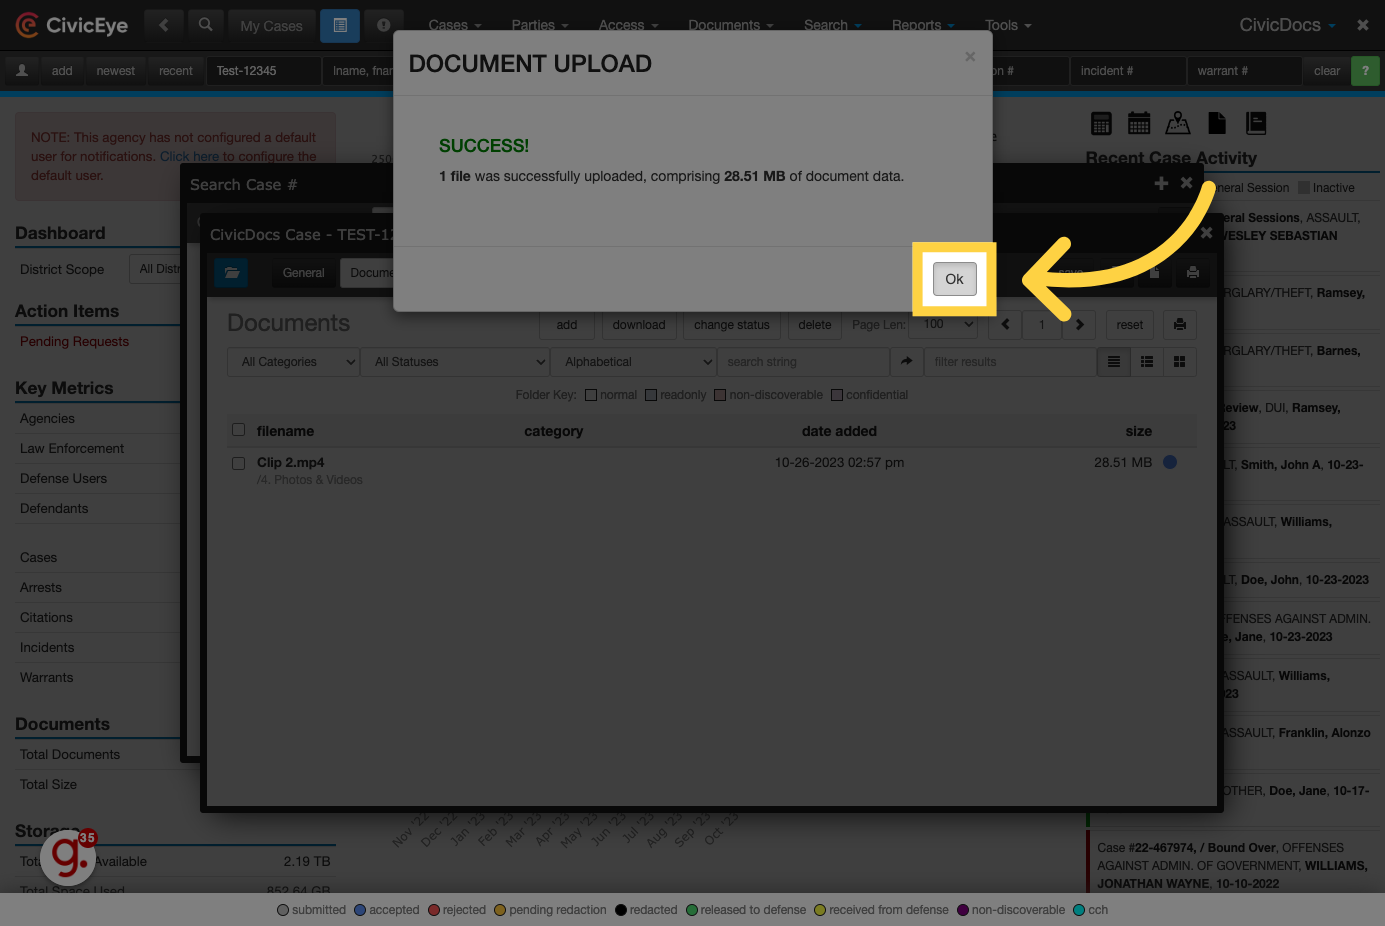
16. Click "Ok"
Upon successful upload, a confirmation window will display. In the event of any upload failure, a similar window would display to notify the user of a failed upload so the user can re-attempt.
17. Click "/4. Photos & Videos"
Once uploaded, the file will now display in the Documents List View. Click on the file to open it directly in the browser window.

18. Click "info"
To view additional technical information about the file, or give the file a "common name", click on the Info tab.

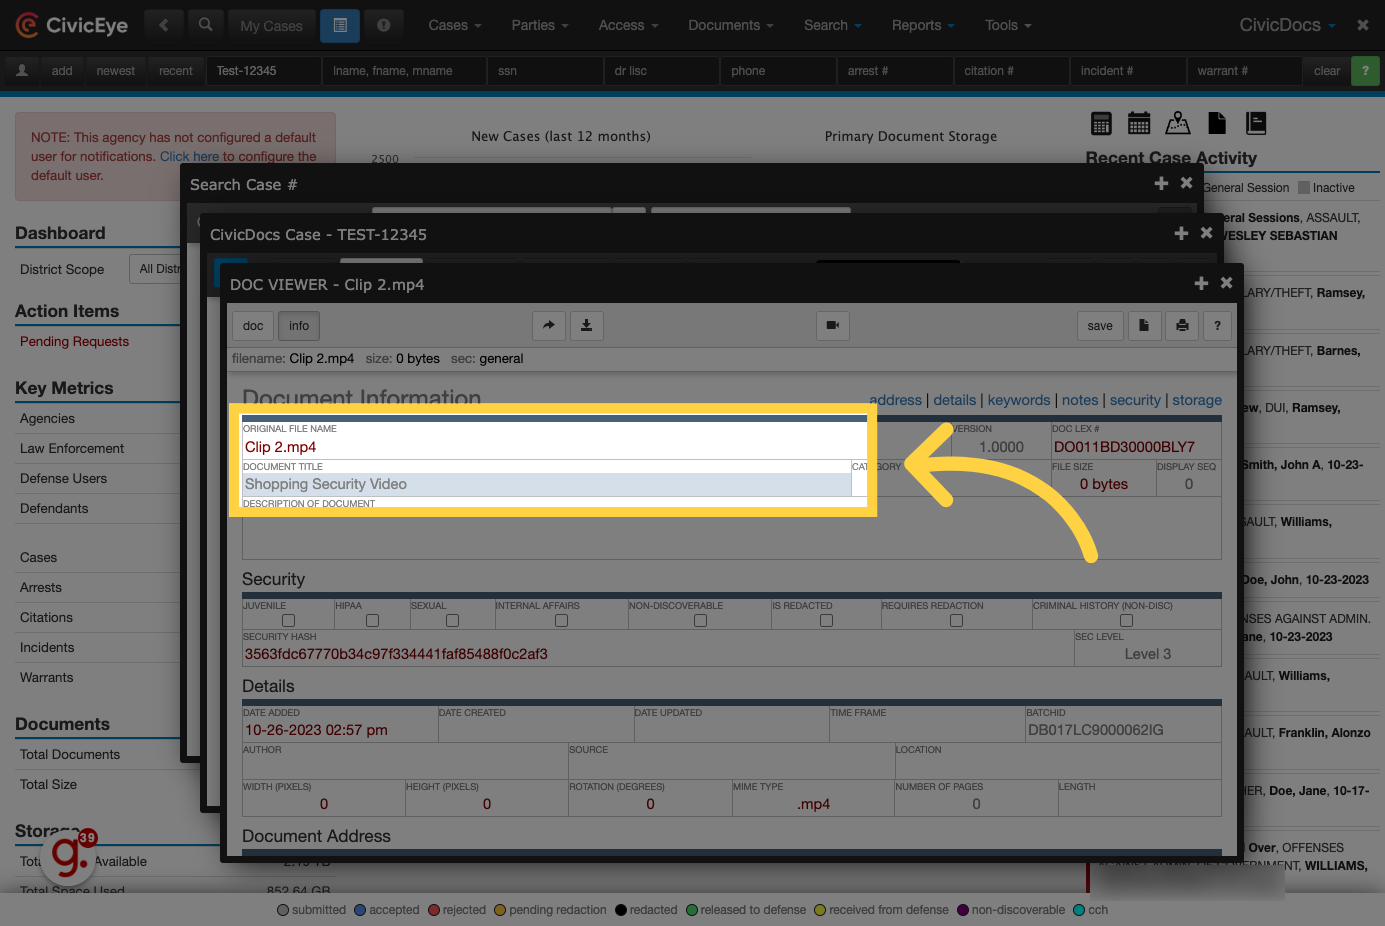
19. Fill "Shopping Security Video"
Enter the "Common name" into the Document Title field. This common name facilitates the quick identification of a file when the file name itself may be a generic name, or a date timestamp.
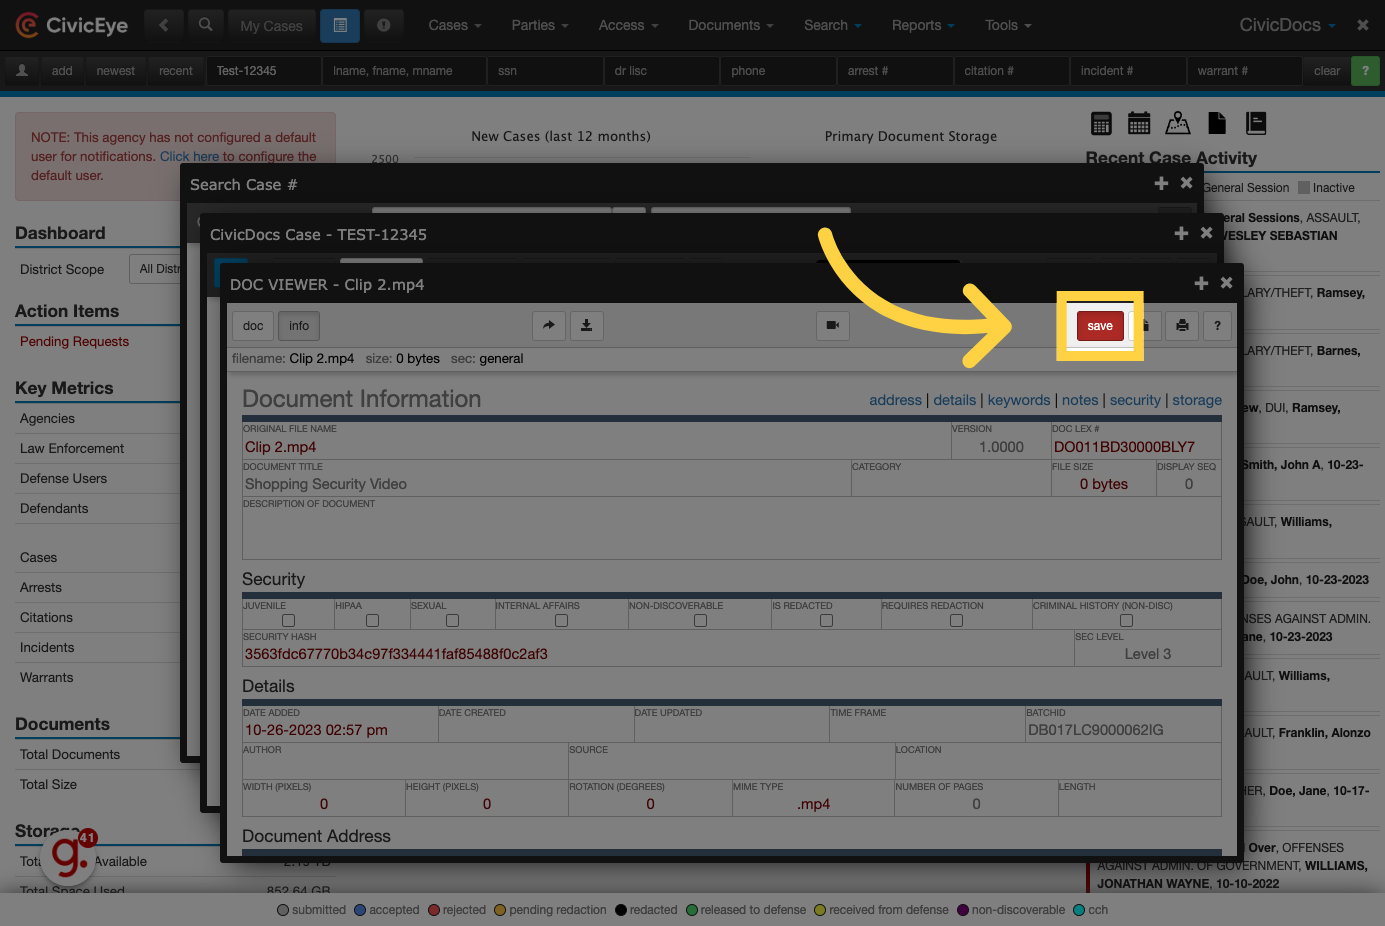
20. Click "save"
Click on the "save" button to save any changes.
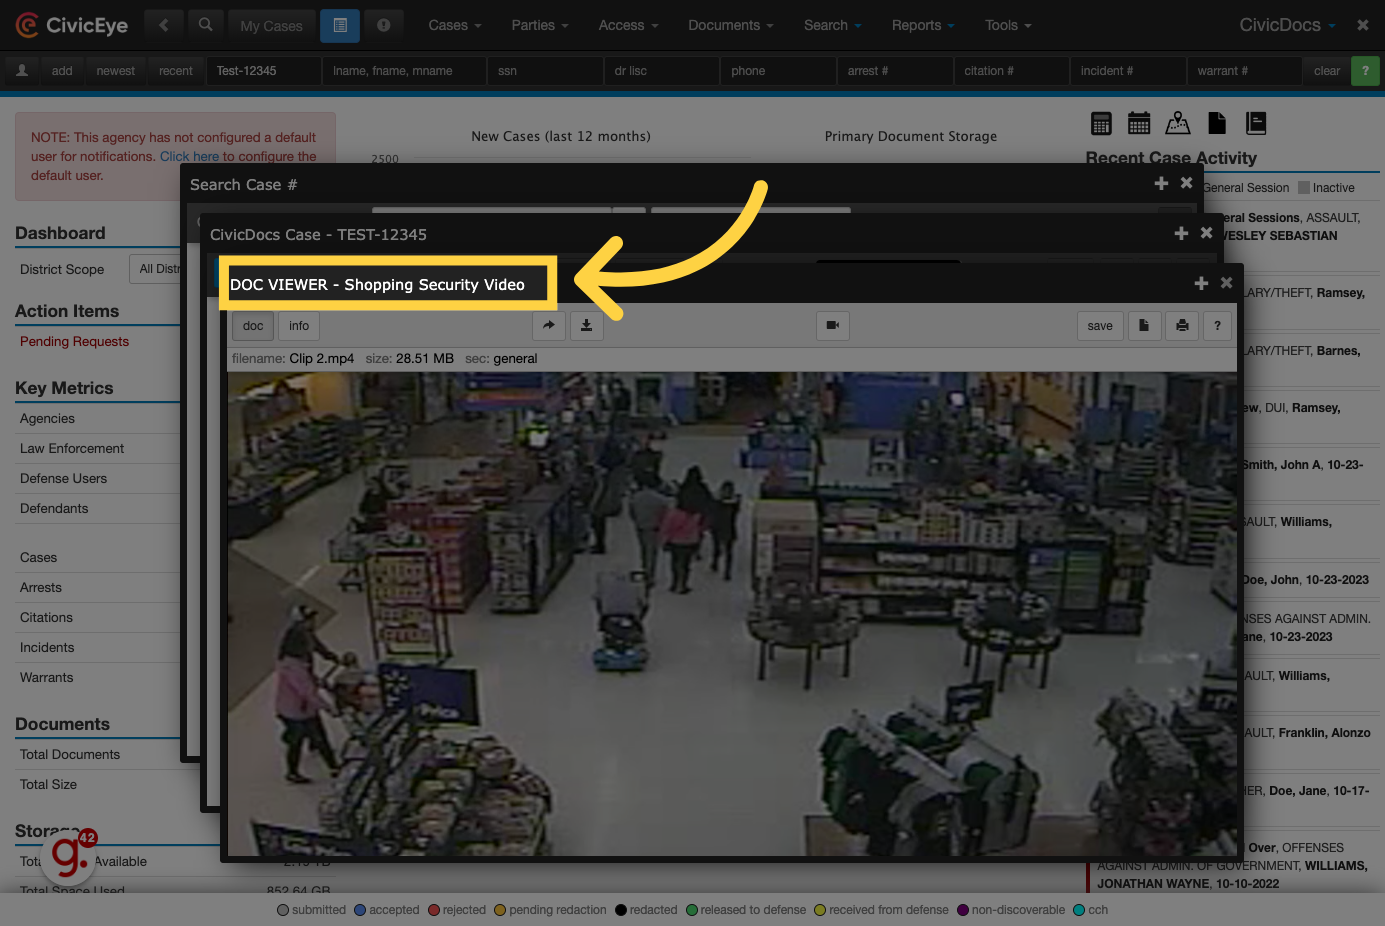
21. Common Name now displayed
Once saved, the common name will now display at the top of the doc viewer window.
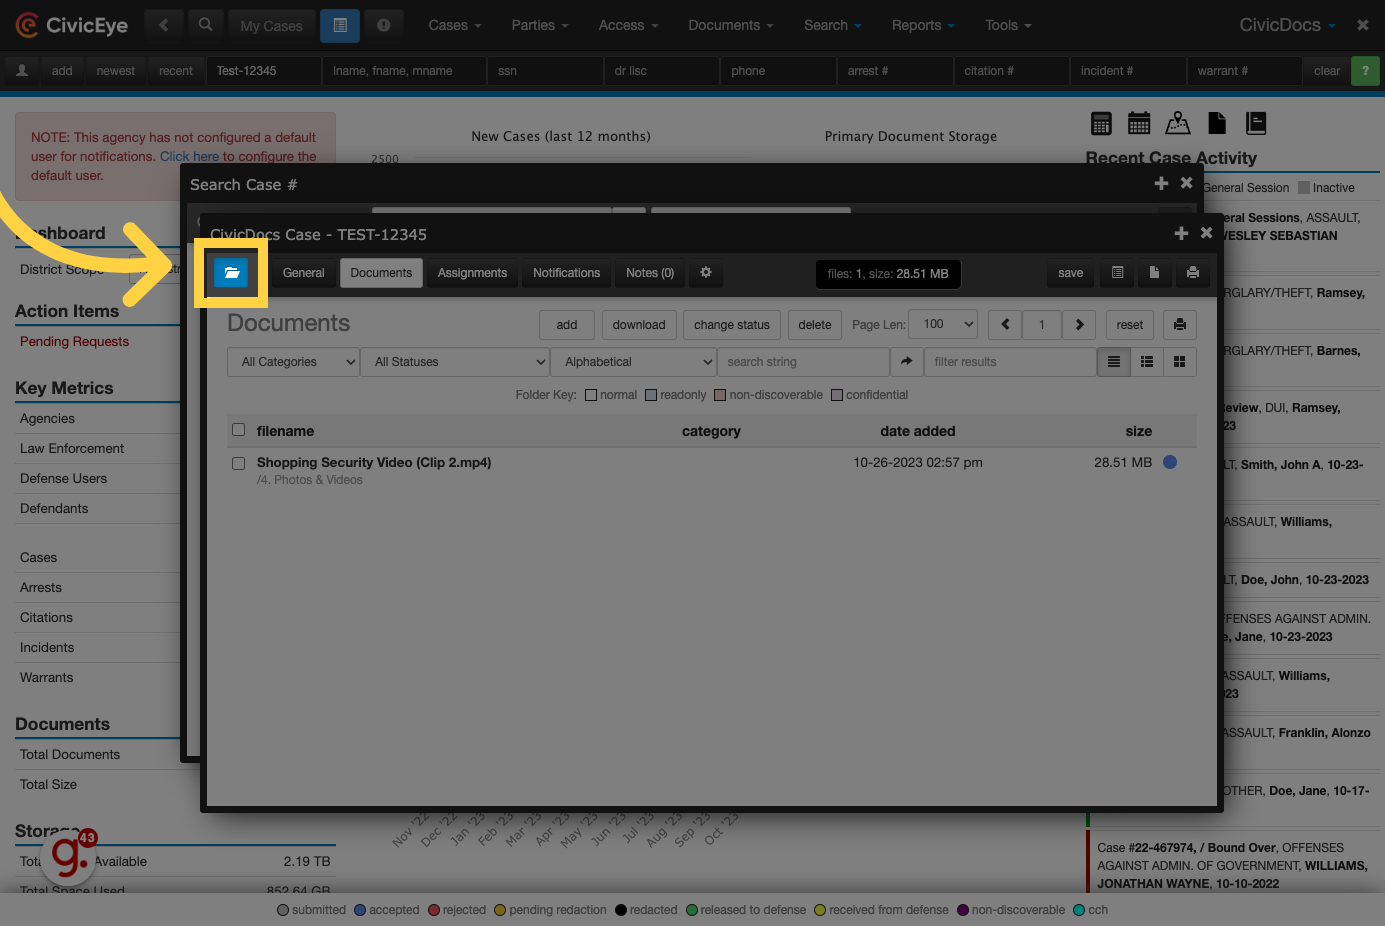
22. Click here to access the folder view
To access the folder view, click the blue folder button in the upper, left-hand corner of the CivicDocs window.
23. Empty Folder
Inside the Folder view, folders with contents inside them will be displayed with bolded text. Empty folders will be displayed with regular, non-bolded text. These folders are the same folders displayed in the Documents List View. Any configuration to the default folders will be reflected here as well.
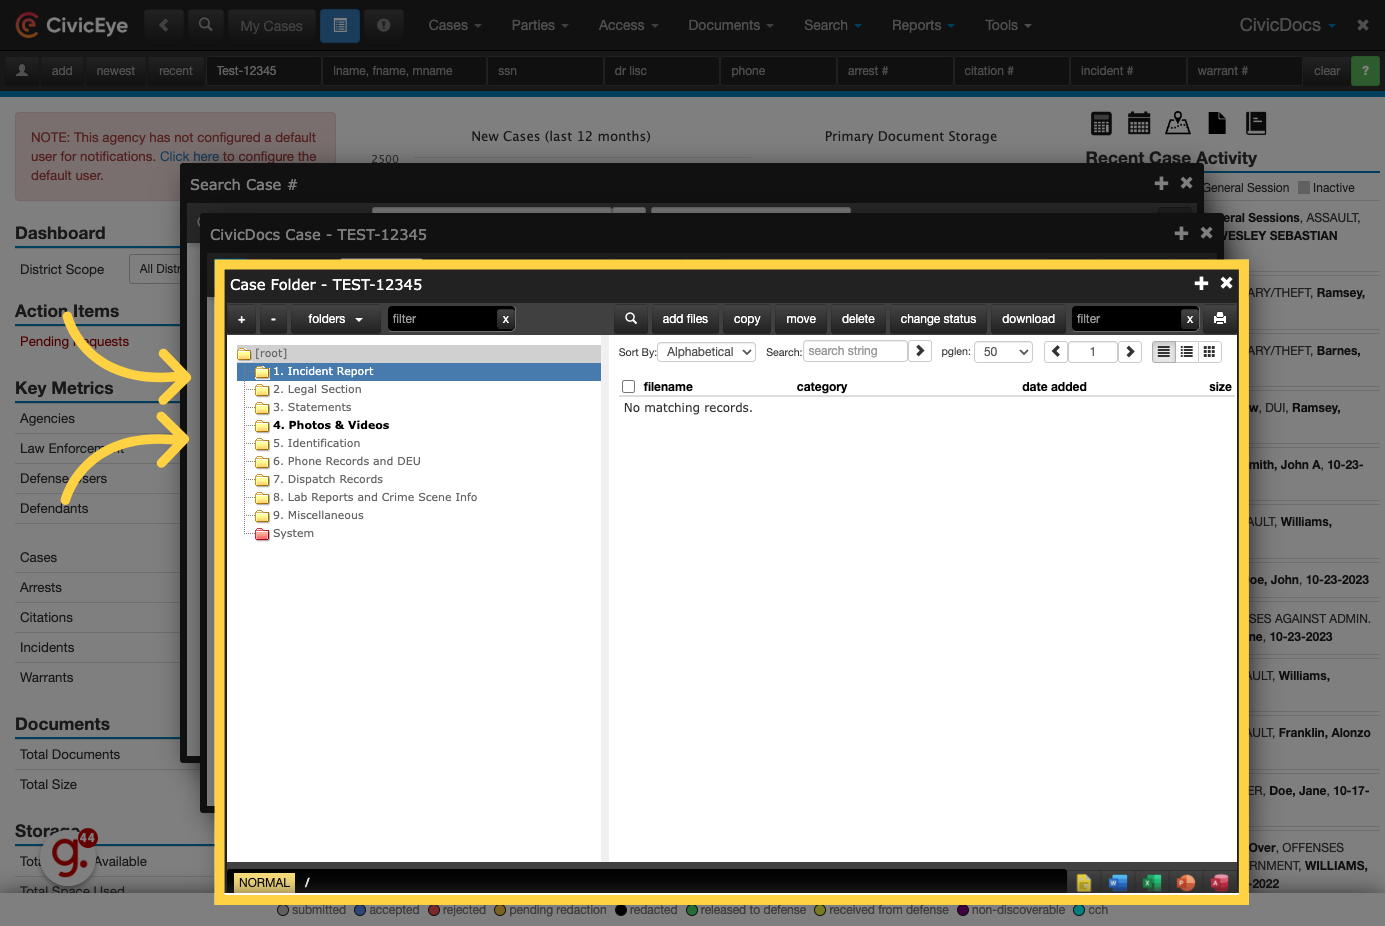
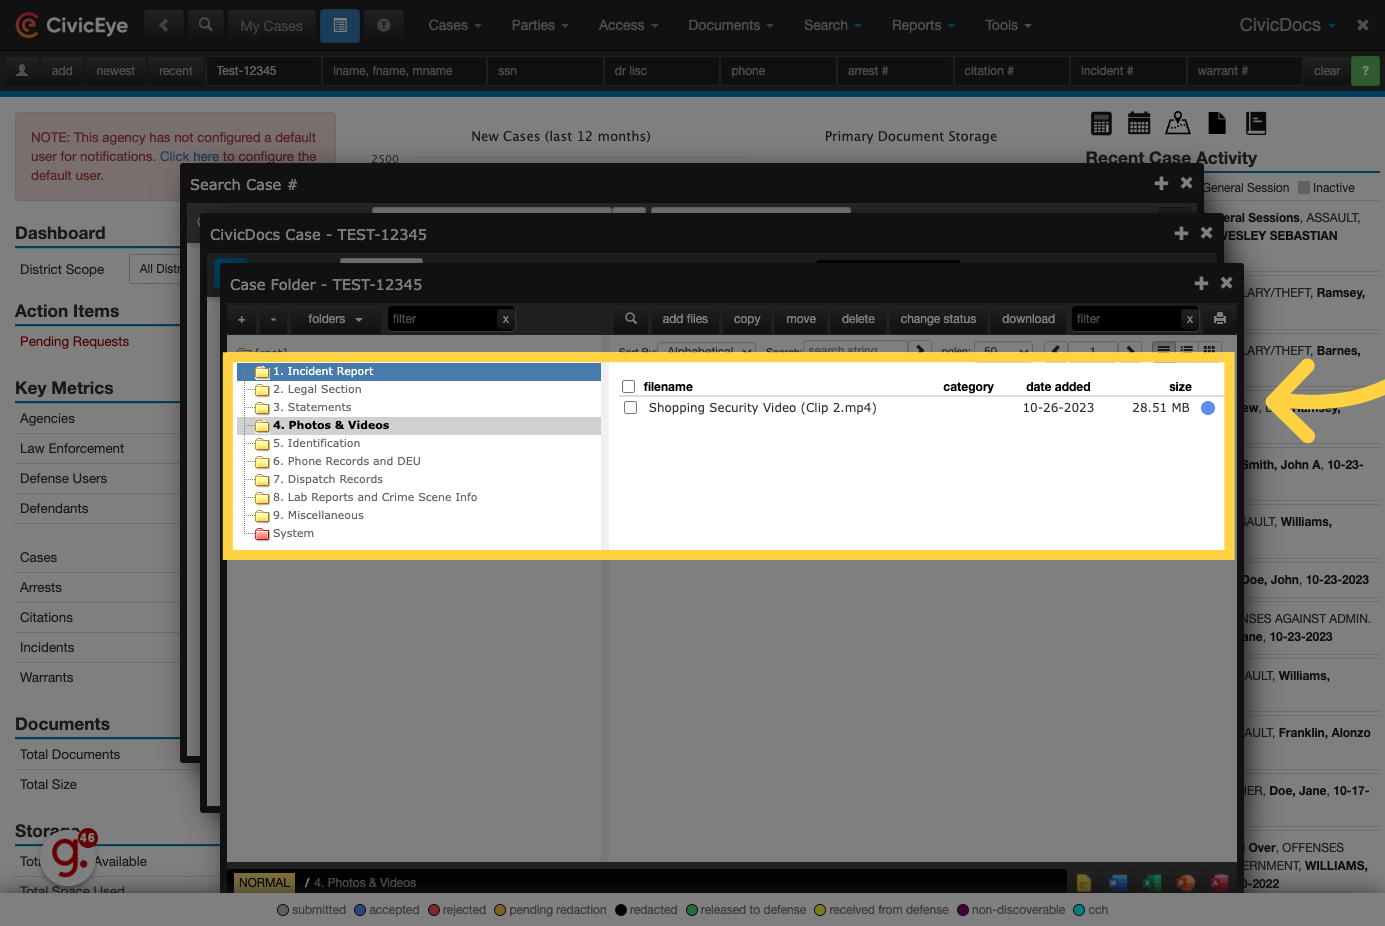
24. Click "1. Incident Report"
Click on a folder to view its contents. Files and media will be displayed to the right of the folder tree.
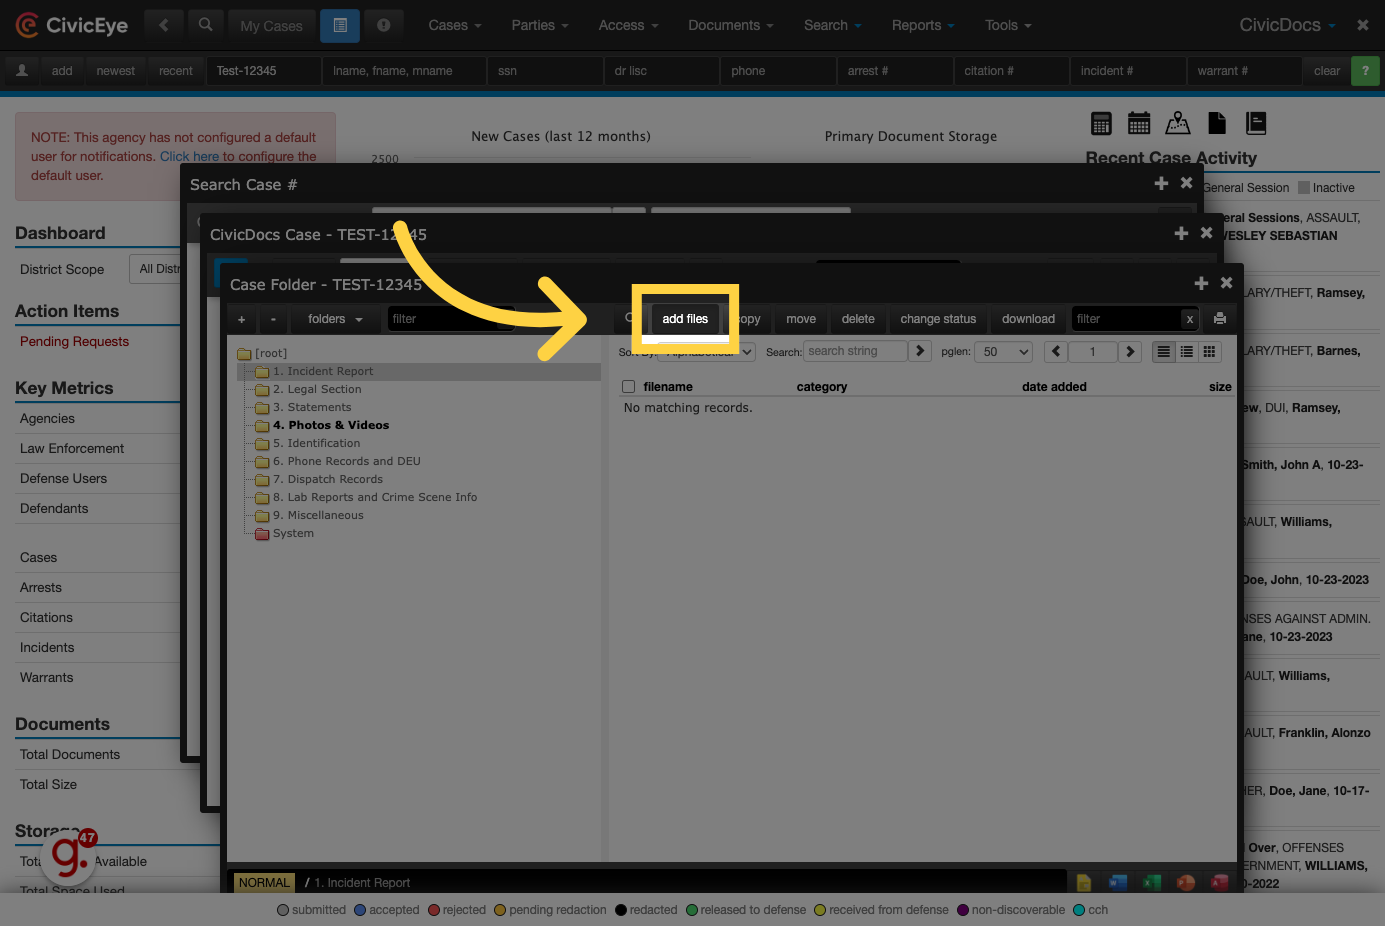
25. Click "add files"
To upload files, click on the "add files" button.
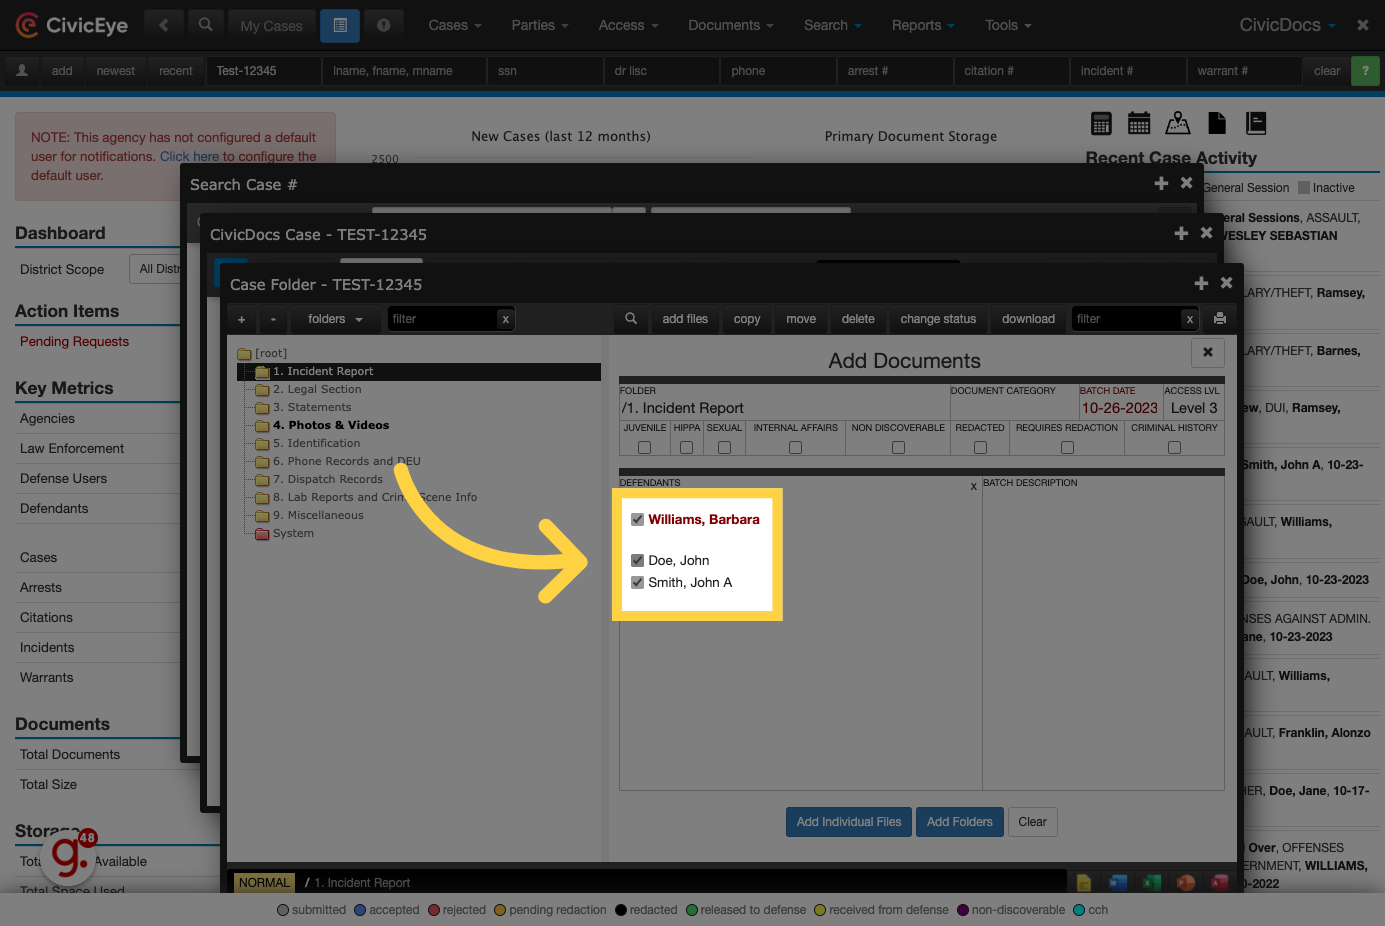
26. Choose applicable defendants
Just like in the Documents List View, simply choose the defendants where the documents or evidence is applicable by selecting the checkbox near their name.
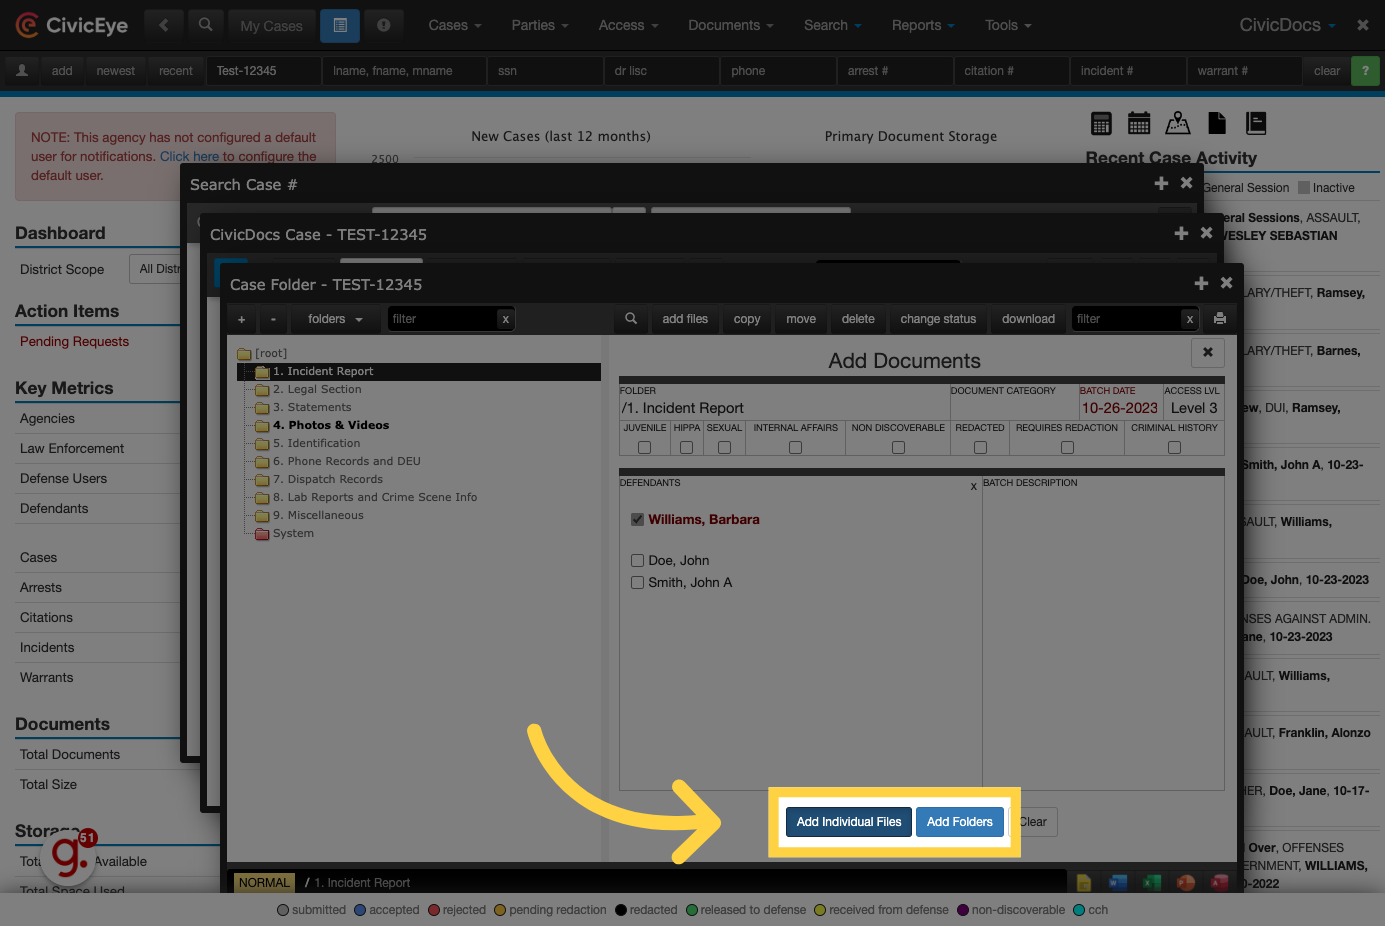
27. Click "Add Individual Files"
Click on the "Add Individual Files" button to upload individual files, or "Add Folders" to upload entire folders of content.
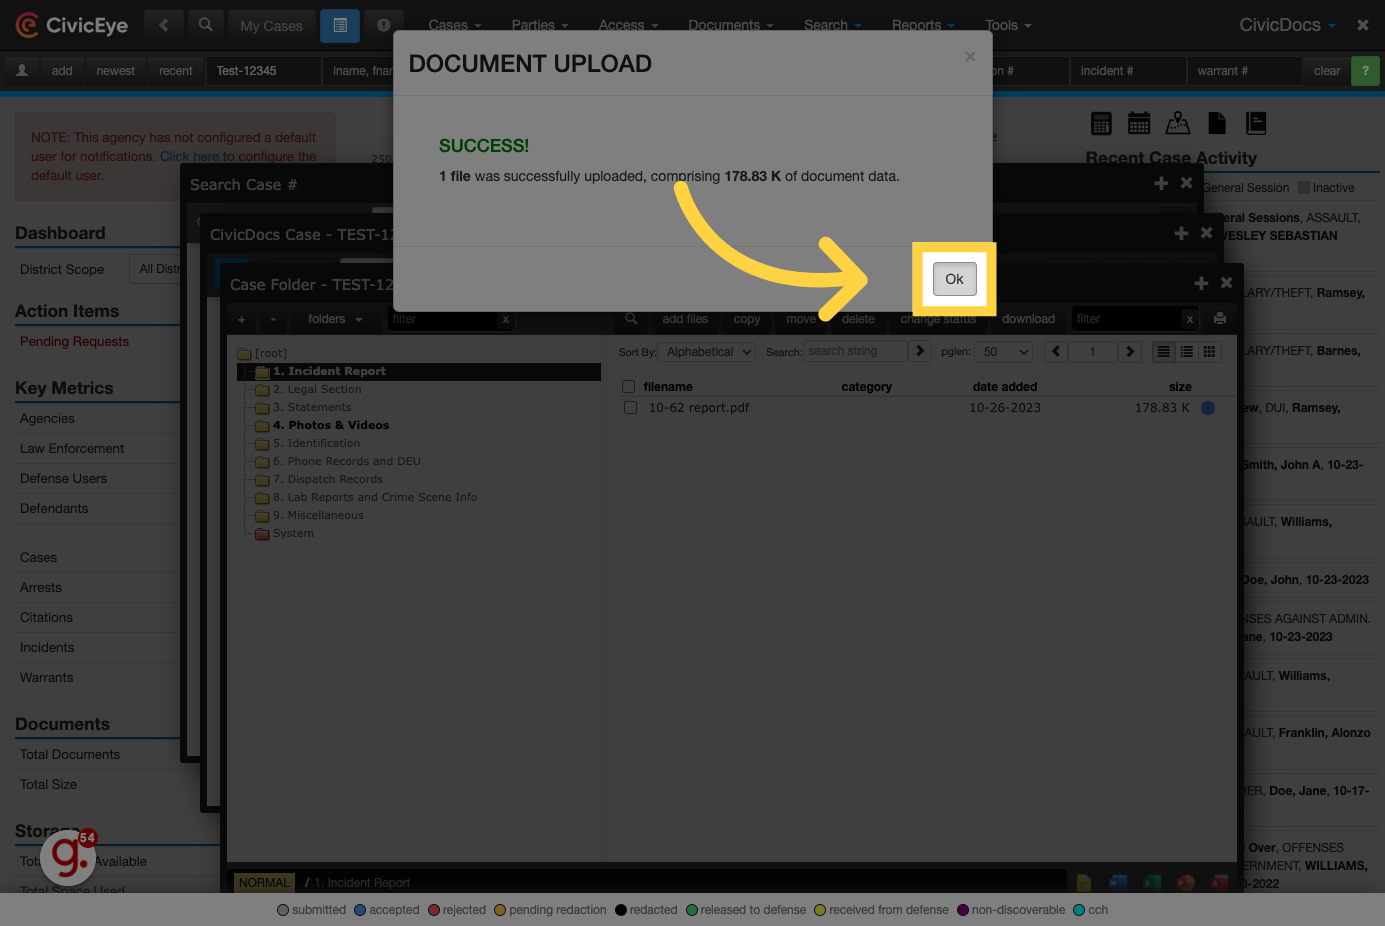
28. Click "Ok"
Upon successful upload, a confirmation window will display. In the event of any upload failure, a similar window would display to notify the user of a failed upload so the user can re-attempt.
We hope this quick tutorial was helpful in understanding how to use the powerful document and evidence management features in the CivicDocs application, and we thank you for your commitment to your local community!
Learn more about CivicCase