.png?width=250&height=99&name=CivicEye_Identity_Secondary%20(4).png)
Field Interview
This tutorial guides you through completing a field interview using CivicRMS
This tutorial guides you through completing a field interview using CivicRMS
Go to training-rms.civiceye.com
1. Introduction
You will learn how to create a new interview record, enter subject and incident details, upload supporting media, and accurately capture location information.
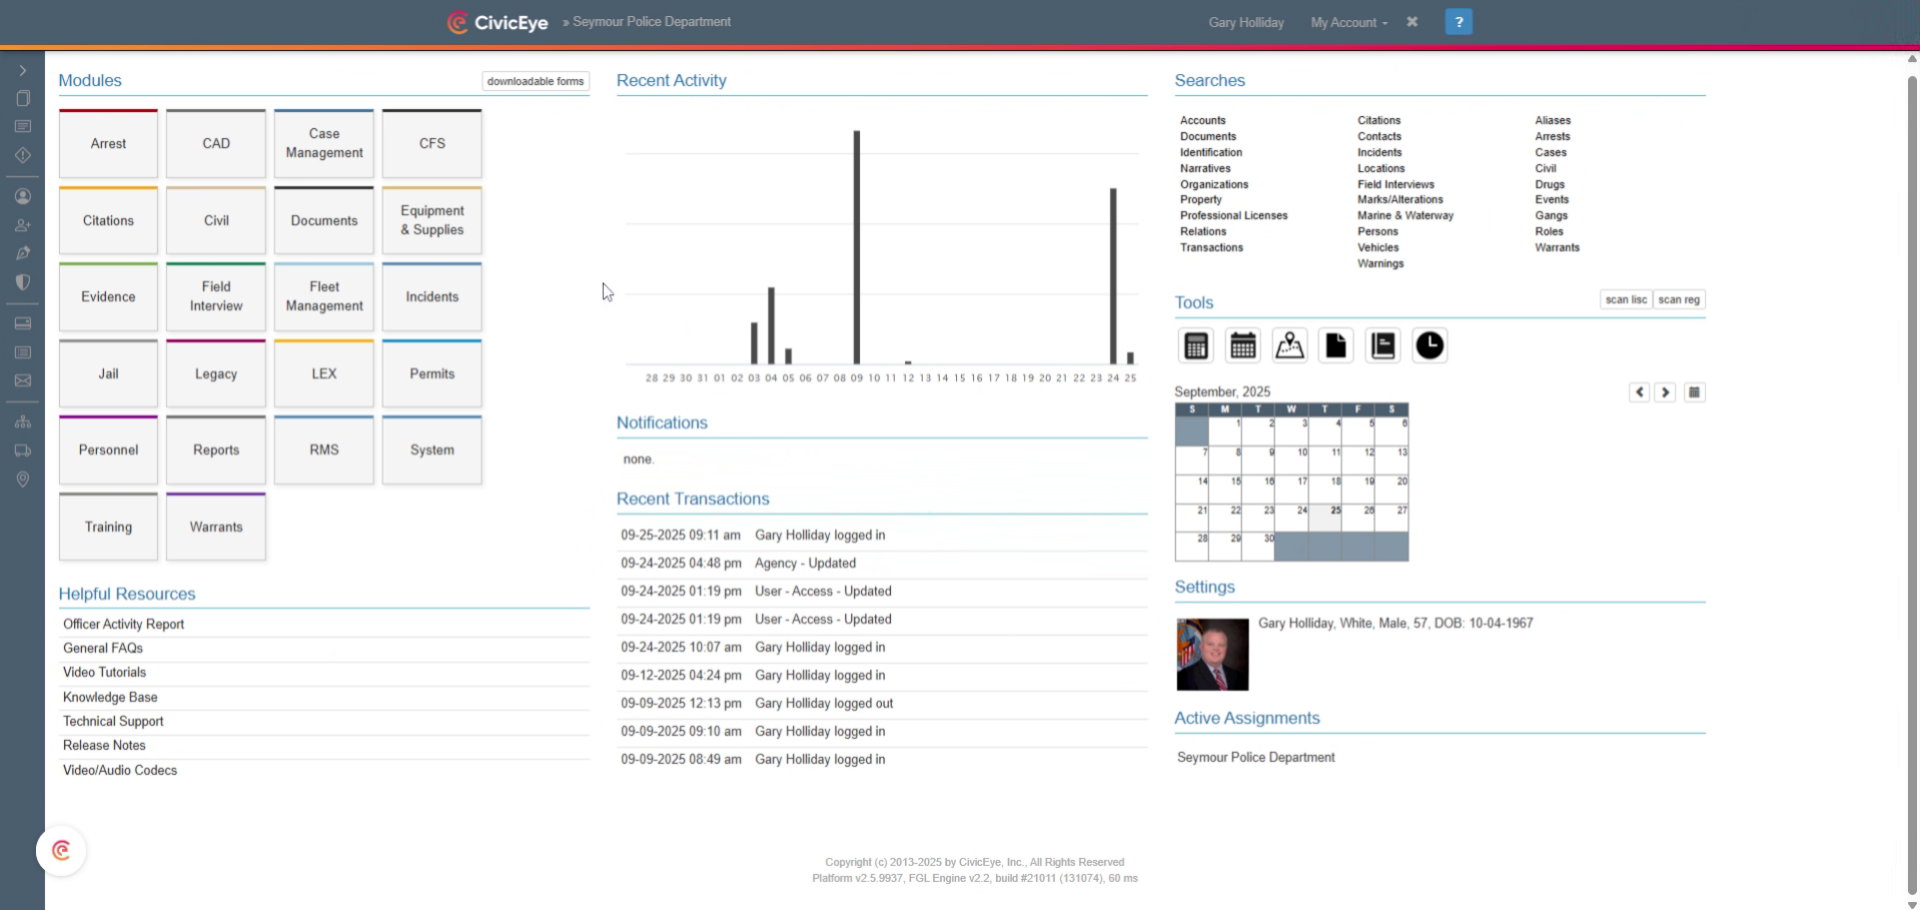
2. Select Field Interview
Field Interview allows the user to document suspicious activity, or note unusual circumstances. This includes suspicious persons or vehicles, sex offenders, and probation and parolees. It also provides a database for information on persons with behavioral health and CIT issues, and persons with special health needs. From the main CivicRMS dashboard, select Field Interview.
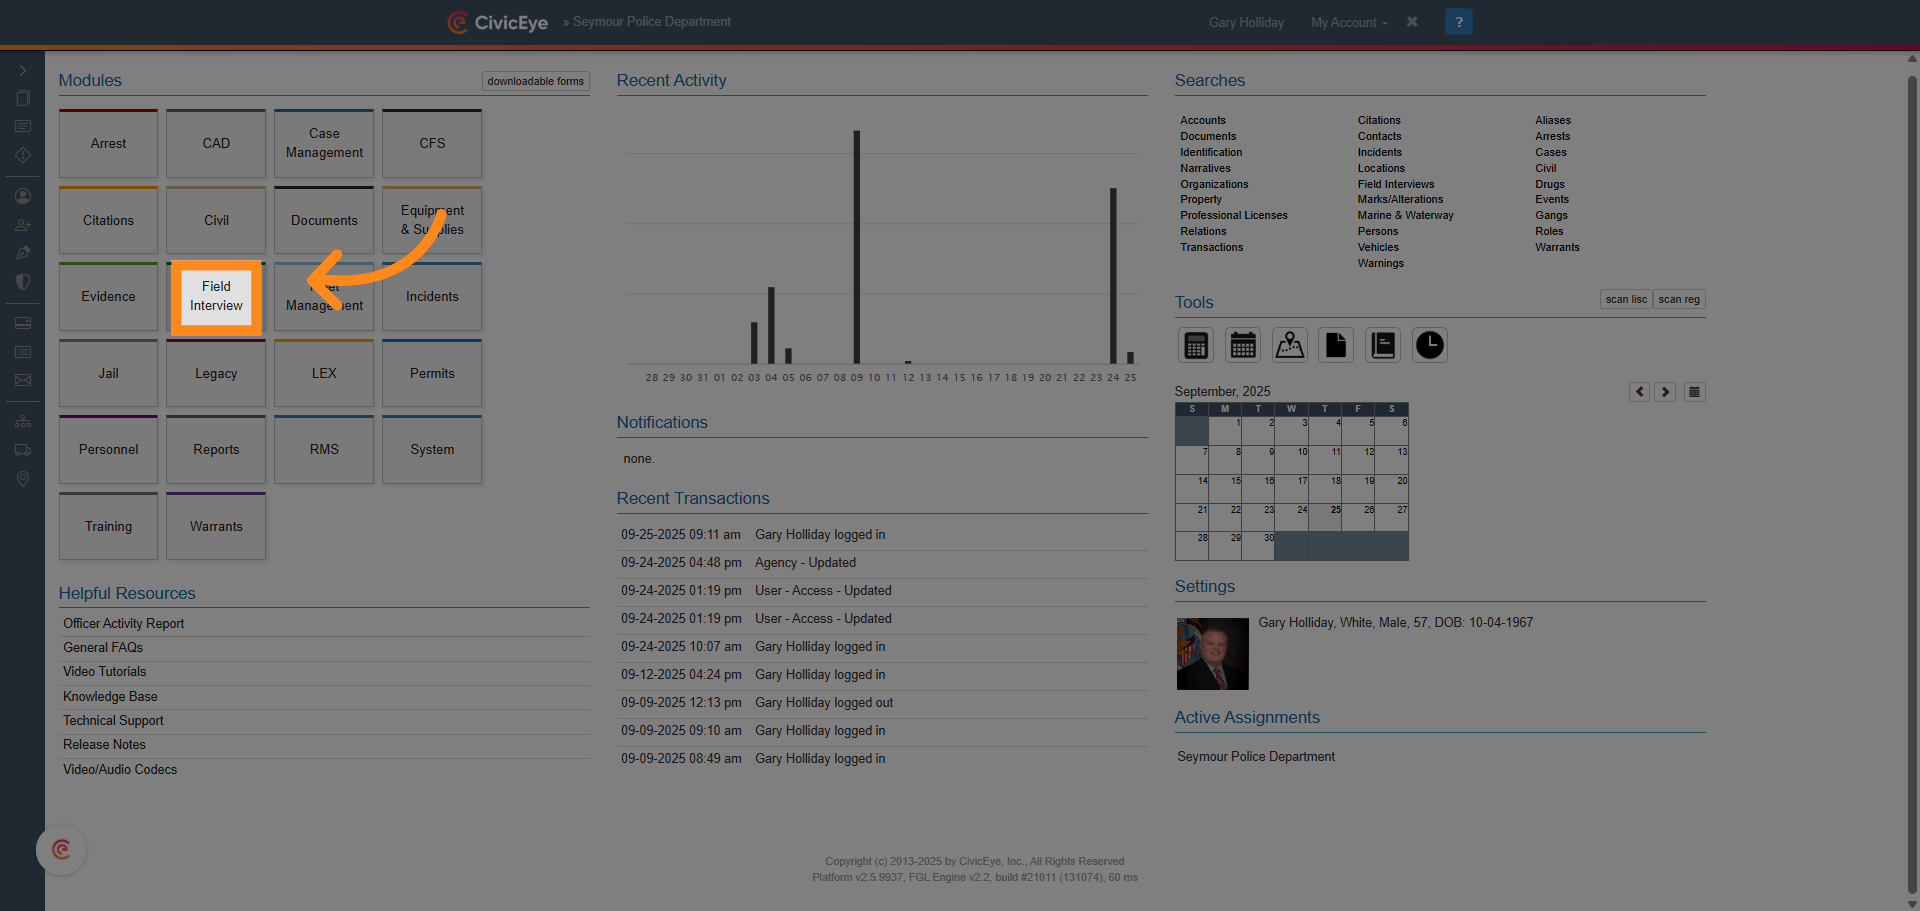
3. Select New Interview
To begin a new field interview, select the new interview tab.
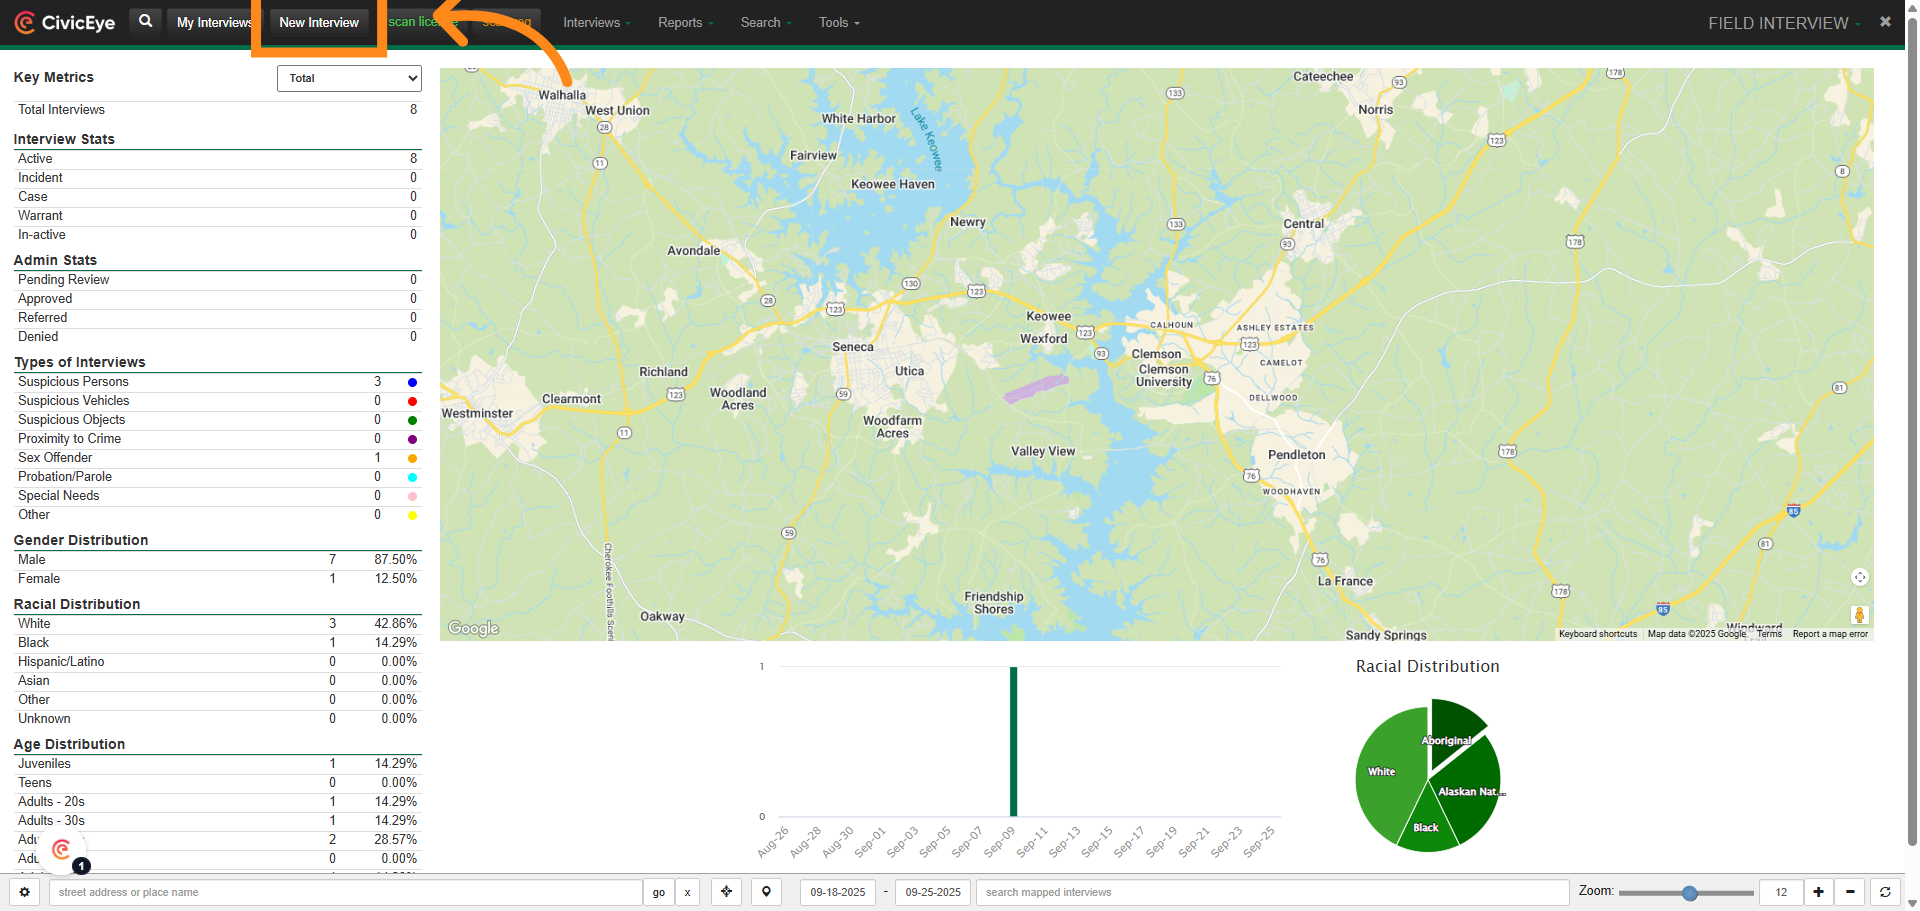
4. Field Interview "Card"
Selecting the new interview tab will bring up the field interview page, or "FI card".
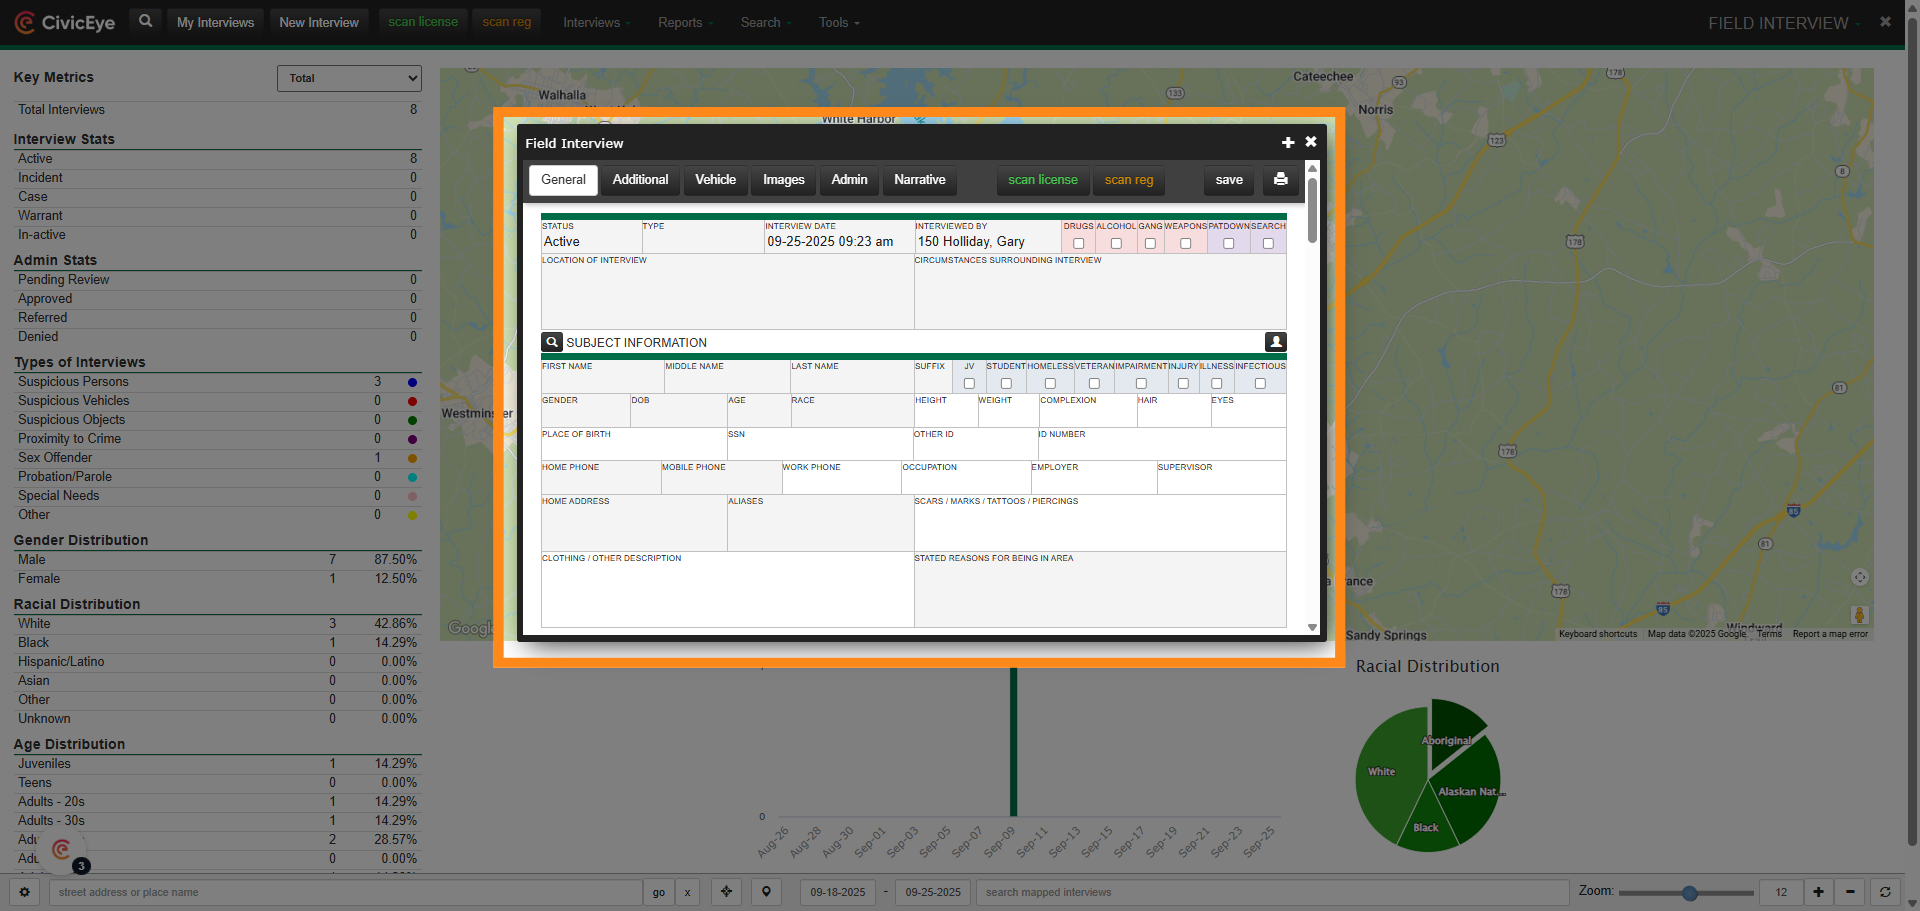
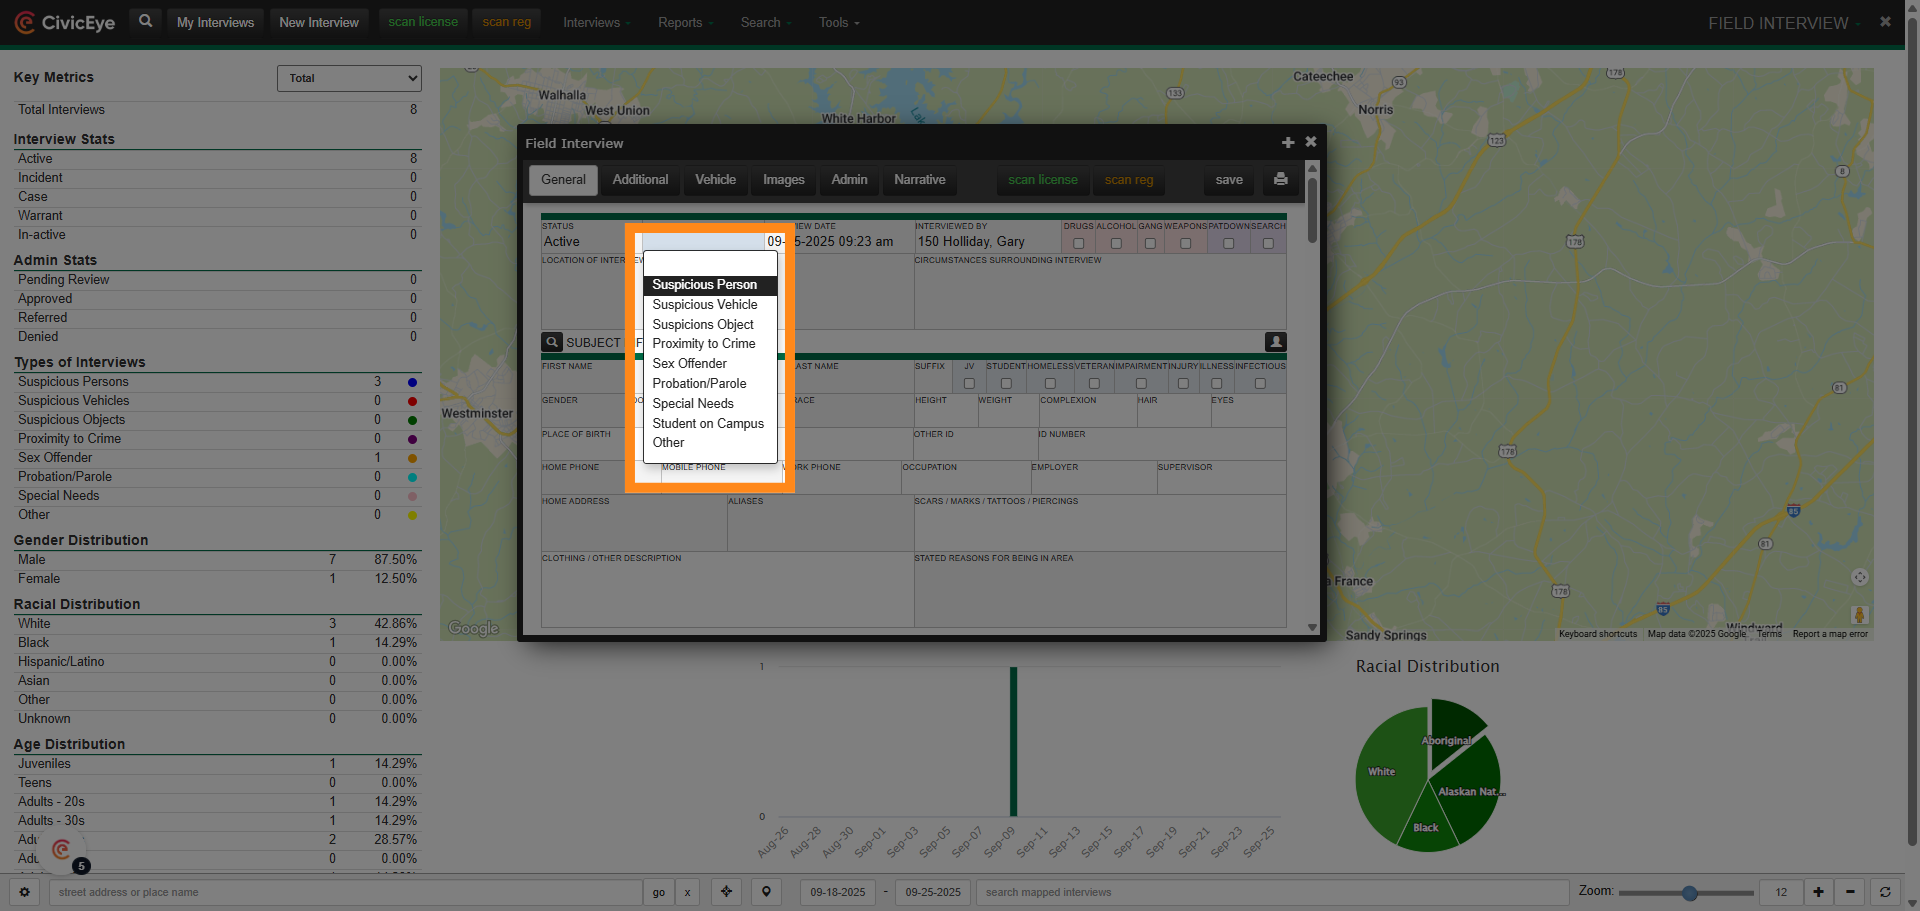
5. Interview Type
The first step in documenting the field interview is selecting the interview type. CivicRMS provides an interview type dropdown.
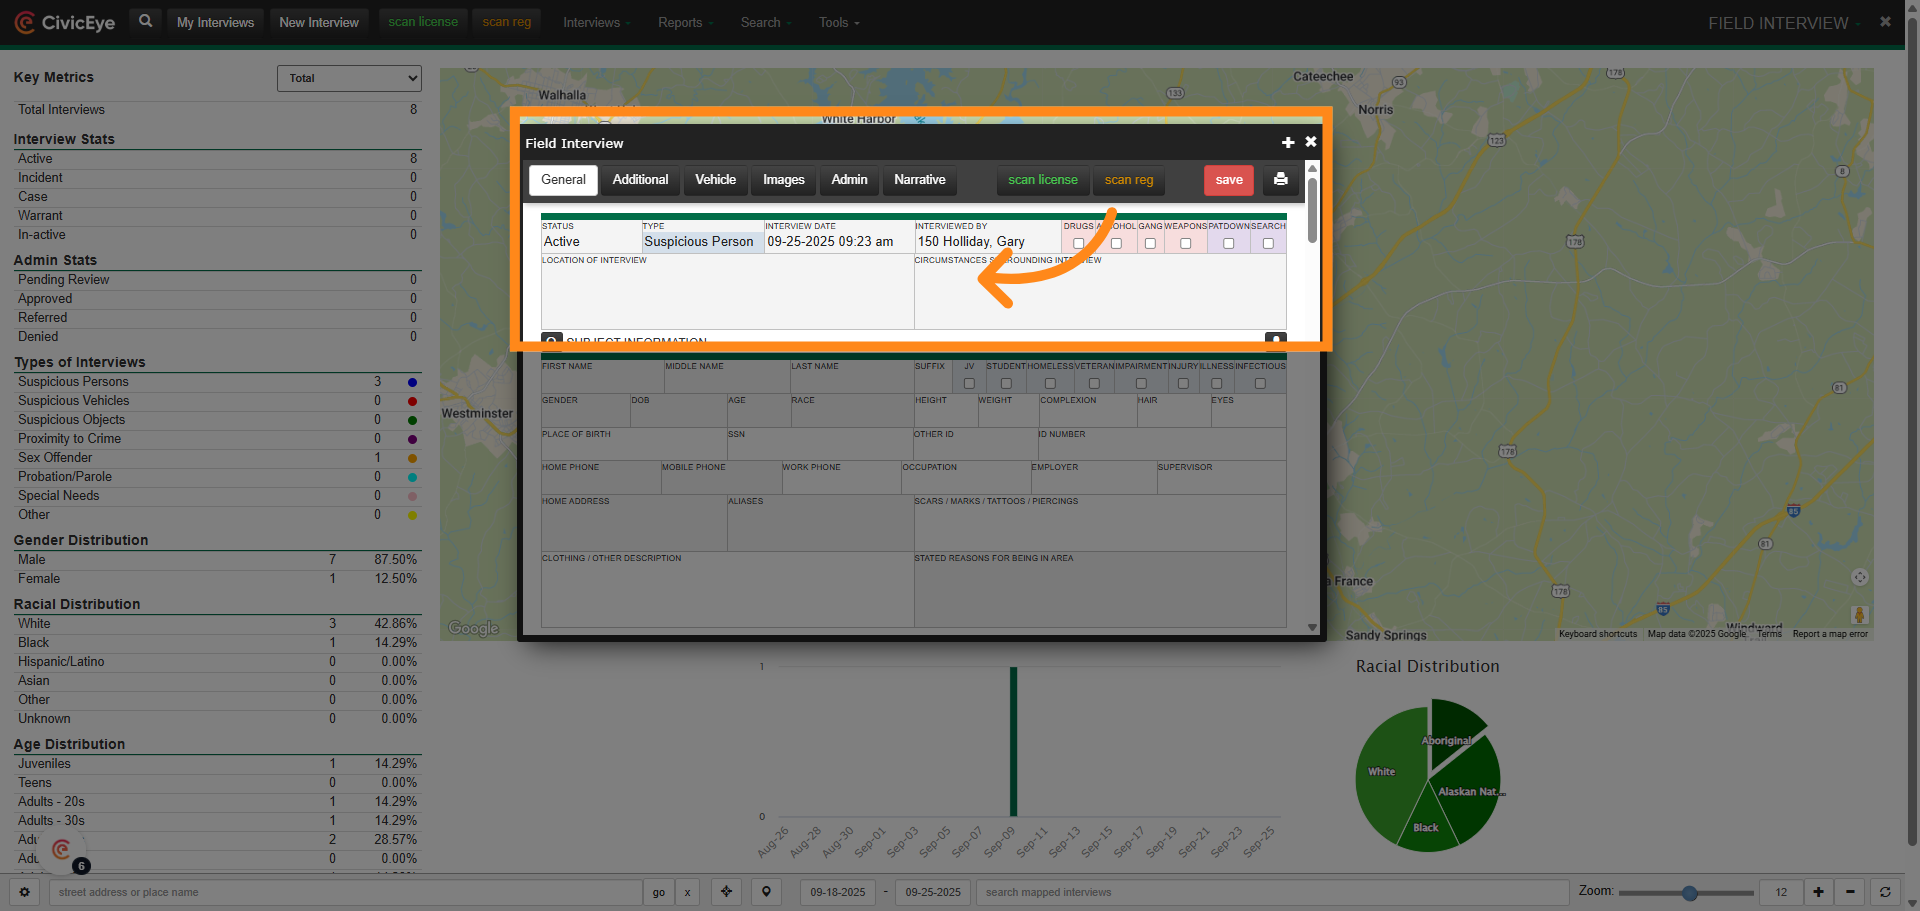
6. Field Interview Information
The field interview "card" provides the user areas to collect information on interview dates and times, location, suspicious activity, and interview circumstances.
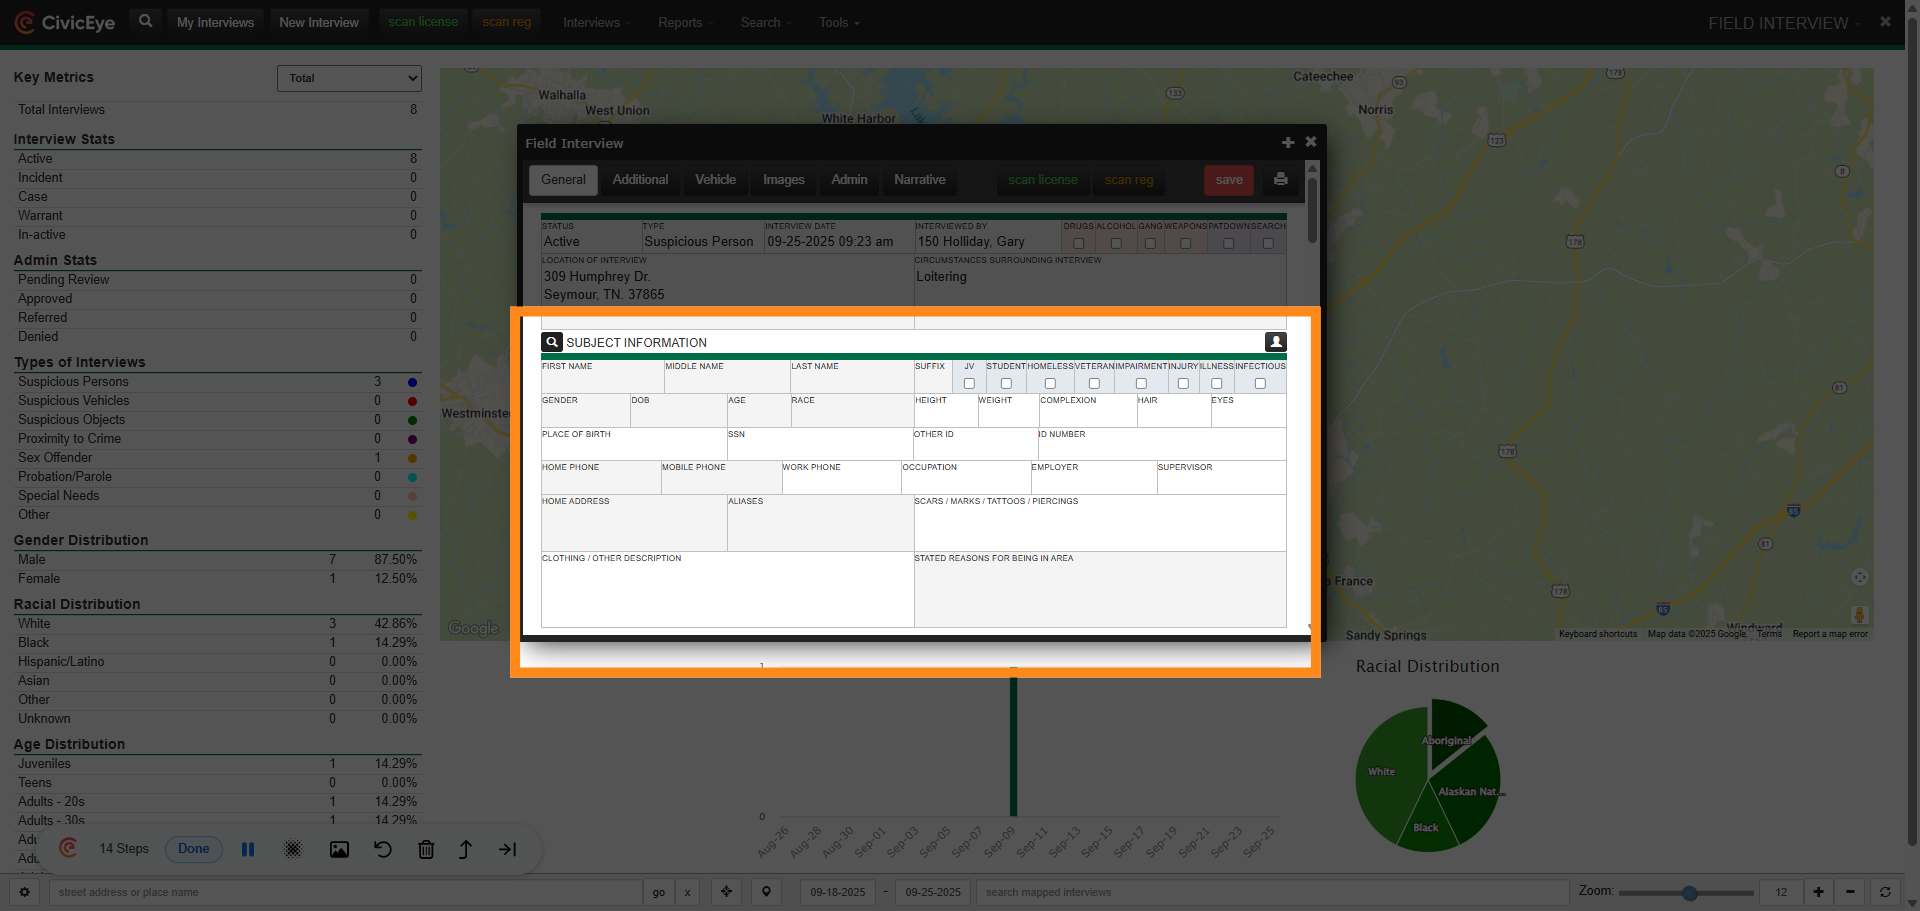
7. Subject Information
Adding information on the person interviewed uses the same process as adding a person to an incident report, citation, or any other CivicRMS module.
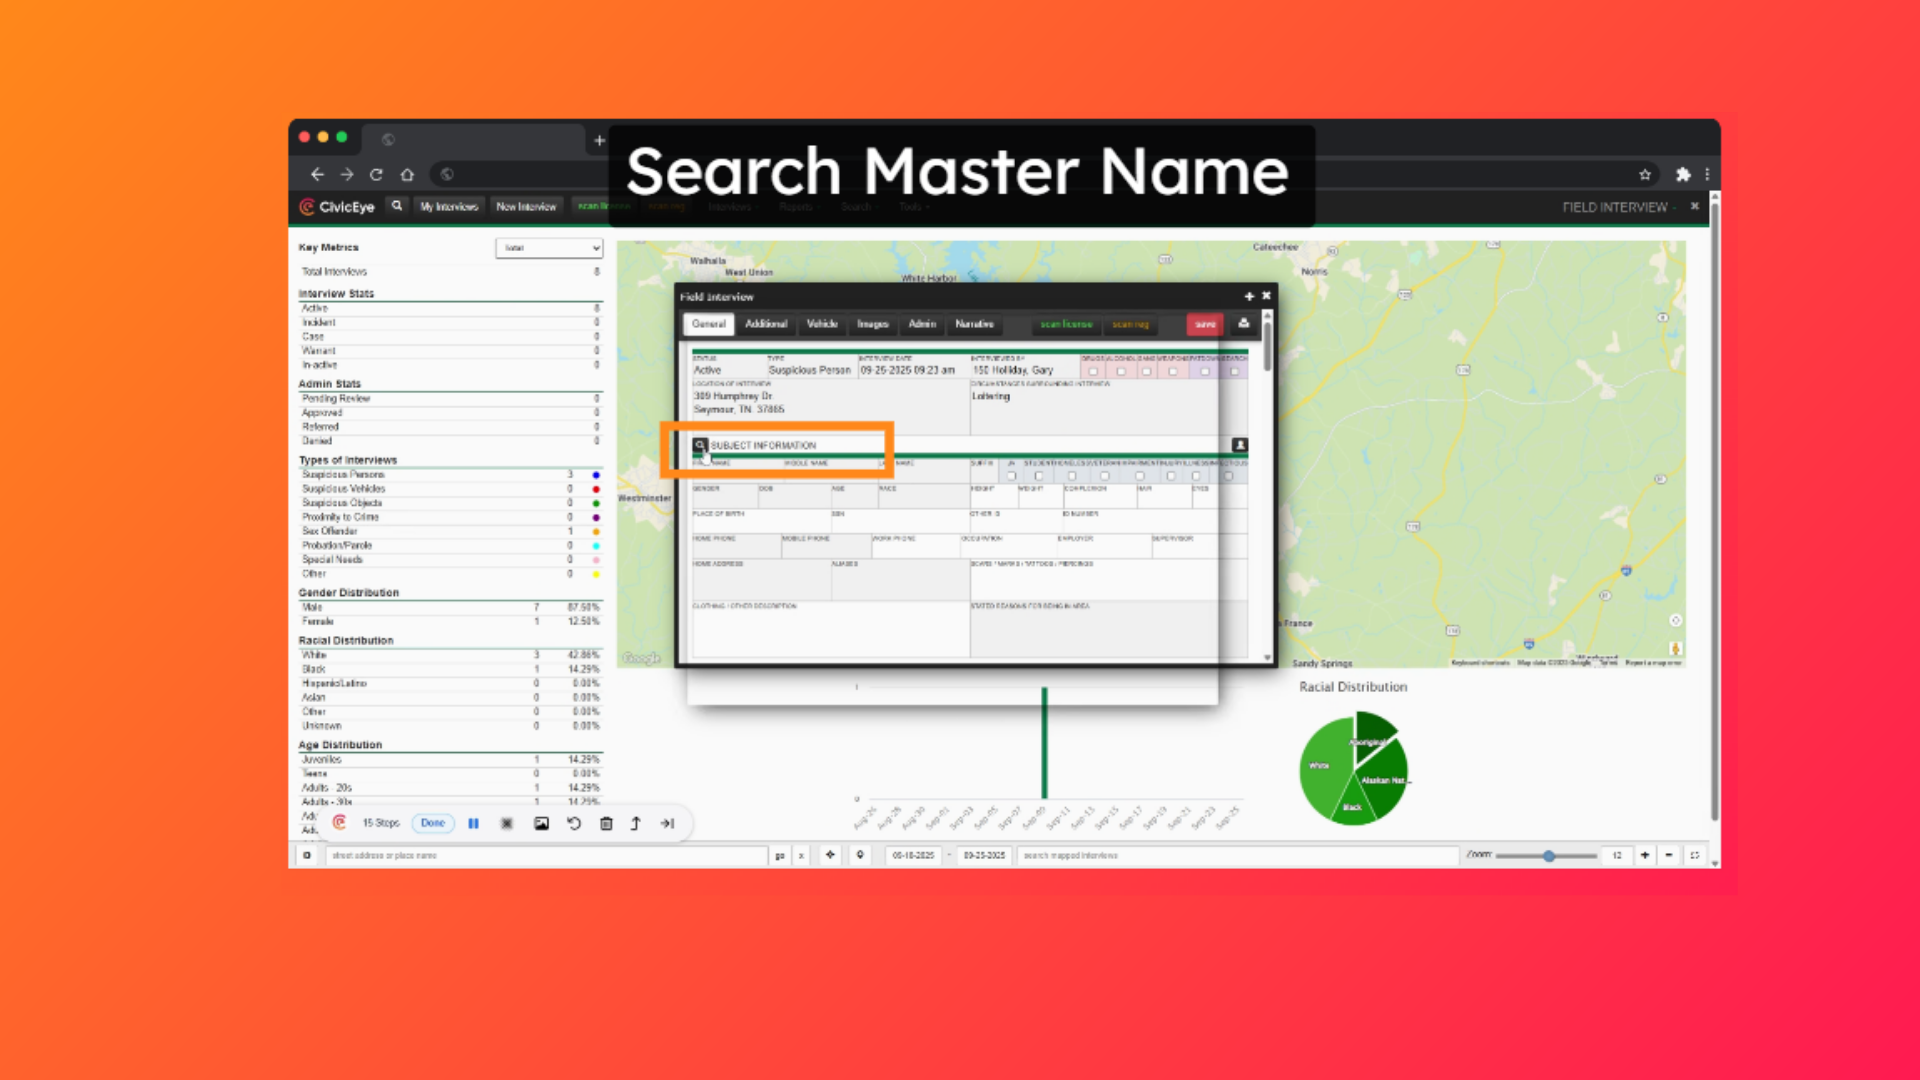
8. Search Master Name
Use the magnifying glass to open the master person search.
9. Click "Search Person"
Perform a search for the subject using the master person search.
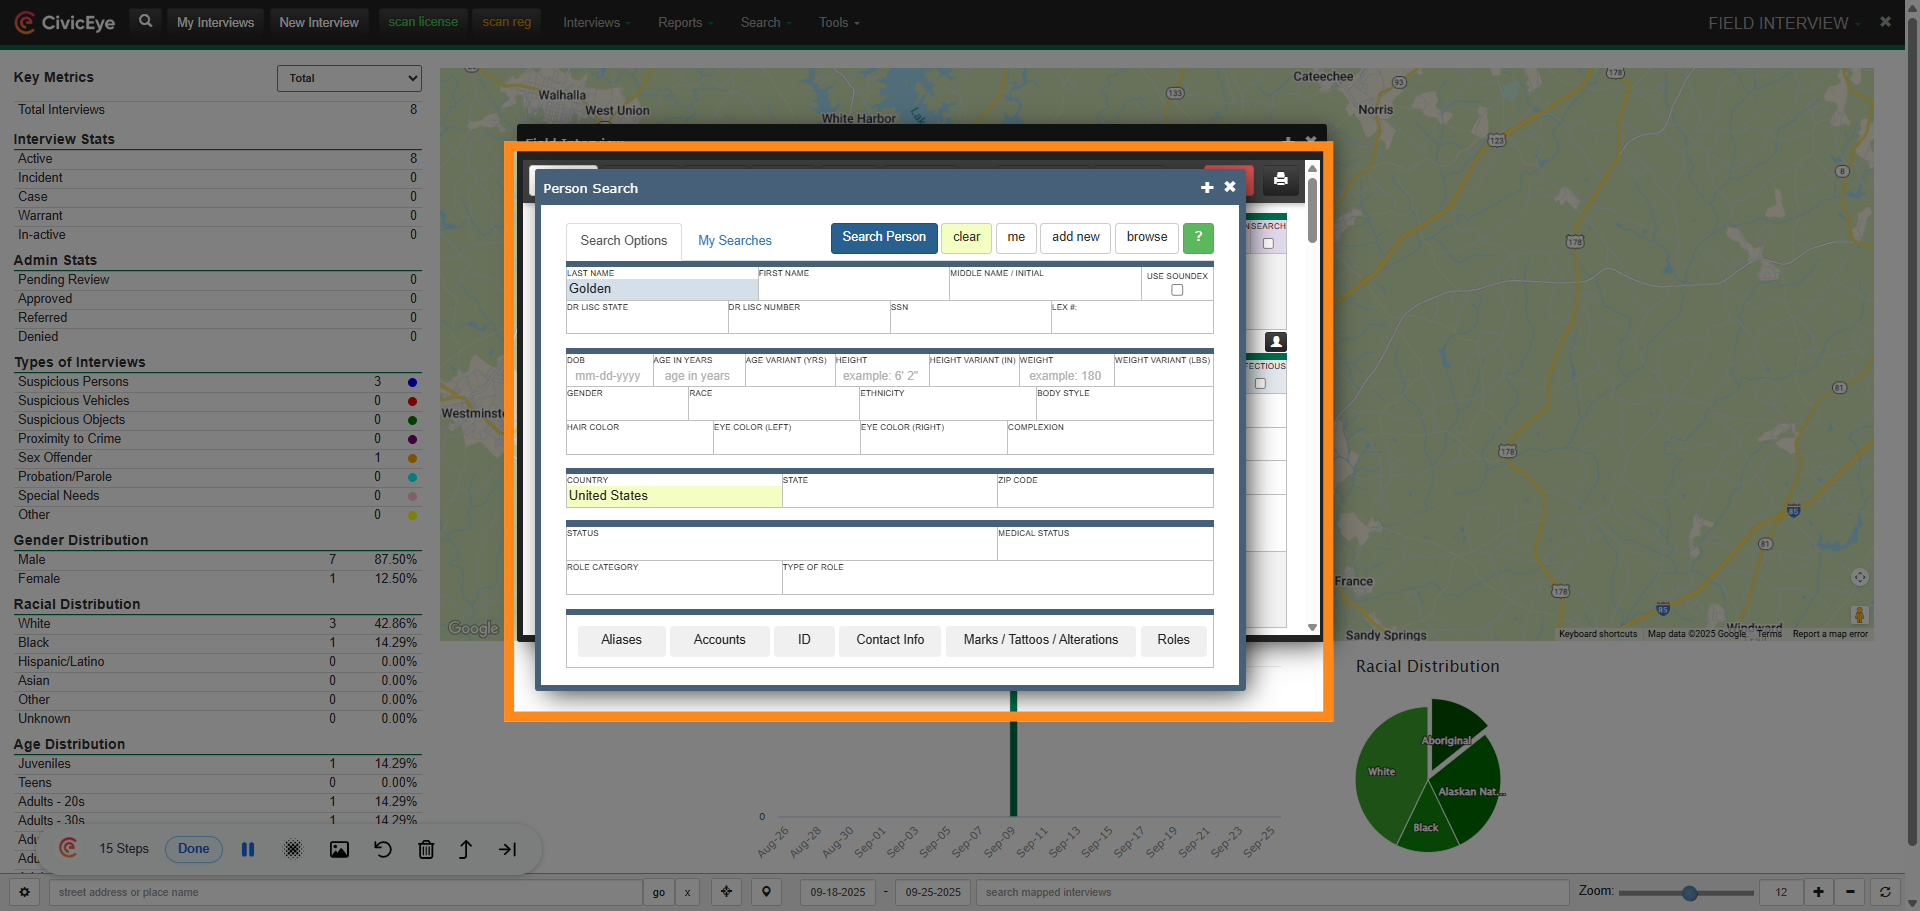
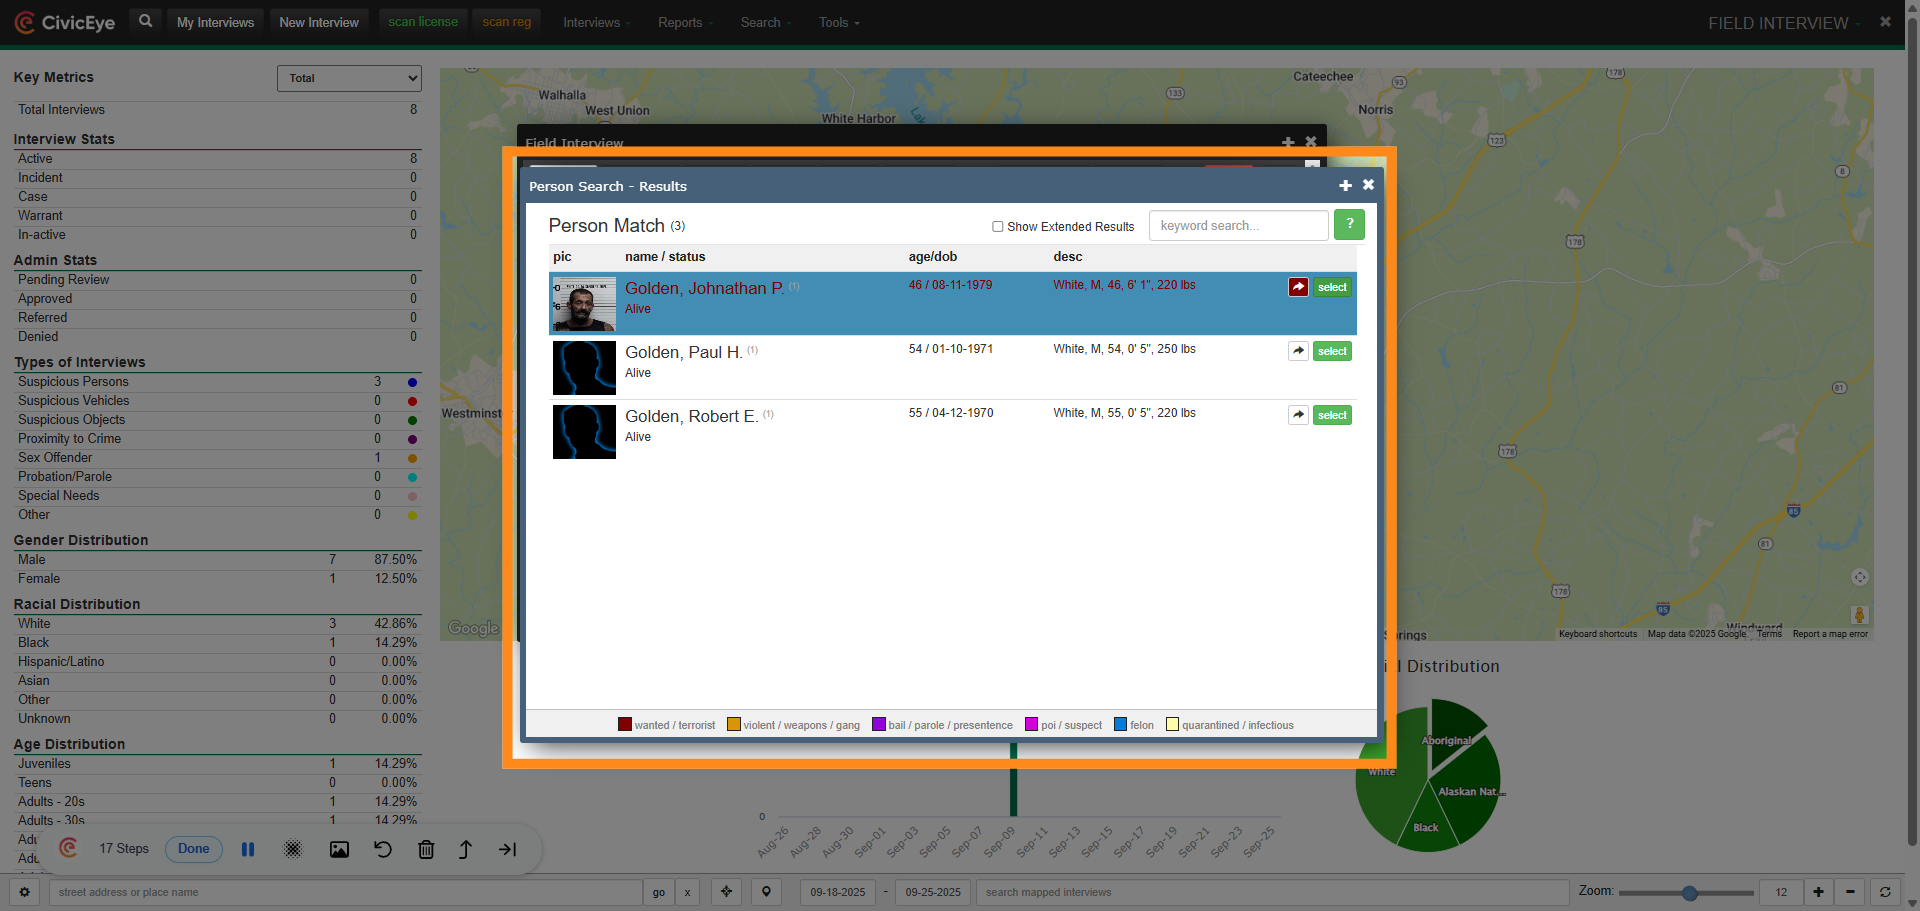
10. Select the Person from the Index
If the person searched is in the master index, select them to auto populate their information into the field interview card., If they are not in the master name, add them to the data base.
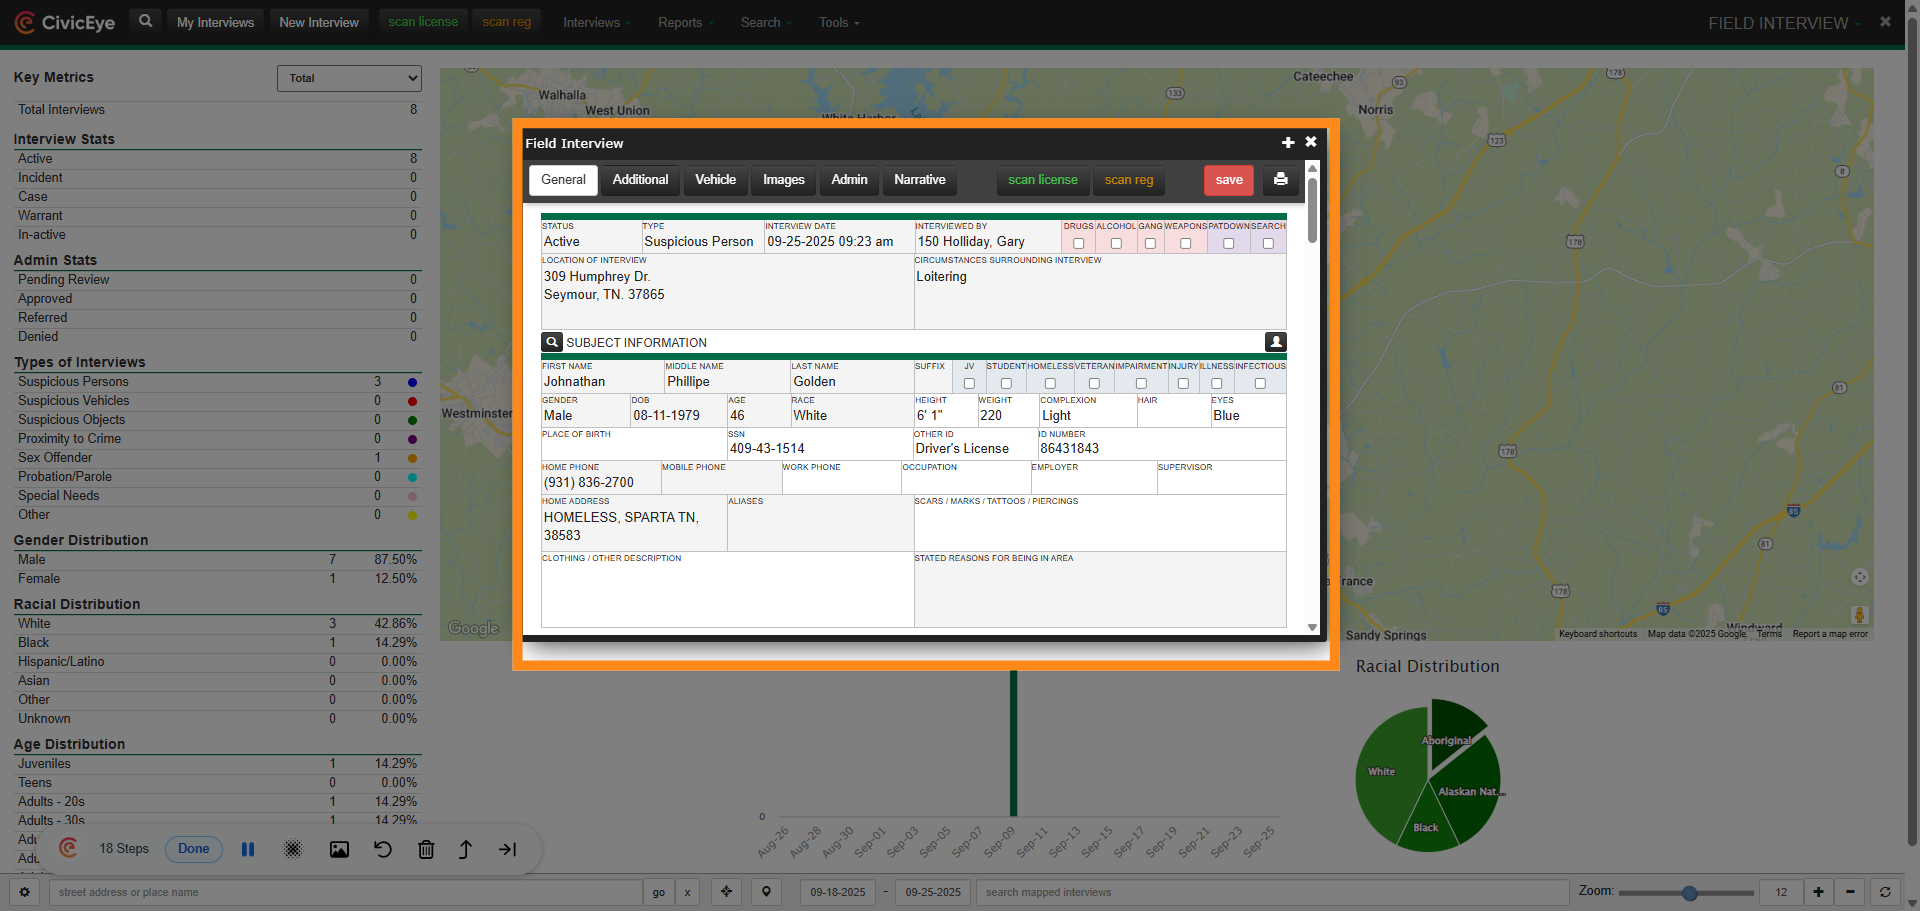
11. Subject Information
By using the master index search, the user has auto populated all the subjects information to the field interview card.
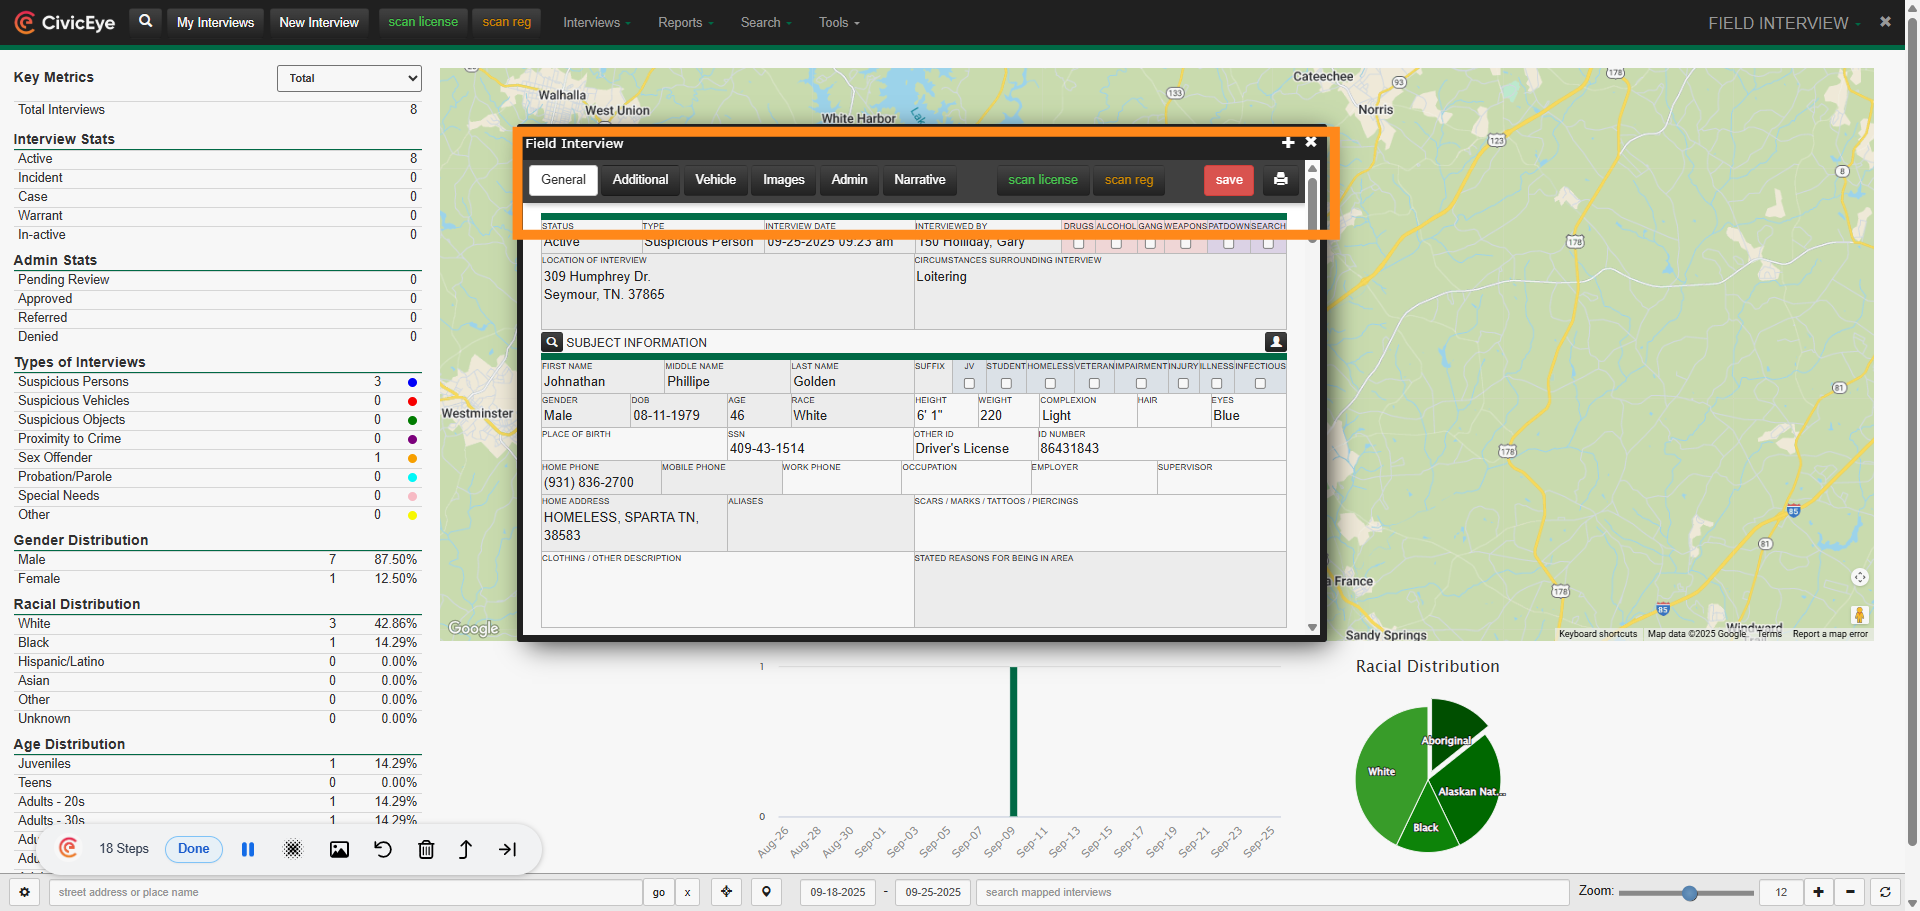
12. Interview Information
After adding the general interview and subject information, use the tabs in the upper banner to add additional information, including vehicle information, narrative, and images.
13. Map Location
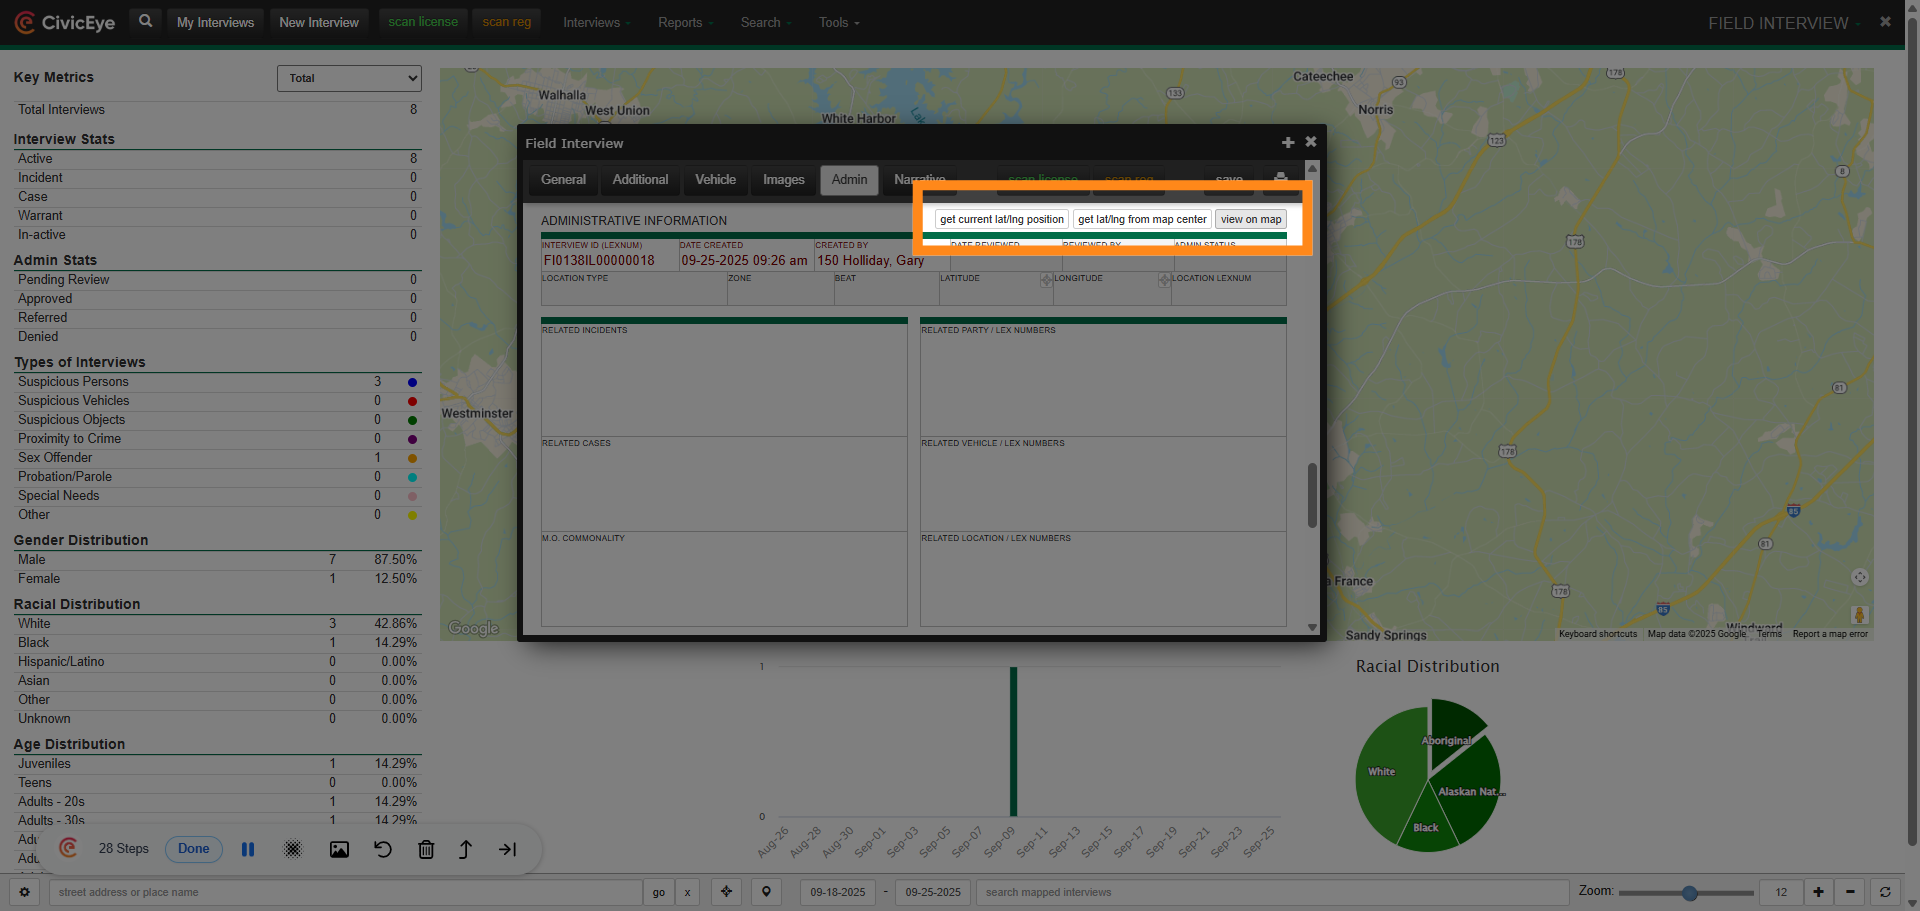
CivicRMS Field Interview places pins on an area map showing all field interviews. To place the pin on the map, go to the Administrative tab. Use the provided tabs to placed the pin using your current coordinates, or move the underlying map to the F.I. location and select get lat long using map center.
14. Map Location
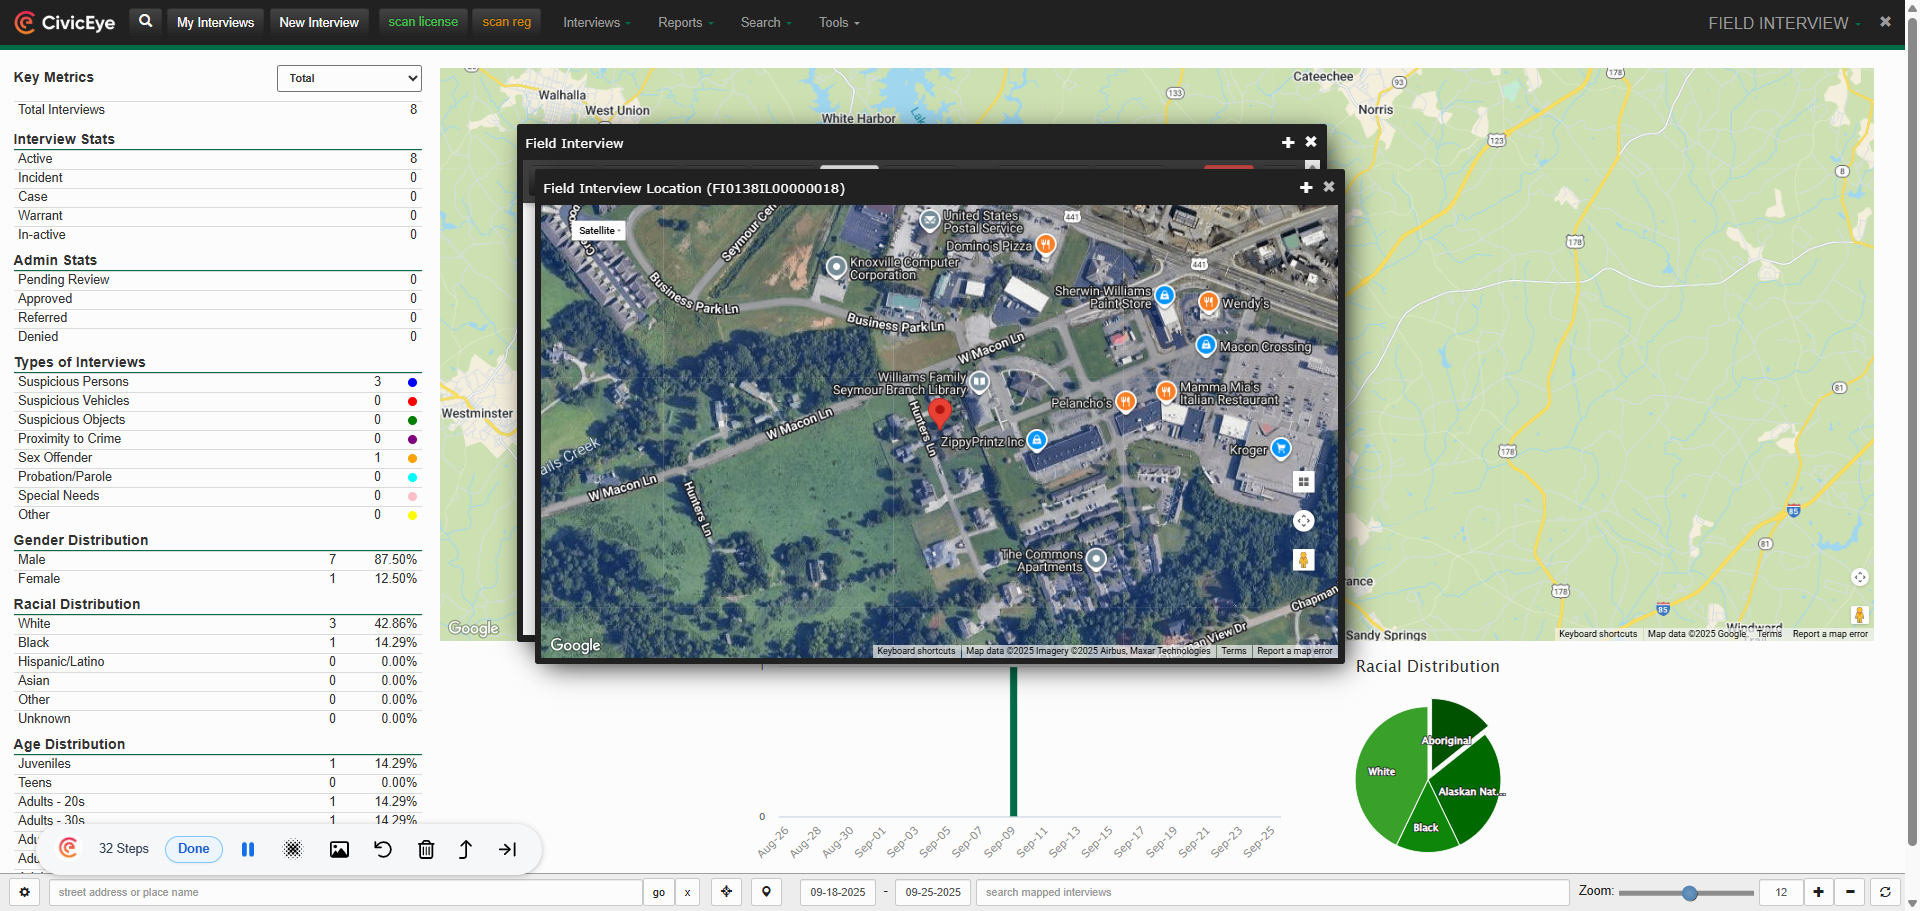
You can now view the F.I. location on the satellite map.
15. Map Location
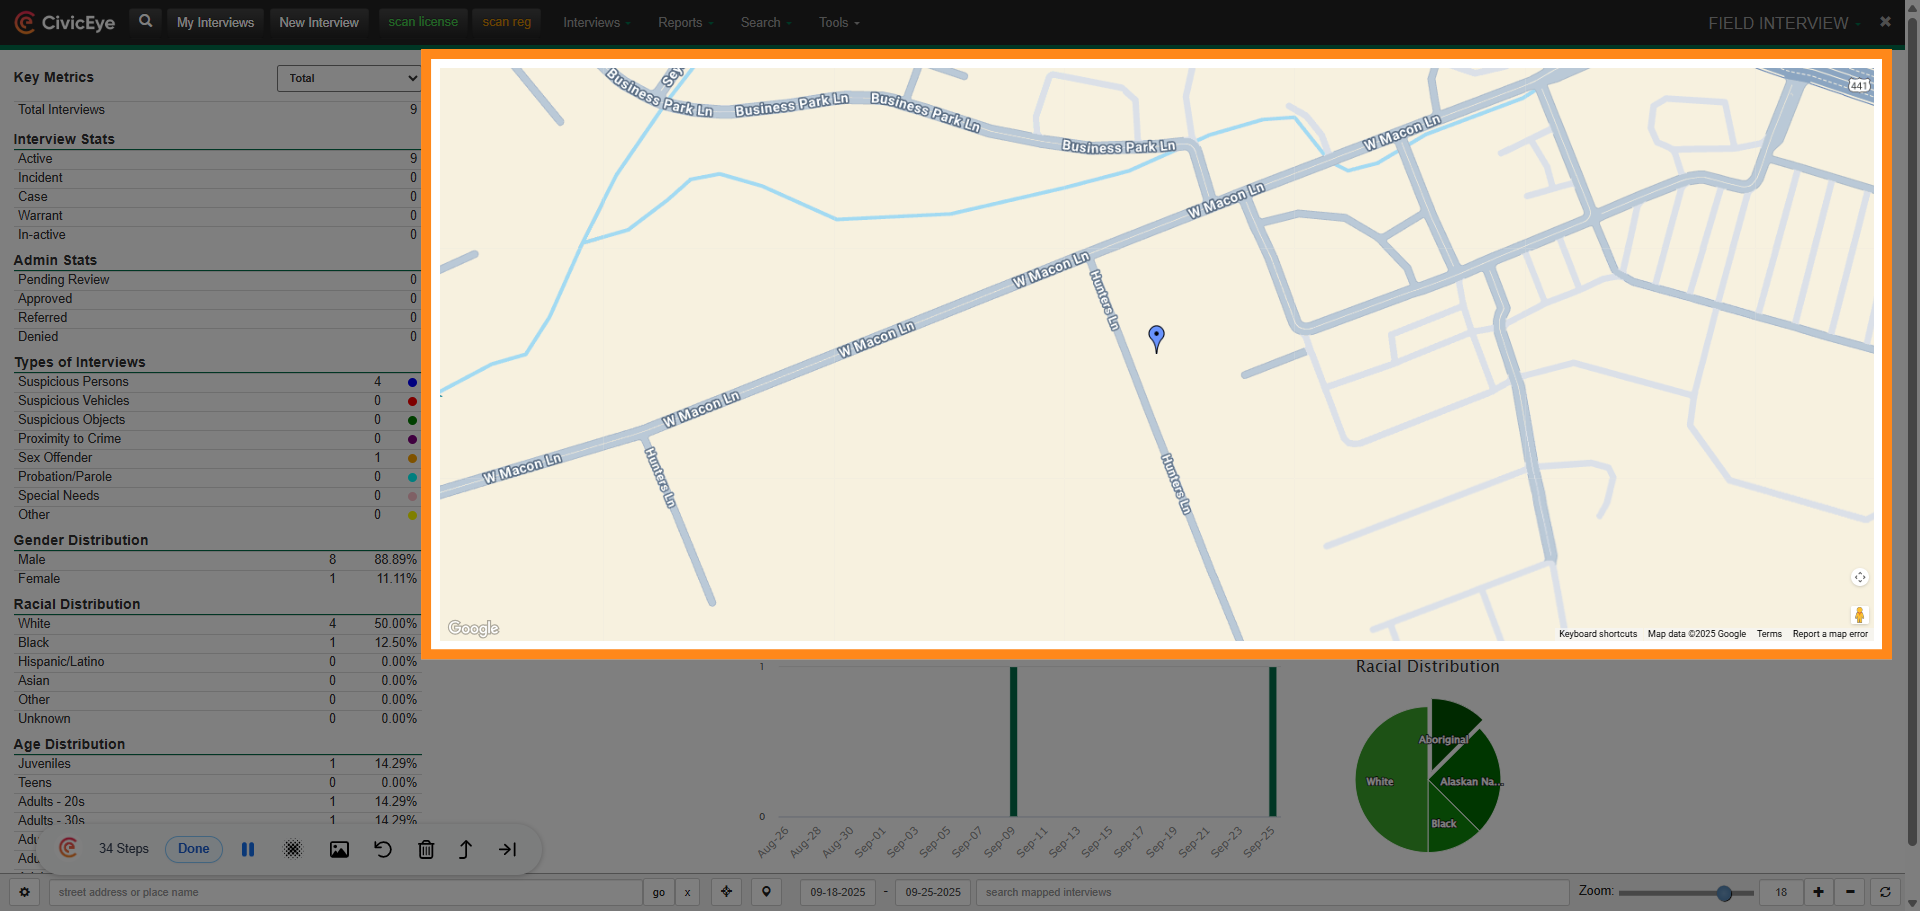
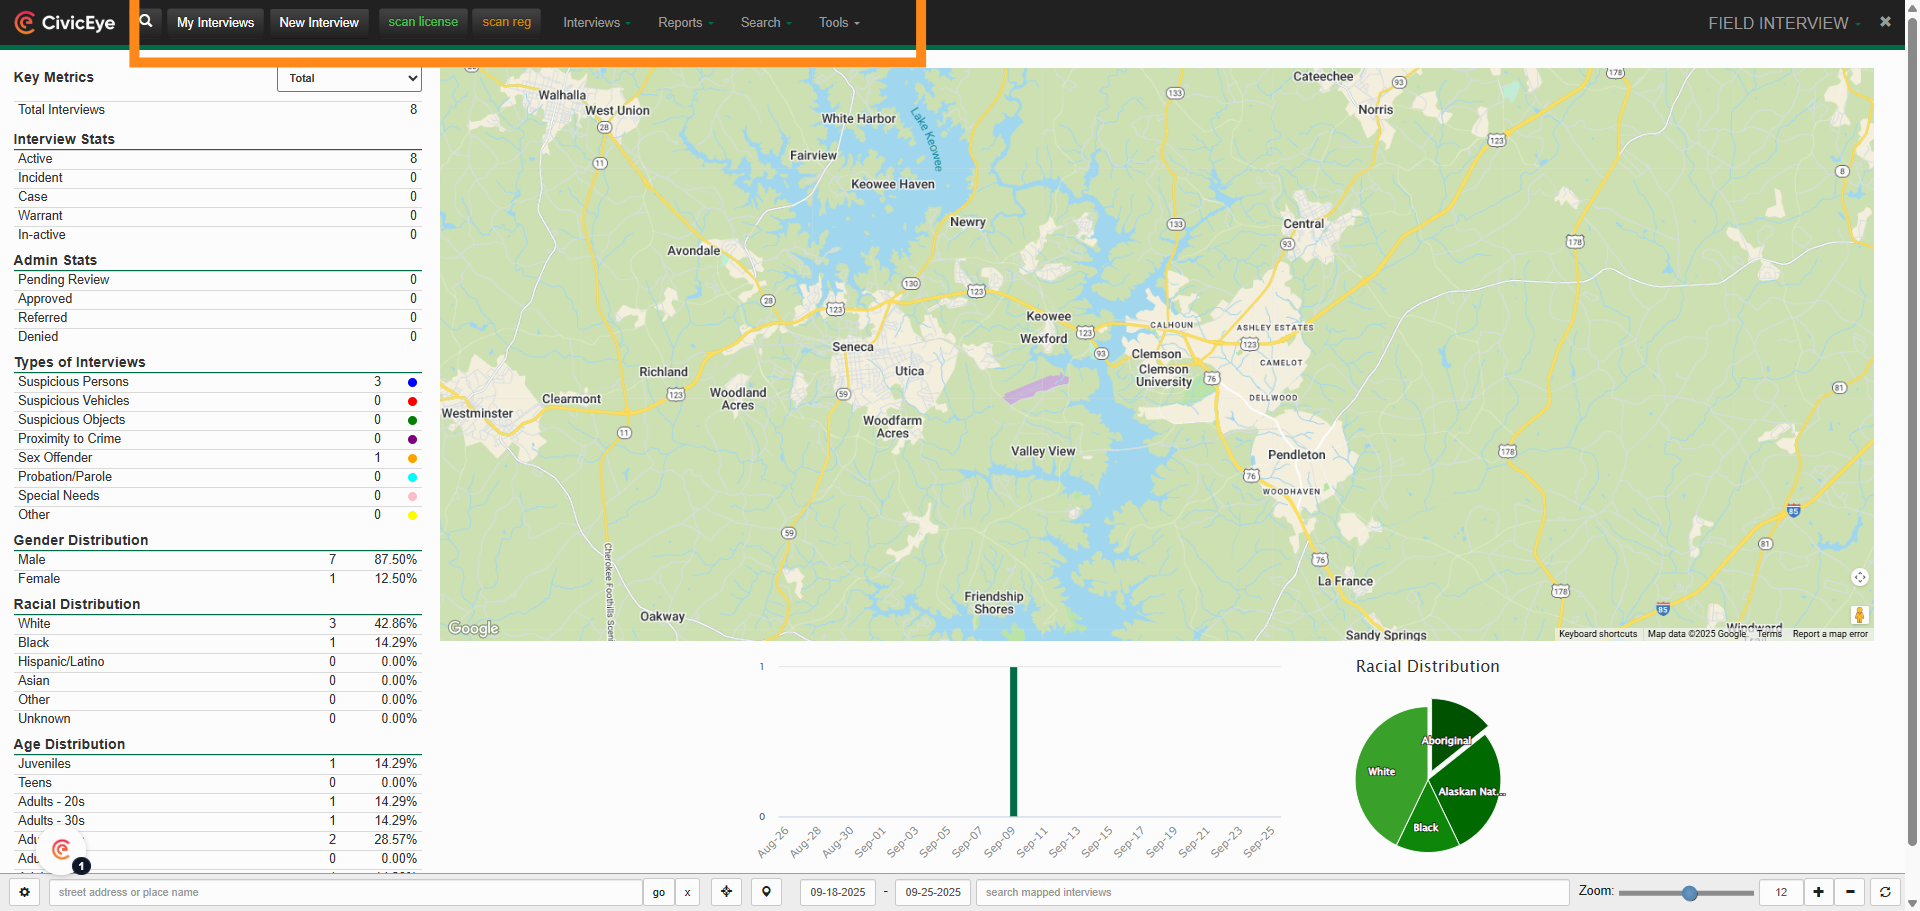
The users can also view the F.I. on the dashboard map. Use the map search filters to view all Field Interviews, or filter out specific interview types to display.
16. Map Search
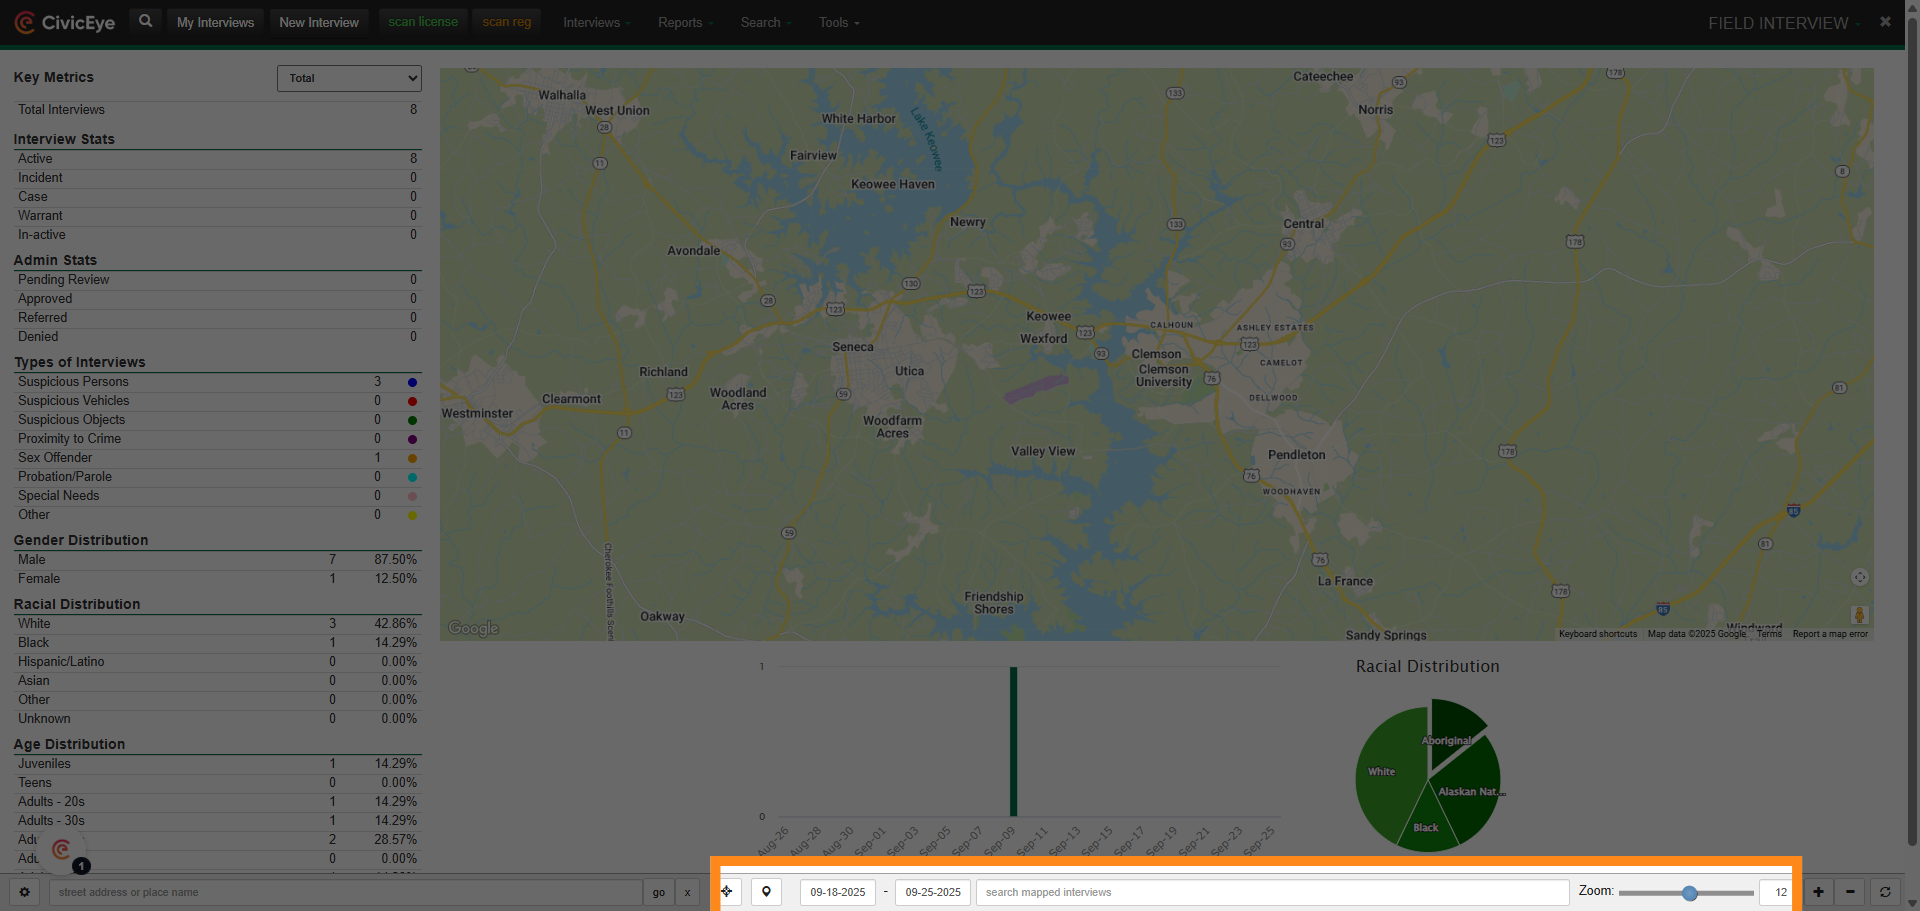
Use the map search feature at the bottom of the dashboard to search using the map or display specific field interviews.
17. Map Search
The Field Interview module also provides the user several high speed search options in the dashboard banner.
Thank you for watching this CivicEye video detailing the Field Interview Module. For questions regarding this or any other CivicRMS feature, please call a client support manager at 877-778-5277, or email us at support@civiceye.com.